Attaching a Flow to a New Trigger
You can attach your flow to a new trigger that is not being used by another flow in the same app.
Procedure
- You can use one of these methods to attach the flow to a trigger:
-
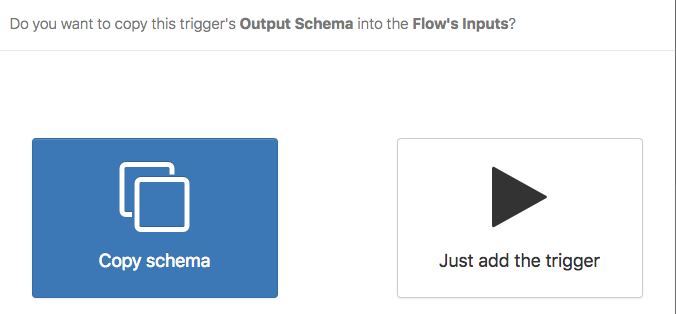
If you are attaching your flow to a REST or GraphQL trigger that is the first REST or GraphQL in the app, you get prompted with the following dialog.
For more information, see Creating a Flow Attached to a REST Trigger or Creating a Flow Attached to a GraphQL Trigger.
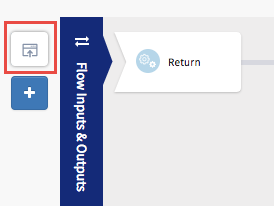
The selected trigger icon appears to the extreme left side of the flow page as follows:
-
Optionally, attach the flow to additional triggers by clicking the
 icon and following the steps above.
Related concepts
Copyright © Cloud Software Group, Inc. All rights reserved.