Creating a Sub-Process
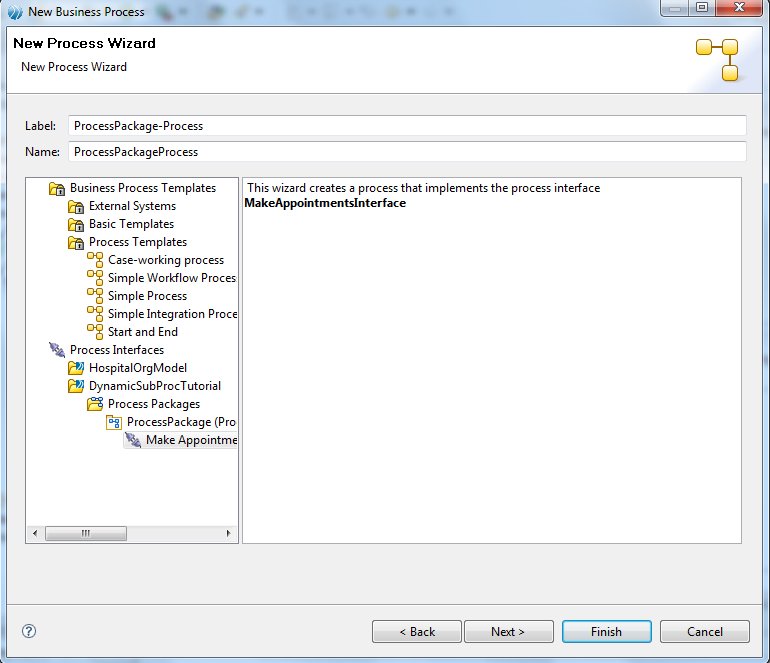
Now you can create a sub-process based on the process interface Make Appointments. This will take the patient details as input and will output an appointment time.
Procedure
- In Project Explorer, right-click the Make Appointments process interface and select . The New Process Wizard displays, to create a process based on the Make Appointments process interface.
- Add a service task after the user task. Label it Email Hospital Department and set the Service Type to E-Mail. Connect it to the user task with a sequence flow.
- Select the Allocate Blood Test Appointment user task. On the Interface tab of the Properties view, add the parameters as shown in the following illustration.
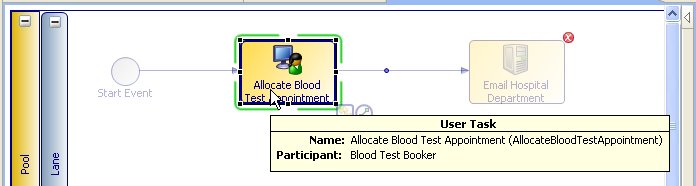
- A user task needs a participant. At the process package level, right-click on Participants and create a new participant called Blood Test Booker. Define the Type as an External Reference and map it to the Phlebotomy Secretary in the organization model.
- Drag the Blood Test Booker participant from Project Explorer over the Allocate Blood Test Appointment user task, and drop it on the task.
-
Configure the email task by typing in an addressee, subject line and message, as shown in the following illustration. Note the use of variables that correspond to the values of some of the process parameters.
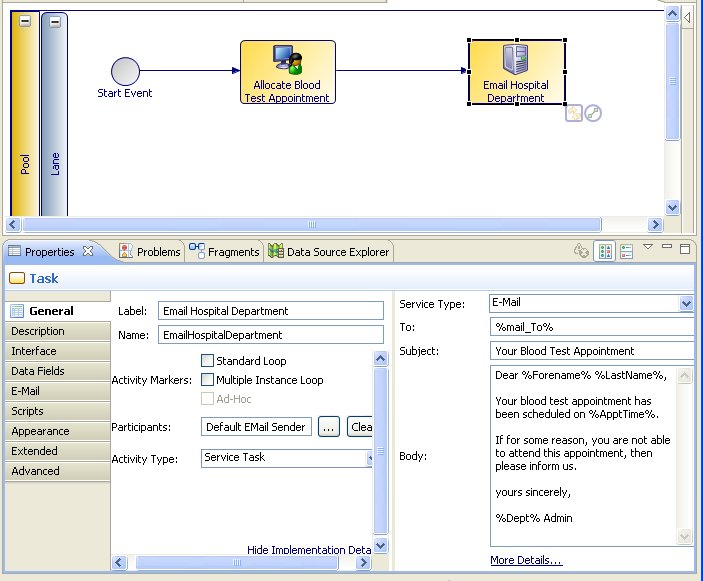
The recipient of the email task is set to the %mail_To% variable for testing purposes. You could set this to a different recipient, such as your own address or the email address of the patient, by modifying the process. See the tutorial "How to Deliver Work by Email" for information on configuring email destinations.
- On the E-Mail tab, set the From: field to Use Custom Configuration. Enter an email address in the available field.


Copyright © Cloud Software Group, Inc. All rights reserved.