This section shows how to use TIBCO LiveView™ Desktop to configure two alerts for a data table in the Hello LiveView sample project shipped with TIBCO LiveView. To follow this example, load and run Hello LiveView sample using the Import Samples and Community Content dialog.
Hello LiveView has three alerts configured against the ItemsSales table.
-
Low inventory on Item publishes a row in the LVAlerts table when the quantityRemaining field of the ItemsSales table is less than 30.
-
Out of Item publishes a row in the LVAlerts table when the quantityRemaining field of the ItemsSales table is zero.
-
Trim ItemsSales table deletes rows older than five minutes from the ItemsSales table.
Follow these steps to create an alert against the ItemsSales table from LiveView Desktop and publish the alert to the LVAlerts table.
-
In the LiveView Desktop Tables pane, right-click the ItemsSales table and select .
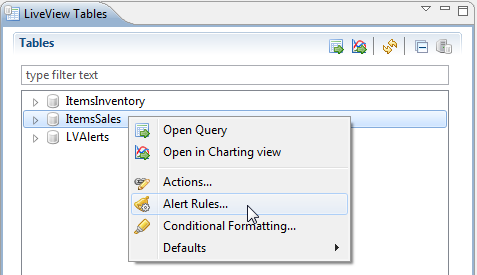
This opens the Alert Rules dialog with the ItemsSales table selected.
-
Click the button. This opens the Configure Alert Rule dialog. By default, the Enabled check box is selected, the Severity is set to 3 (Medium), and the Immediately radio button is selected for the Execute actions field.
-
Set the Name field to
Running low on toys!. -
Set the Message field to
Running low on $Item in $category. The expressions$Itemand$categoryperform text substitutions when the alert rule is executed and return the value of the Item and category fields from the row of the ItemsSales table that meets the alert conditions. -
Enter the query predicate
category='toy' and quantityRemaining < 40in the Condition field. -
Select the check box for After executing actions, suppress subsequent execution for and enter 10 for the seconds field.
The top part of the window now looks like the following:

-
In the Actions pane, click the button and select . This opens the Alert Action window.
-
By default, the Alert key radio button is set to Generated, the Message field is set to Use default rule message, and the Recipient field is set to asterisk (*). Click to save the action. The Actions pane now looks like this:

Notice the Enabled check box is selected by default. As soon as you click , the Low Inventory alert is saved and enabled.
-
-
Click . The dialog box Validating Rule on the Server appears momentarily before you return to the Alert Rules window. LiveView Server validates alert rules before saving them. If the rule is not correctly configured, you are returned to the Configure Alert Rule window.
The alert rule you just created is now visible in the window.
-
Click . This returns you to LiveView Desktop.
-
Double-click LVAlerts in the Tables pane of LiveView Desktop. This opens the LVAlerts table in a tab. You can see that the alert you just created is populating this table.
Since published alerts are stored in a LiveView Table, the table is populated during a LiveView Server session. Every new LiveView Server session starts populating the table.
You can also delete rows with an alert action. For example, you may want to control the number of rows published to the LVAlerts table. This example deletes all the rows of the LVAlerts table when it gets larger than 30 rows.
Warning
The delete rows action works on the running LiveView Server instance. Deleted rows cannot be recovered, so use this action with care.
-
Click the system tables icon (
 ) in the tables view to show the system tables.
-
Right-click the LiveViewStatistics table and select .
-
Click .
-
Configure the alert rule as shown here:
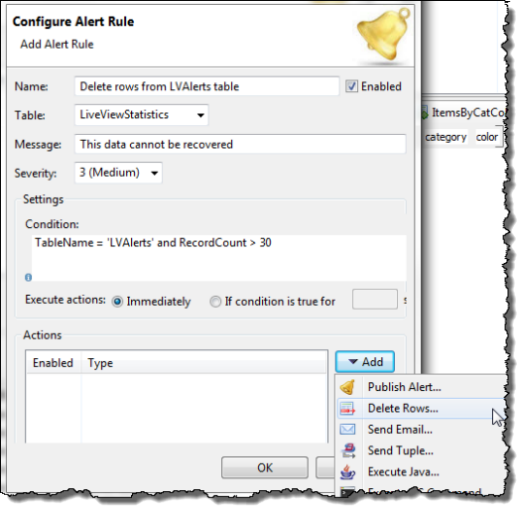
The LiveViewStatistics table is a system table that display information about the LiveView Server instance. The RecordCount field shows the number of rows in each LiveView table. Note that the alert will fire as the alert conditions turn to true; if your LVAlerts table already has more than 30 rows the alert will not fire.
-
Click the button and select . The Alert Action dialog opens.
-
In the Table field, select LVAlerts.
-
In the query field, enter
LastModified < now()-seconds(30). -
Click .