Setting Instance-Based Permissions on a Role

By using instance-based permissions, users can now enforce permissions on a particular instance of an entity type.

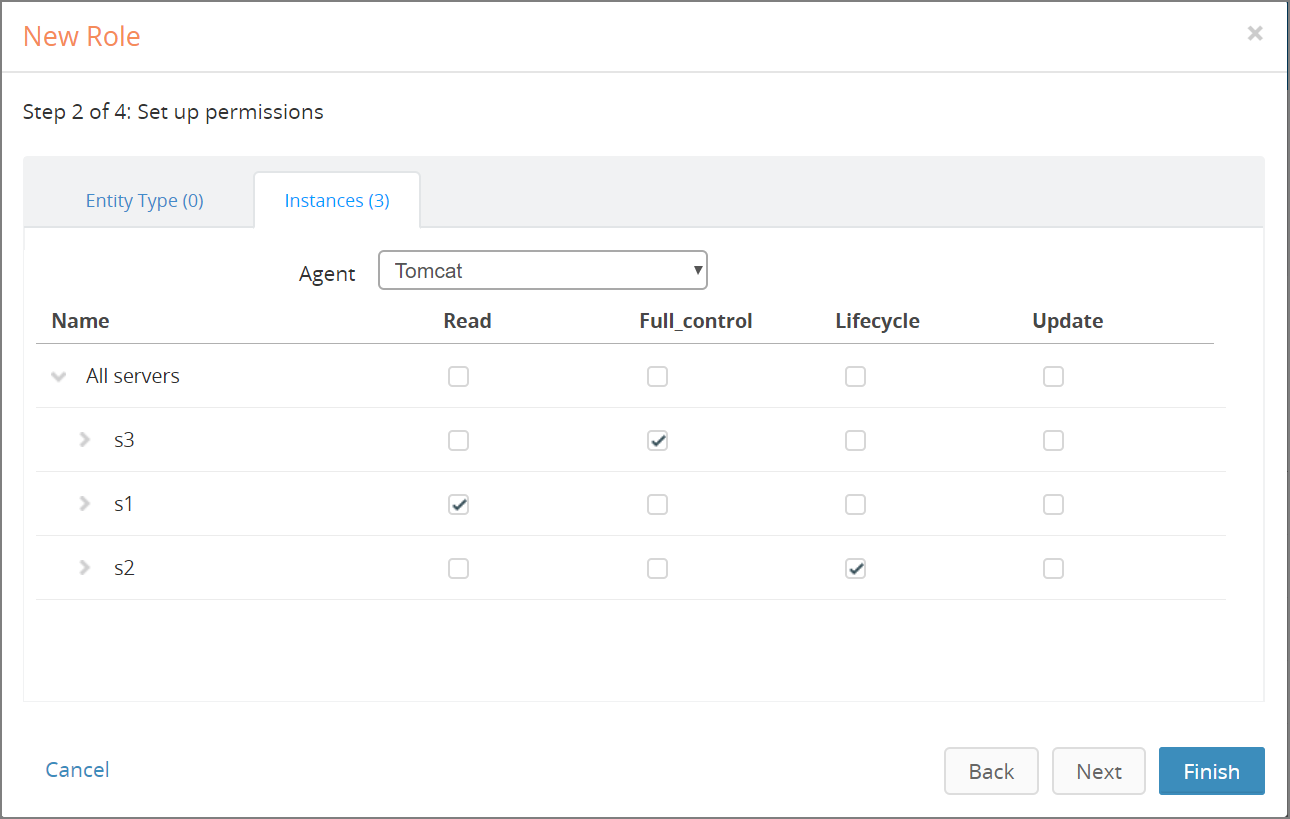
When you assign instance-based permission to a given agent, you can control whether or not the permission is applicable to the user, group, or role on one or more instances of an entity type. In addition to that, you can also control whether the permission must be assigned to one or multiple instances of an entity type. You can set instance-based permission from the Instances tab of the Add Role wizard.
Attention: The Instances tab is not displayed if the agent does not support instance-based permissions.

Procedure

  1. Click the Instances tab.
  2. From the drop-down box, select the Agent.
    This pane below shows instances on which a user can assign permissions in a collapsed tree format.
  3. In the Name column, click All servers to view the servers list in a tree structure.
    All Servers Tree under Instances
    The tree expands to show a list of servers. Here you can see all the instances in a tree format of a selected agent.
  4. Set permissions using one of the following methods:
    Action Consequence
    Click on the permissions displayed against a row as shown in Setting Permissions for All the Instances in an Entity. You are setting permissions to all the instances in that entity type of that agent.
    Drill down further by selecting a row of a given entity type as shown in Setting Permissions for a Specific Instance in an Entity. You get to browse through the hierarchy of instances. You get to set permissions for a specific instance in the tree.

    Click Next.
    Setting Permissions for All the Instances in an Entity
    Setting Permissions for a Specific Instance in an Entity
    Attention: When you select a permission for a child instance, a READ permission for the parent is auto-selected.
    The next step of the wizard is to help you add users to the role.
  5. Click Next.
    The next step of the wizard is to help you add users to the role.
  6. To continue adding users to the role, complete the steps mentioned in Adding Users to a Role. You can also click Finish at this stage to exit the wizard.

Result

The new role is displayed on the Roles details page. The page shows the role definition. You can add or remove the permissions, users, or groups for the role from the Roles details page.
Note: If you had exited the wizard without completing the procedure, you can redefine the role by adding or removing the permissions, users, or groups from this page.