Deploying an Application Using the Deployment Wizard
You can deploy an application to a BPM node by deploying its project (or the Distributed Application Archive (DAA)) to the appropriate deployment server.
If a project references artifacts in other projects, the referenced projects must be deployed before proceeding to deploy the project.
If the project has bindings or wiring defined, you can configure them through the wizard as part of the deployment procedure.
Procedure
-
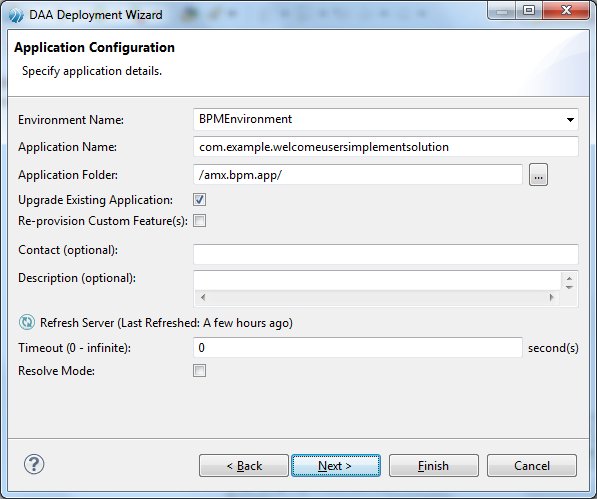
On the Application Configuration dialog, either accept the default values in the
Environment Name and
Application Folder fields (these fields are populated with values specified when you set up the deployment server; see
Creating a New Deployment Server), or if you want to deploy to another destination, perform these substeps:
-
In the
Application Folder field, click
 and select your required folder from the list.
-
Click
Next.
Note: The checkbox Upgrade Existing Application is disabled if the application is being deployed for the first time. For subsequent deployments, the checkbox is enabled and selected by default. See Deploying the Organization Model for details on configuring the behavior when upgrading existing applications.
Refresh Server Timeout specifies the duration in seconds for which TIBCO Business Studio waits for responses from the BPM runtime.
The Resolve Mode checkbox applies to TIBCO SOA projects. Keep the checkbox clear (unchecked) for BPM application deployment. This field specifies if dependencies on target product applications have to be checked. When selected, the dependencies are checked and nodes where the applications are deployed are restarted to load software updates. This is required when downgrading a feature or applying extension implementations for TIBCO SOA projects.
-
In the
Application Folder field, click
-
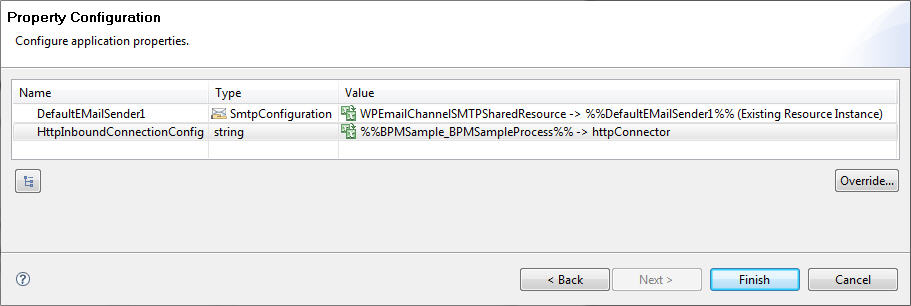
Select a property and click
Override... to change the configuration.
Caution: During deployment, do not change the BDS Application deployment BDSCaseDataStoreResource configuration property value.
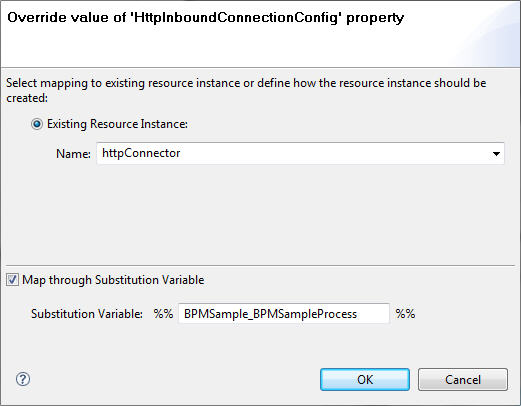
By default, the properties are mapped to substitution variables, which provide a level of indirection. To override the mapping:
- Double-click the Property Value field, or select the property and click Override.... The dialog to override the selected property appears.
If the project or the DAA contains unresolved promoted references, the Wiring Configuration dialog is displayed.To configure the wiring:
- Click -add wire- in the row containing the unresolved promoted reference. A drop-down listing the available service virtualizations and endpoints appears.
- Select the virtualization or endpoint that you want to wire the promoted reference with and click outside the text.
Repeat these substeps for all the unresolved promoted references listed in the dialog.