CloudFormation template creates a CloudFormation Stack which builds a base
TIBCO BusinessWorks™ Container Edition and Plug-ins docker image, creates an ECR repository with name 'tibco-bwce' and pushes base docker image into the ECR repository. It then deploys a VPC, with a pair of public and private subnets spread across two availability zones. It deploys an Internet Gateway, with a default route on the public subnets. It deploys a pair of NAT Gateways (one in each AZ) and default routes for them in the private subnets. It then deploys a highly available ECS cluster of EC2 instances (ECS Hosts) launched from the TIBCO BWCE AMI in an AutoScaling Group, with the EC2 instances distributed across multiple Availability Zones. This template also provides you an option to create an Amazon S3 bucket and folder structure inside the bucket required for base docker image customization.
Procedure
-
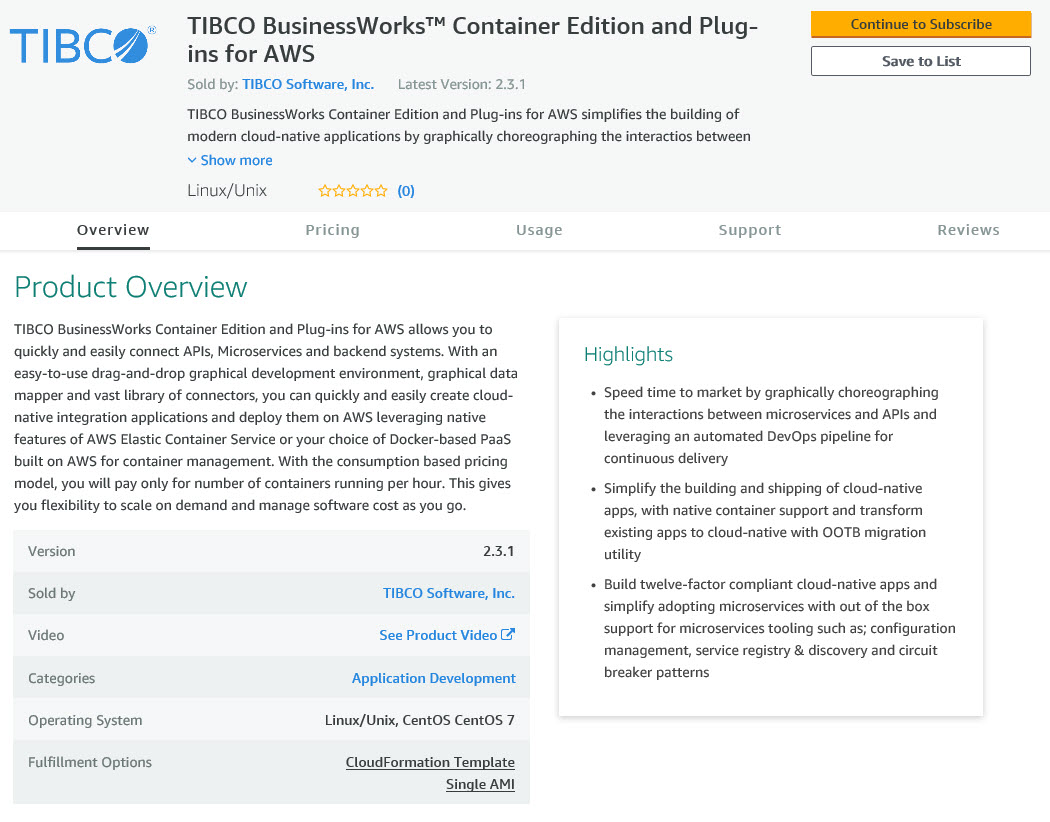
Open the
TIBCO BusinessWorks Container Edition
and Plug-ins for AWS web page.
-
In the
Pricing Information section, select the region where you want to make the software available and specify the delivery method as
Setup ECS Cluster.
Note: Ensure that the ECS is supported in some regions only. For more information, see
Region Table.
-
Click
Continue to go to the Launch page.
-
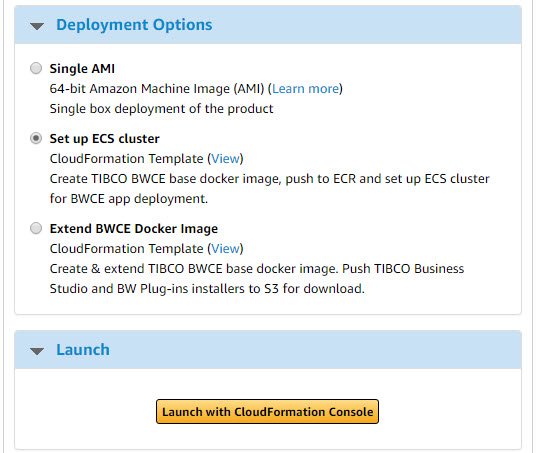
Click the
Launch with CloudFormation Console button.
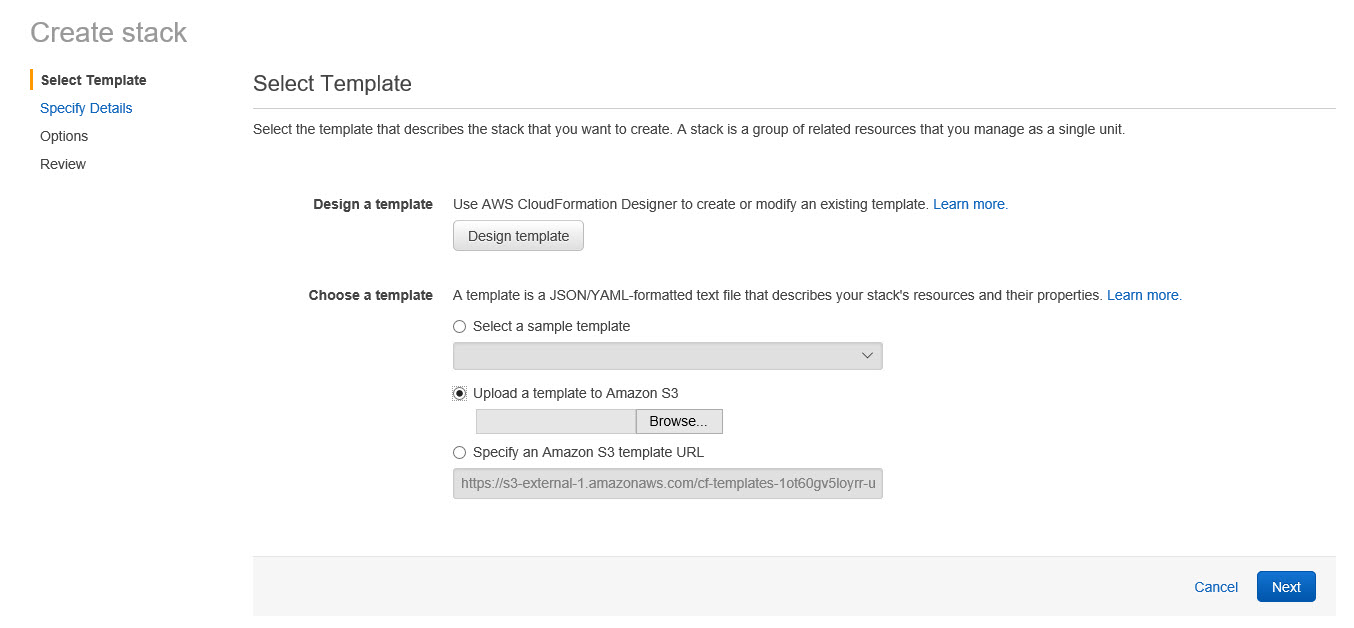
The Select Template page is displayed.
Note: By default, AWS provides a template source URL. Do not change this.
-
Click
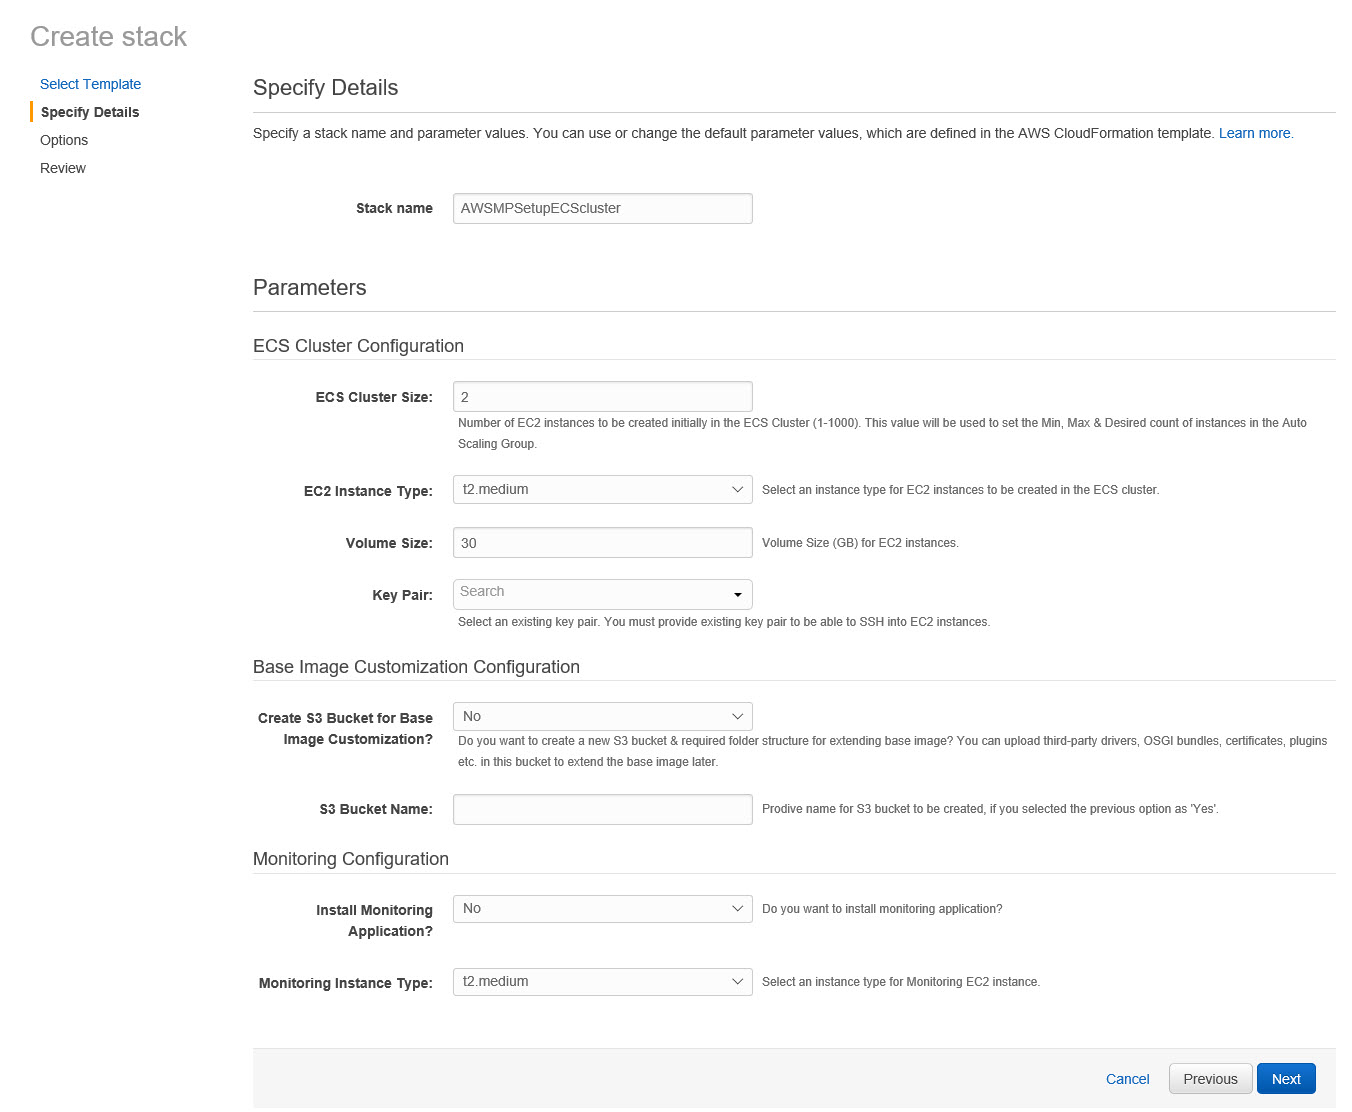
Next. The Specify Details page is displayed.
-
In the
Stack Name field, give a unique name to your CloudFormation stack .
Note: Stack name must not exceed 24 characters.
-
In the
ECS Cluster Size field, enter the number of ECS hosts you want to deploy.
-
Select an appropriate
EC2 InstanceType for the ECS Cluster from the drop-down.
-
In the
Key Pair field (optional), enter an existing key pair name for SSH access to the ECS instance.
-
Select
Yes to
Create S3 Bucket for Base Image Customization and specify
S3 Bucket Name.
-
After the Stack is in
CREATE_COMPLETE state, an S3 Bucket is created with the user provided name.
-
The S3 Bucket consist of following folders:
- /certs
- /jars
- /lib
- /monitor-agents
- /plugins
- /thirdparty-installs
-
Before running the Extend
TIBCO BusinessWorks Container Edition
Docker Image CloudFormation template, user must copy required artifacts (optional) in respective folders in the S3 bucket.
- Copy certificates to /certs folder.
- Copy additional OSGi bundle jars (jars required by plugins, DB drivers, MQ jars etc.) to /jars folder.
- Copy additional libraries to /lib folder.
- Copy
TIBCO BusinessWorks Container Edition
monitoring agent jar to /monitor-agents folder.
- Copy
TIBCO BusinessWorks Container Edition
supported plug-in runtime zip files to /plugins folder.
- Copy thirdparty installation zip to /thirdparty-installs folder.
-
Select
Yes to
Install Monitoring Application and select the
Monitoring Instance Type for monitoring EC2 instance.
-
Click
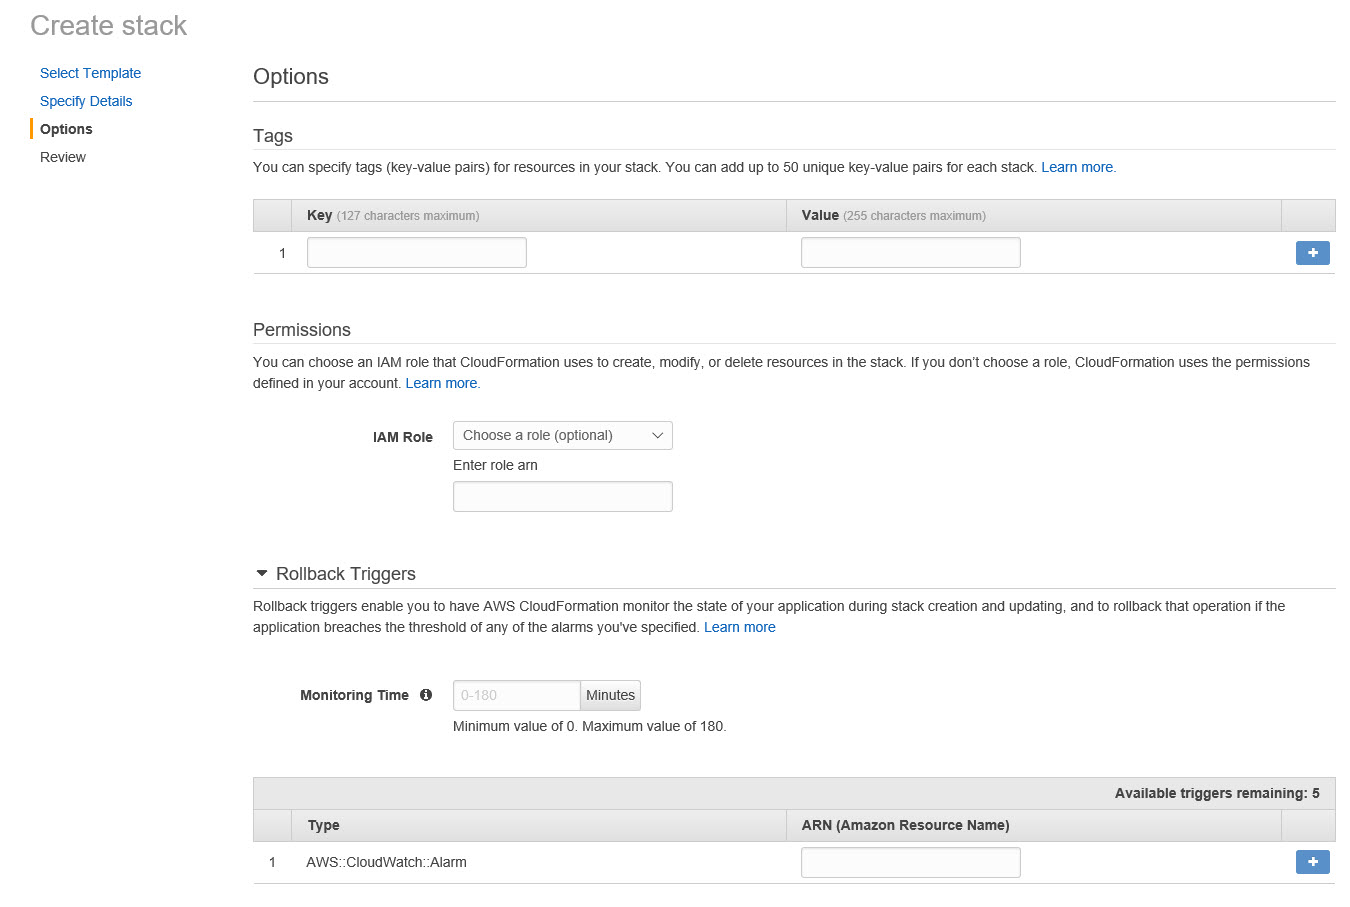
Next. The Options page is displayed.
-
Specify tags (key-value pairs) for resources in your stack and select the
IAM Role to create, modify, or delete resources from the stack. You can also set the amount of monitoring time, during which CloudFormation monitor all rollback triggers after the stack creation or update operation deployed on all necessary resources.
Note: A tag consists of a key or value pair that flows to resources inside your stack. You can add up to 10 unique tags for each instance.
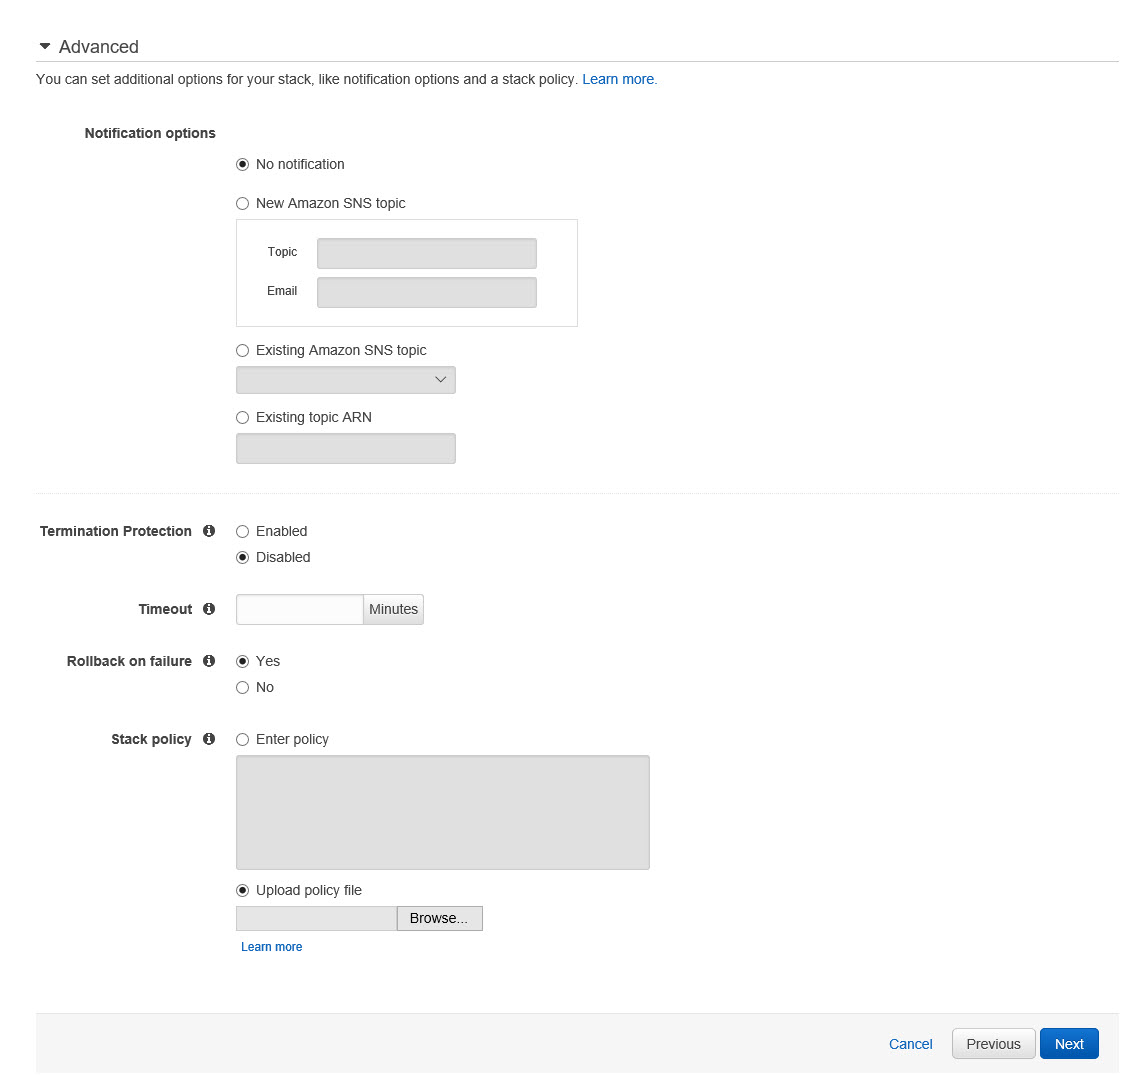
-
Expand the
Advanced section of the Options page and set your notification, timeout, and other options, if required. Click the
Learn more link for an explanation of these options.
-
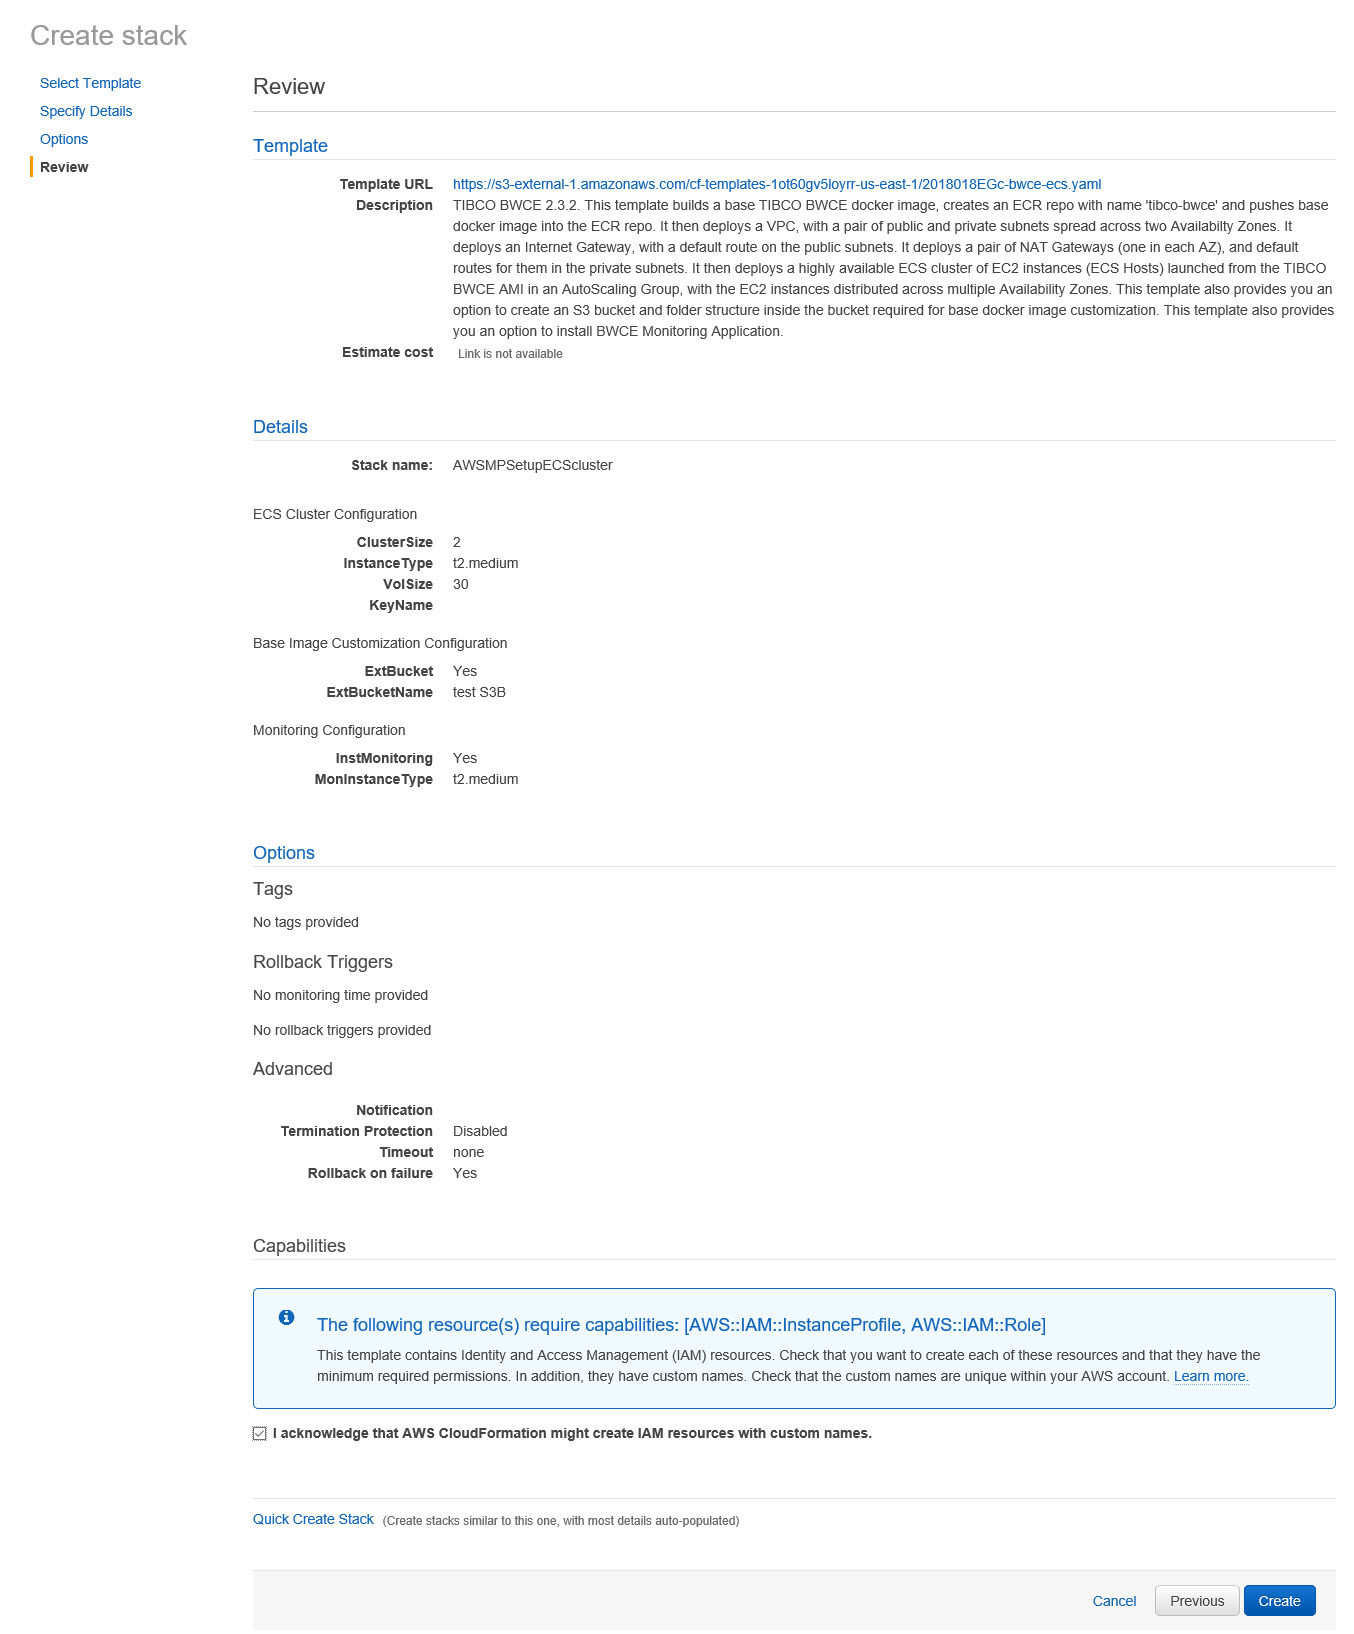
Click
Next. The Review page is displayed.
-
Click the
acknowledgment check box, then click
Create.
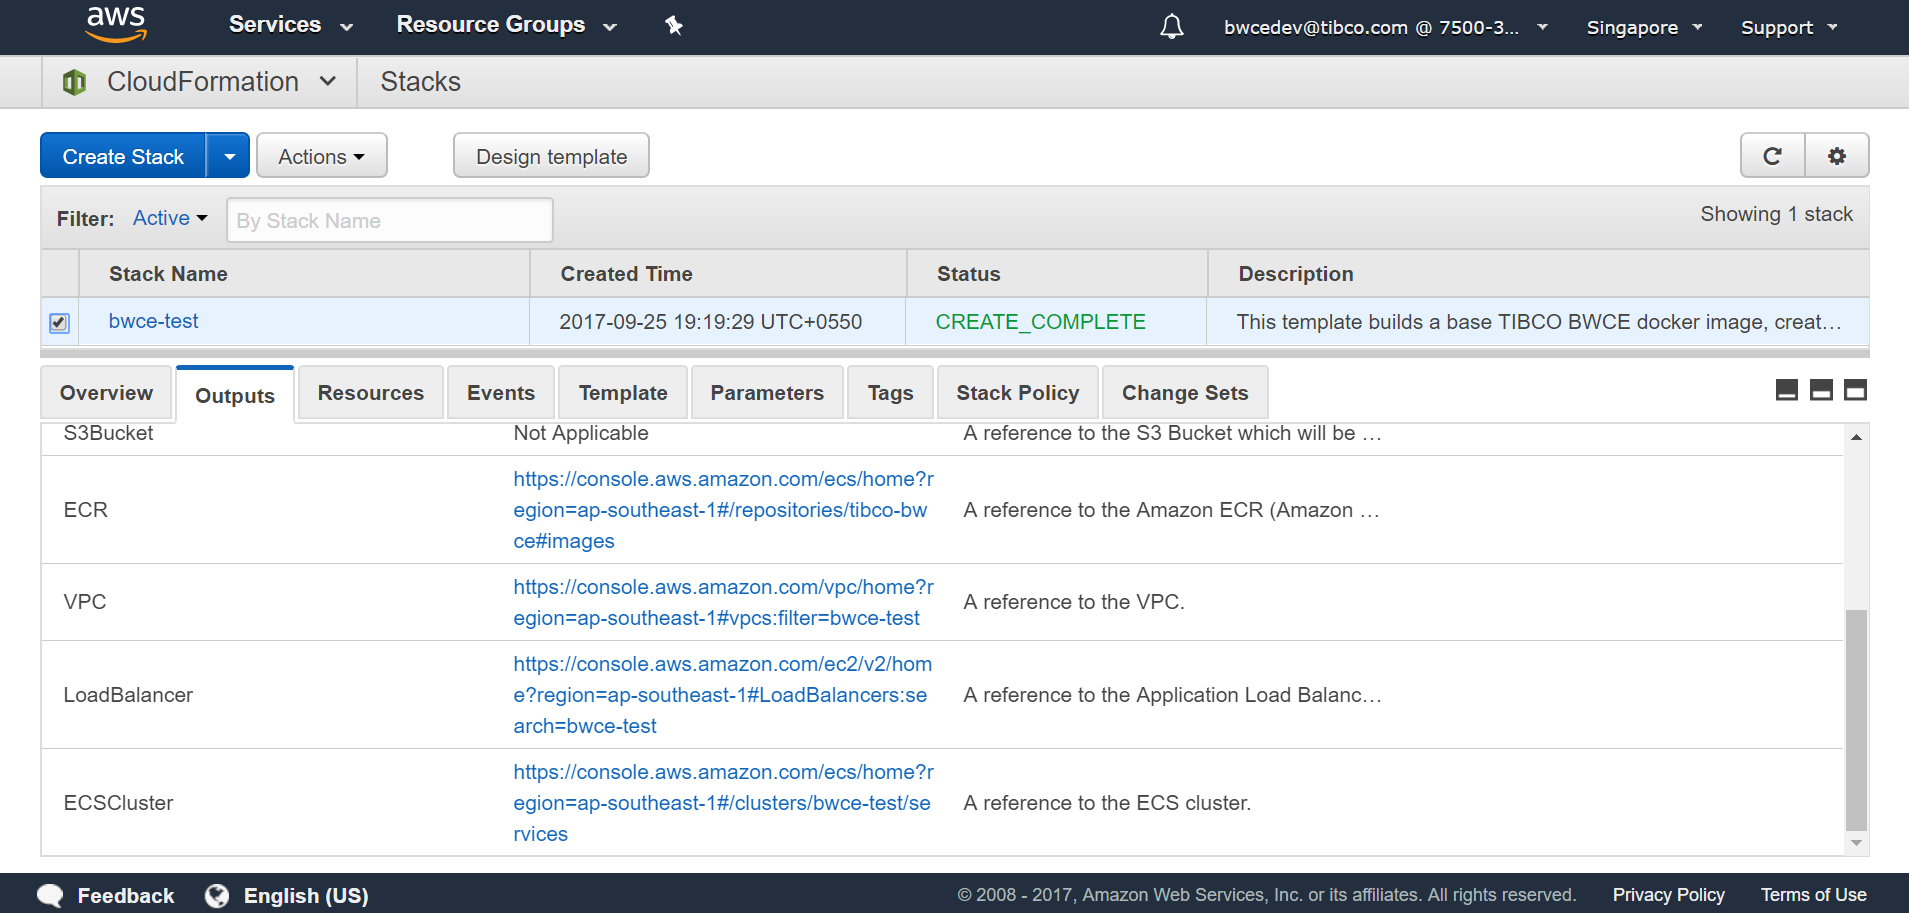
Result
You see your Stack Name listed in a table. While it is being created, the Status column is displays the status as
CREATE_IN_PROGRESS. After a few minutes the status should change to
CREATE_COMPLETE. After the Stack is in
CREAT_COMPLETE state, the
Outputs tab contains the URL for various AWS resources created as part of the Stack.
Copyright © Cloud Software Group, Inc. All rights reserved.