Creating Case Views
A case view wizard is provided to create case views.
Procedure
-
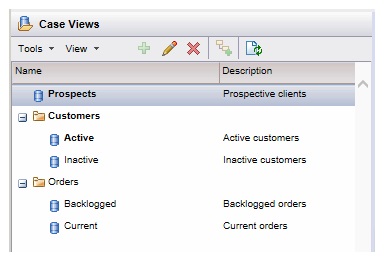
Display the case views list by clicking the
Case Views button in Workspace.
The way in which you proceed depends on whether you want to create an uncategorized or categorized case view:
- To create an uncategorized case view:
- Click anywhere in the white space of the Case Views list so that nothing is selected in the list.
- Click the
 button, or select
New from the
Tools menu
button, or select
New from the
Tools menu
- Proceed to Step 2.
- To create a case view in a category that already exists:
- Select the existing category.
- Click the
button, or select
New from the
Tools menu
- Proceed to Step 2.
- To create a case view in a category that does not yet exist:
- Create the category: either click anywhere in the white space (to create the category at the top level), or select an existing category (to create a subordinate category), then click the
 button.
- On the Add Category dialog, name the category, then click
OK.
The category name can be any arbitrary name desired; just like a folder name. However, all category names at the same level in the tree must be unique.
- Select the category you just created.
- Click the
button, or select
New from the
Tools menu.
- Proceed to Step 2.
- Create the category: either click anywhere in the white space (to create the category at the top level), or select an existing category (to create a subordinate category), then click the
- To create an uncategorized case view:
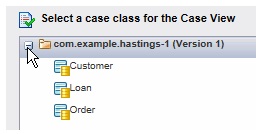
- In the Select a case class for the Case View section, expand the object model reference to expose the case classes:
-
Specify a filter for the case view so that only the cases that satisfy the filter are displayed.
Filtering the case view consists of the following sub-tasks:
-
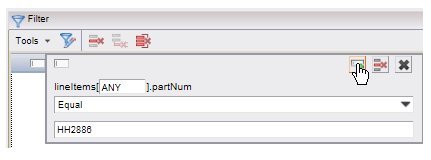
Specify a logical operator and value on which to filter.
The logical operators available depends on the data type of the attribute on which you are filtering. For example:
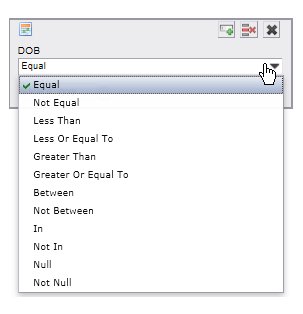
Most of the operators are the same as those available when filtering other types of views, as described in Filtering Lists. However, there are a few operators that are unique to filtering case views. For information about these, see Logical Operators for Filtering Case Views.
Also note that some attributes may be arrays. Filtering array values is described in Filtering Array Attributes in Case Views.
-
Specify a logical operator and value on which to filter.
- After choosing a logical operator and entering a value, you can add the filter attribute to the filter expression by clicking the Add button:
-
Optionally add additional attributes to the filter expression, then either click
Next to specify a sort for the
case view or click
Finish to view the results.
For information about specifying a sort, see Work Items.
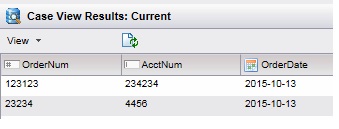
The list of cases that satisfy the filter expression is displayed in the upper-right pane. For example:
You can also optionally display the case references that represent the cases by selecting Show Case Reference from the View menu. This selection works as a toggle.
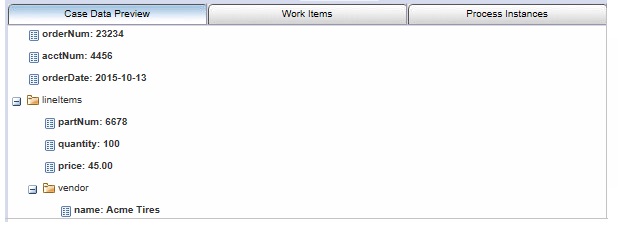
- Select one of the case entries to display details of the case in the lower-right pane. For example: