Defining the Primary Source Using an LDAP Group
Each LDAP container must contain a primary LDAP source. If you are using an LDAP group source in the LDAP container definition, a group DN is used to identify the directory entry that is the group. When a group DN is specified, a member attribute is also specified, which holds the collection of member identifiers (DNs). This provides the list of candidate resources.
Procedure
-
Open the Organization Browser (see
Access to the Organization Browser), then select
LDAP Containers.
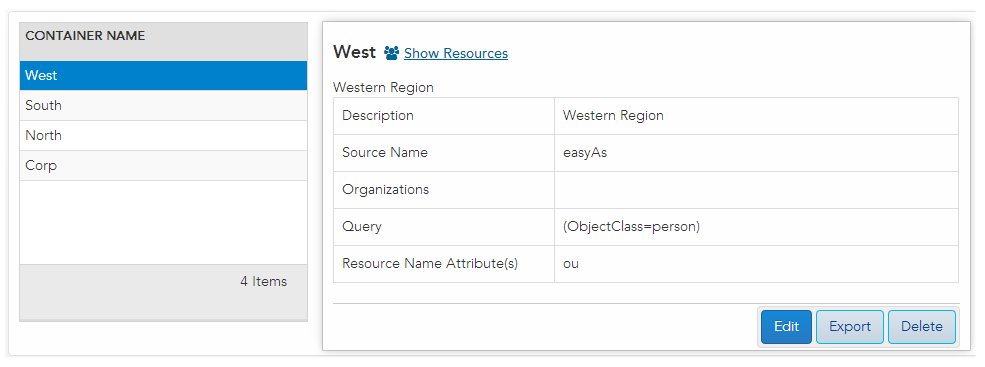
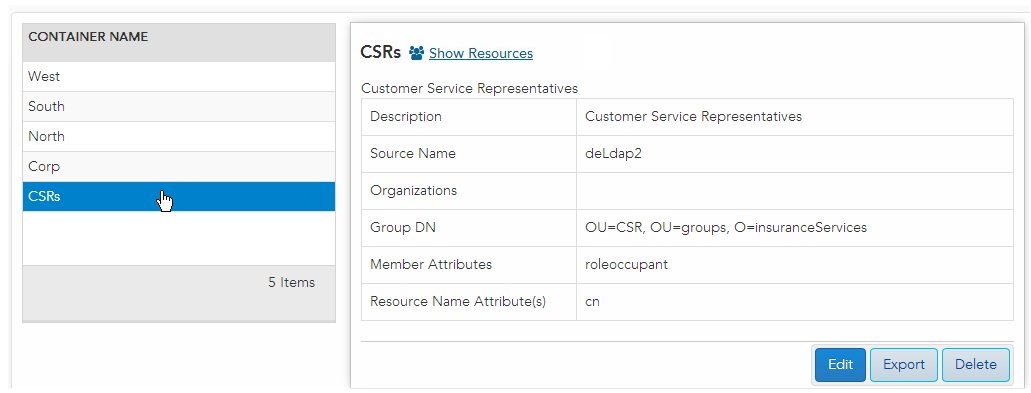
If any LDAP containers had previously been defined, they are shown in the left pane of the dialog, and the details of the selected container are shown in the right pane:
The first time you display the Organization Browser, there will not be any containers listed.
Note: After you’ve defined a container, you can edit it by selecting the container in the list, then clicking the Edit link in the lower-right part of the dialog. You can generally follow the same steps in this procedure to edit an existing LDAP container.However, if the existing LDAP container contains resources, the LDAP sources for that container are fixed; you cannot delete or change the primary or secondary LDAP sources, nor add additional secondary LDAP sources.
Also note that if an LDAP source defined in an LDAP container is currently offline, you cannot edit the container until the LDAP source is back online.
-
In the
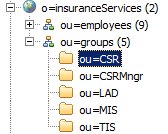
Group DN field, enter the LDAP directory that contains the group entries.
For example, if the LDAP directory shown in the following illustration identifies the group, the group-DN is "ou=CSR,ou=groups,o=insuranceServices":
You can either manually type in the group DN if you know it, or you can click the Fetch Group DN button, then click the arrow button to the right of the field and select one of the DNs listed. The Fetch Group DN button causes the Organization Browser to retrieve all of the group DNs whose objectClass matches the one specified in the Group DN Query field.
-
In the
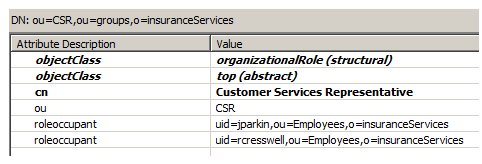
Member Attribute field, enter the attribute within the LDAP group entry that holds the collection of DNs that identifies the candidate resources.
For example, if the DN specified in the Group DN field contains the following attributes, where the roleoccupant attribute contains the DNs of the group members, you would specify "roleoccupant" as the member attribute:
You can either manually type in the member attribute name if you know it, or you can click the Fetch button to the left of the field, then click the select field to the right of the field and select one of the attributes listed. The Fetch button causes the Organization Browser to retrieve all of the attributes from the DN specified in the Group DN field.
-
In the
Resource Attribute(s)
field, enter one or more LDAP attributes by which you want the resources to be displayed in the list of candidate resources.
Note: You may need to click the Get Sample Values button (which is covered in Step 13) to see the names of the available attributes.
The resource attribute name is significant for a couple of reasons:
- These are the names by which the user must log into the BPM application.
- These are the names by which the resources will be listed when mapping resources to groups and/or positions in the organization model. That is, they must be names that the user doing the mapping can use to uniquely identify the resources. For example, you probably wouldn’t want to use only “sn” (surname), as that may not be unique among all of the resources.
The default resource attribute is “cn”, which typically contains a full name. But depending on the data in the LDAP source, there may be more suitable attributes for this use.
You can specify multiple attributes in the Resource Attribute(s) field. For instance, you could enter “givenname sn” to display the resource’s first name and last name (again, depending on what is stored in those attributes on the chosen LDAP source).
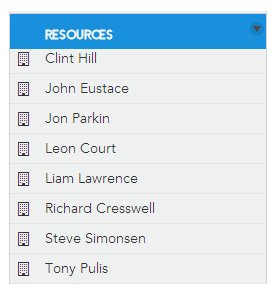
Once you save the LDAP Container you will be able to view the list of resources for the container. For the LDAP entities you see in that list that have not yet been “created”, the resource name will be constructed based on the Resource Attribute(s).
When a resource is created (either using the Create function or by mapping the user to a group or position), you are given the opportunity to edit the constructed resource name.
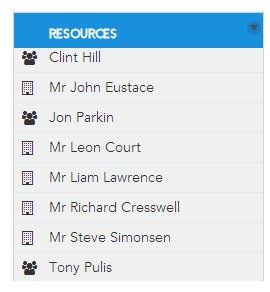
It is possible to change the Resource Attribute(s) setting for the container, but that will not affect the resource name of resources that have already been created. It will, however, change the name that is constructed for the remaining LDAP entries that have not yet been created. For instance, using the example shown above, if you change the value in Resource Attribute(s) field to “cn” (which contains "Mr" or "Mrs" with the resource's full name), the Resource Names now appear as shown below in the list of candidate resources.
Notice that the resources that had been previously created (those that have the
 ), are shown with the resource names they had when they were created; the resources that have not been created yet (those that have the
 icon), are shown with the new resource names.
- Select the new container to see its definition details in the right pane.