Updating Schema

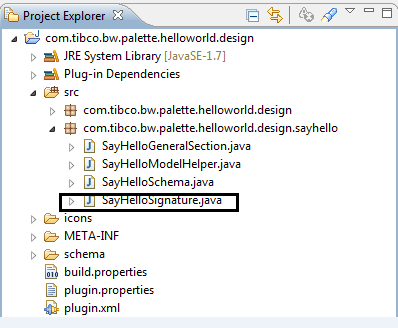
BusinessWorks Plug-in Development Kit provides you a [ActivityName]Signature class to update the input and output schema after generating codes of activities.

Depending on the way that you select to generate the input, output, and fault schema, you can choose different methods to update the activity schema:
  • If you use an XSD file or a WSDL file to define the input, output, and fault schema, you can update the XSD file or the WSDL file accordingly and regenerates the palette.
  • If you use the default input, output, and fault schema generated by BusinessWorks Plug-in Development Kit, you can use the [ActivityName]Signature class to update the schema accordingly.
  • If you use the XSD Editor to define the input, output, and fault schema, you can use the XSD Editor to update the schema accordingly.

The following example shows how to use the [ActivityName]Signature class to update the input of the SayHello activity to YourName and Email.

Procedure

  1. In the parent TIBCO Business Studio with the running platform, click the design-time bundle.
  2. Open the SayHelloSignature.java file that is located in the src folder.

  3. Find the public XSDElementDeclaration getInputType() method and enter YourName and Email as the input elements. Save your configurations.

    The following code example is generated when selecting Java Code from Resource schema type list:

    public XSDElementDeclaration getInputType(final Configuration config) {
        XSDElementDeclaration inputType = null;
        String namespace = createNamespace(new Object[] { TARGET_NS, config, "Input" });
        XSDSchema inputSchema = XSDUtility.createSchema(namespace);
        
        XSDModelGroup rootInput = XSDUtility.addComplexTypeElement(inputSchema, "ActivityInputType", "ActivityInputType", XSDCompositor.SEQUENCE_LITERAL);
        XSDUtility.addSimpleTypeElement(rootInput, "YourName", "string", 1, 1);
        XSDUtility.addSimpleTypeElement(rootInput, "Email", "string", 0, 1);
    
        inputSchema = compileSchema(inputSchema);
        inputType = inputSchema.resolveElementDeclaration(getInputTypeRootName());
        // begin-custom-code
        // end-custom-code
        return inputType;
    }
  4. From the menu, click Run > Run Configurations, and then double-click Eclipse Application in the left panel.
  5. Click Debug to launch a child TIBCO Business Studio.
    Another TIBCO Business Studio workbench is launched.

Result

In the child TIBCO Business Studio, check the input of the SayHello activity. The input elements, YourName and Email are displayed.