
Quick Start
This section gives a quick demo of scoring flow and pipeline authoring. It also shows how to schedule jobs.
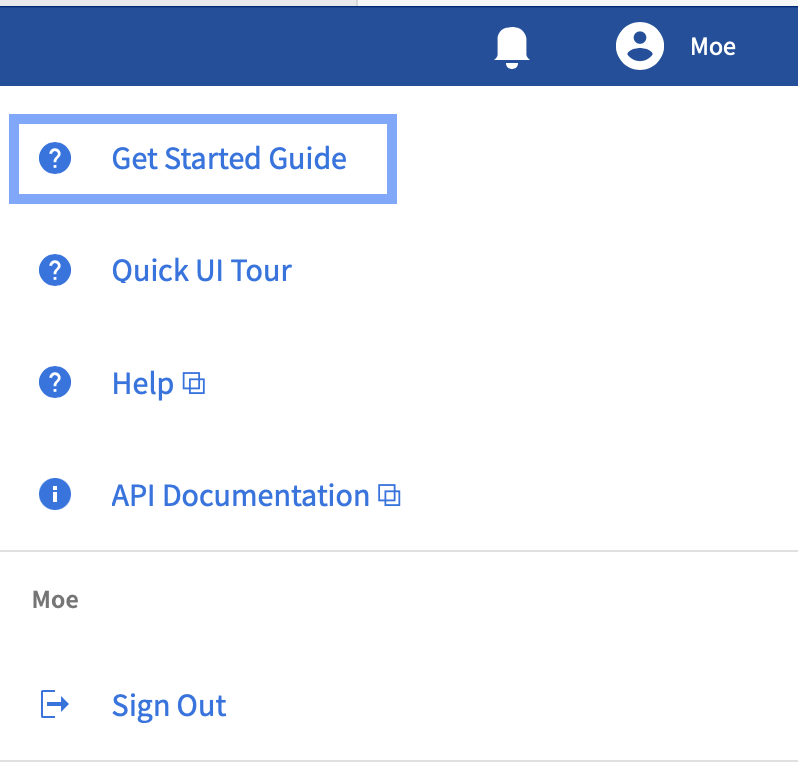
There is also a Get Started Guide available in the ModelOps UI to help get you going with ModelOps.
Contents
Signing in to ModelOps
-
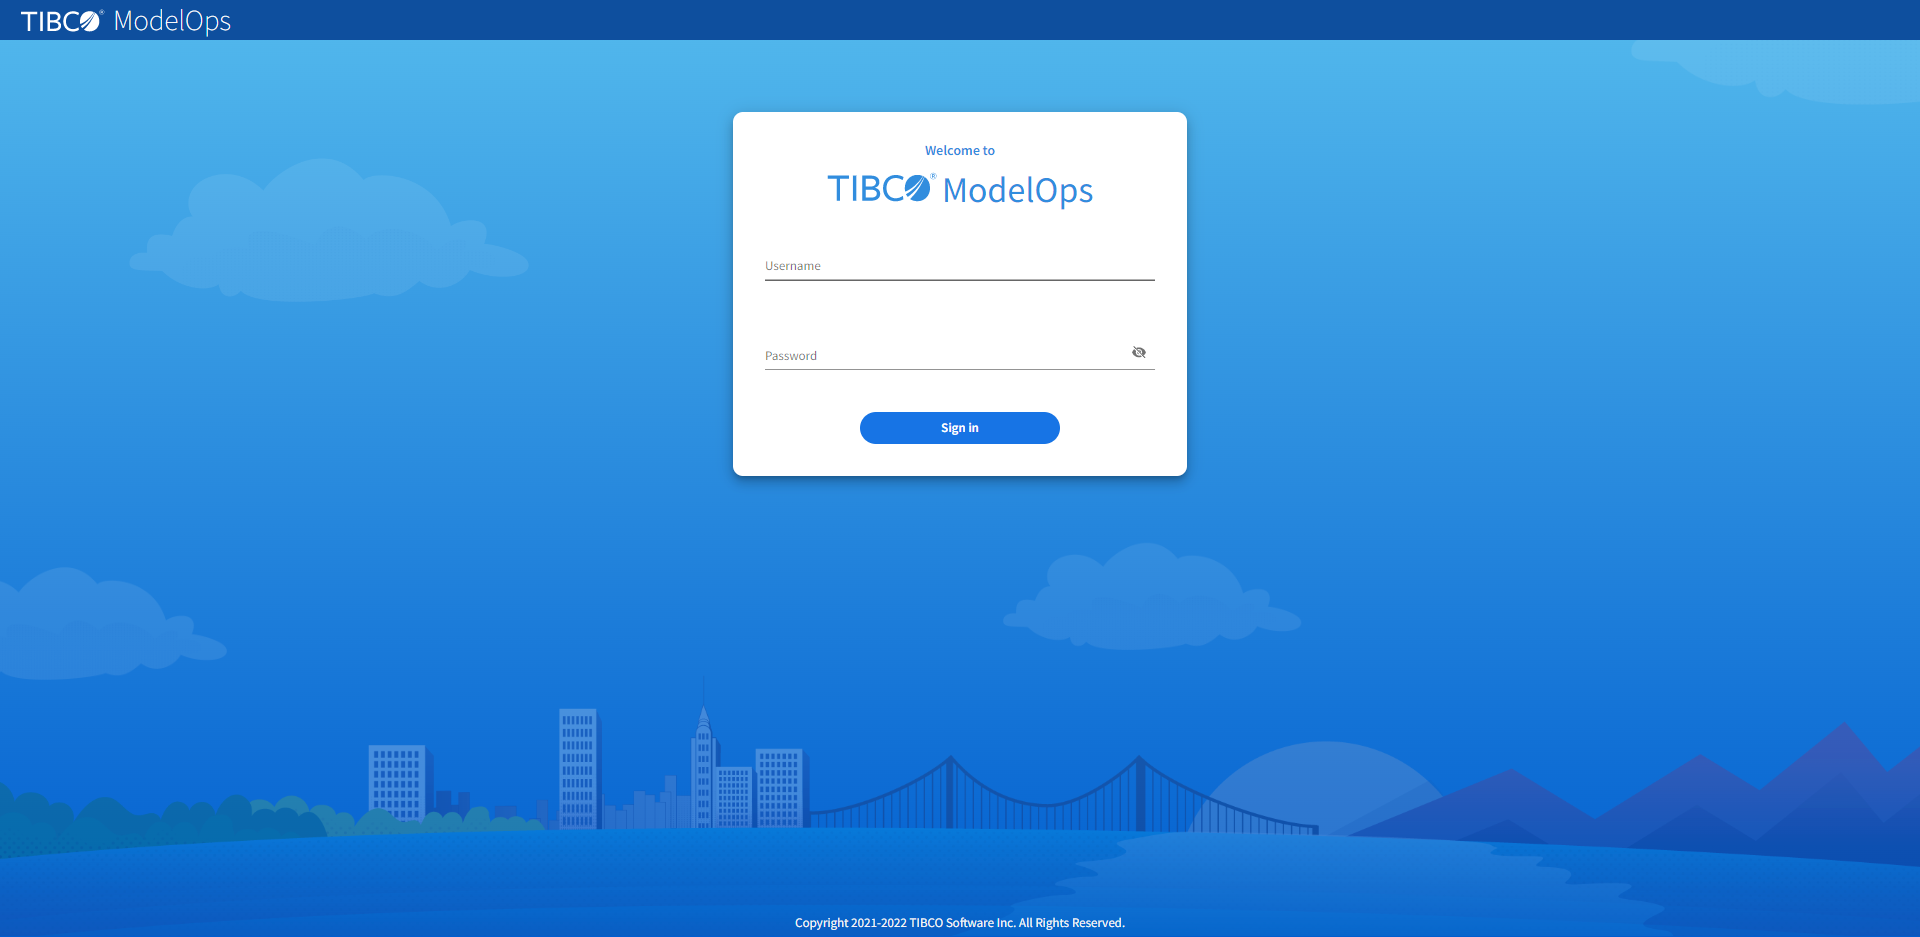
From a supported web browser, enter your TIBCO ModelOps user name and password (as configured by your TIBCO ModelOps administrator) in the welcome screen.
-
Click Sign In. Once signed in, the ModelOps UI offers different navigational views to get you started.
Creating a Project
- In the Project Explorer pane, next to the Projects section, click the plus sign (+) and select Create a New Project.
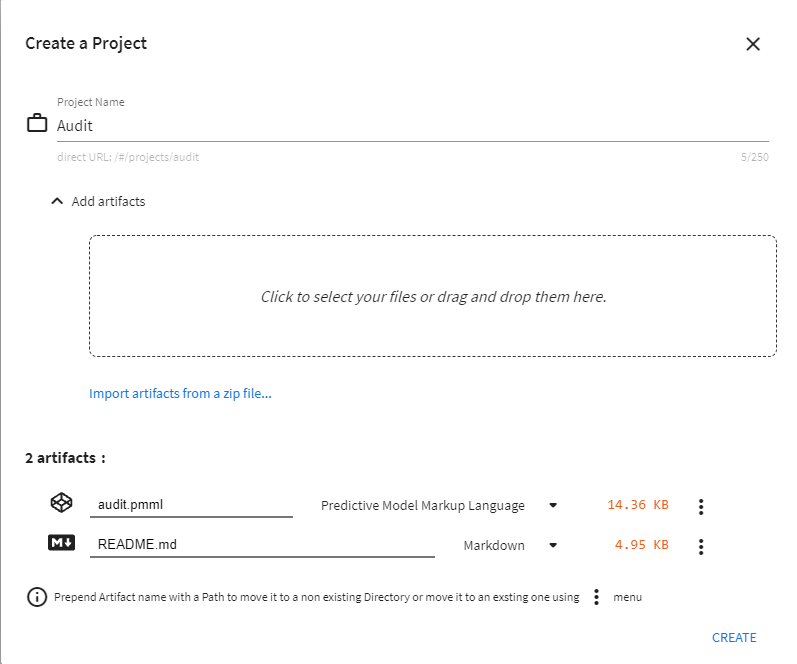
- Enter project name as Audit.
- Click Add artifacts and select the artifacts by navigating to the location they are stored.
-
After you import the file, click Create.
Creating Schemas for a Model
To bind schemas to a model, we need to create schemas first. An input schema defines the structure of the data expected by a model for scoring, and the output schema defines the structure of the data returned by a model after scoring.
- In the Projects section, under Audit project, click the three vertical dots for audit model.
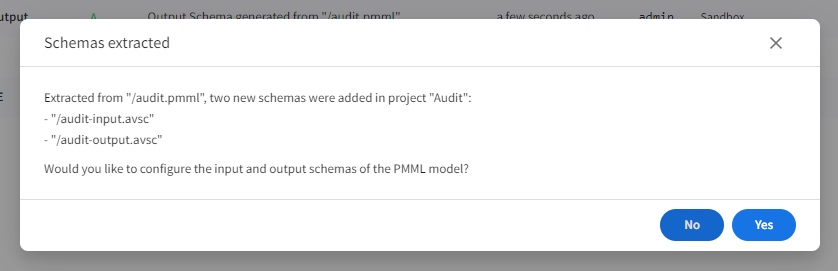
- Next, click Create schemas.
This creates input and output schemas needed to bind to the model. You can see these schemas in the Project Explorer pane, in the Projects section. You also get a confirmation pop-up about the schemas being extracted. The pop-up asks if you wish to configure input and ouput schemas. Click Yes to configure the schemas.
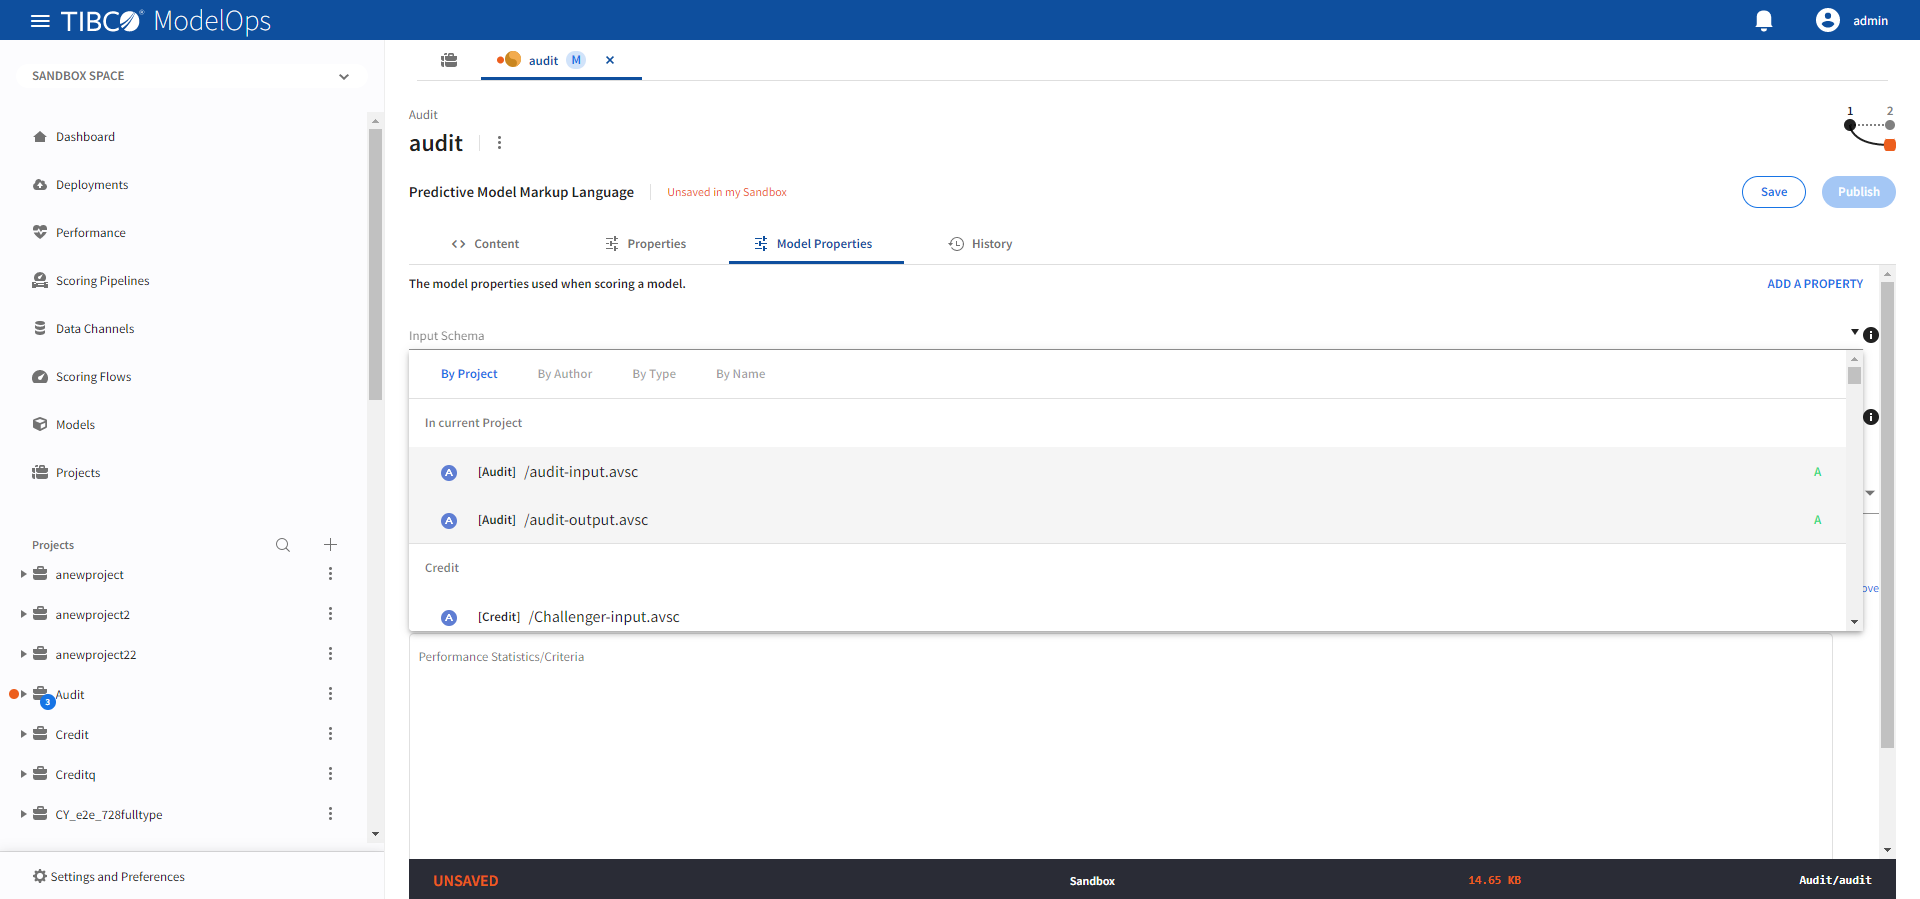
Binding Schemas to Model
Before creating a scoring flow, we first need to bind input and output schemas to the model.
-
In the Projects section, under Audit project, click the audit model.
-
Next, click Model Properties and select the input and output schemas from the drop-down list.
-
After done, click Save and Publish.
Creating a Scoring Flow
- In the Project Explorer pane, click Scoring Flows.
- Click Create a scoring flow to create a new scoring flow. You can also click Add one to add a new scoring flow if there are none present.
- Select the project name from the list.
- Add flow path and description.
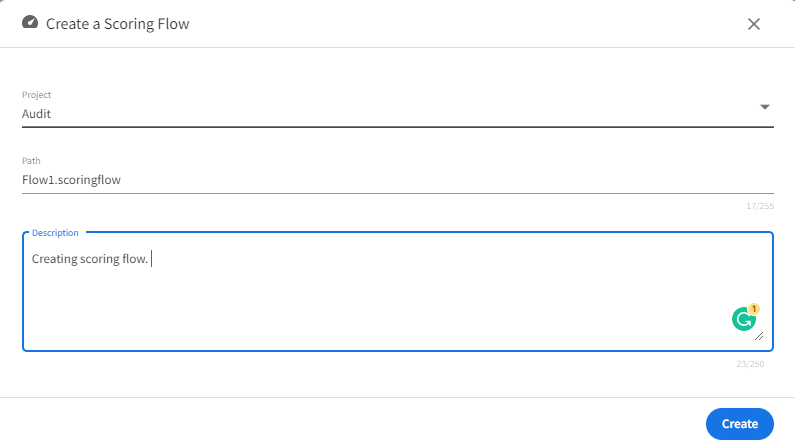
-
Click Create.
Authoring a Scoring Flow
- In the Project Explorer pane, click Scoring Flows.
- Select the scoring flow.
- Select Score scoring flow template by clicking the Load template flows option under Edit section.
- Configure the Input block.
- Click Input block to open the Input processing step’s configuration form.
- Click the drop-down menu on the Load Schema From > Model Schema > and select the schema that matches with the model
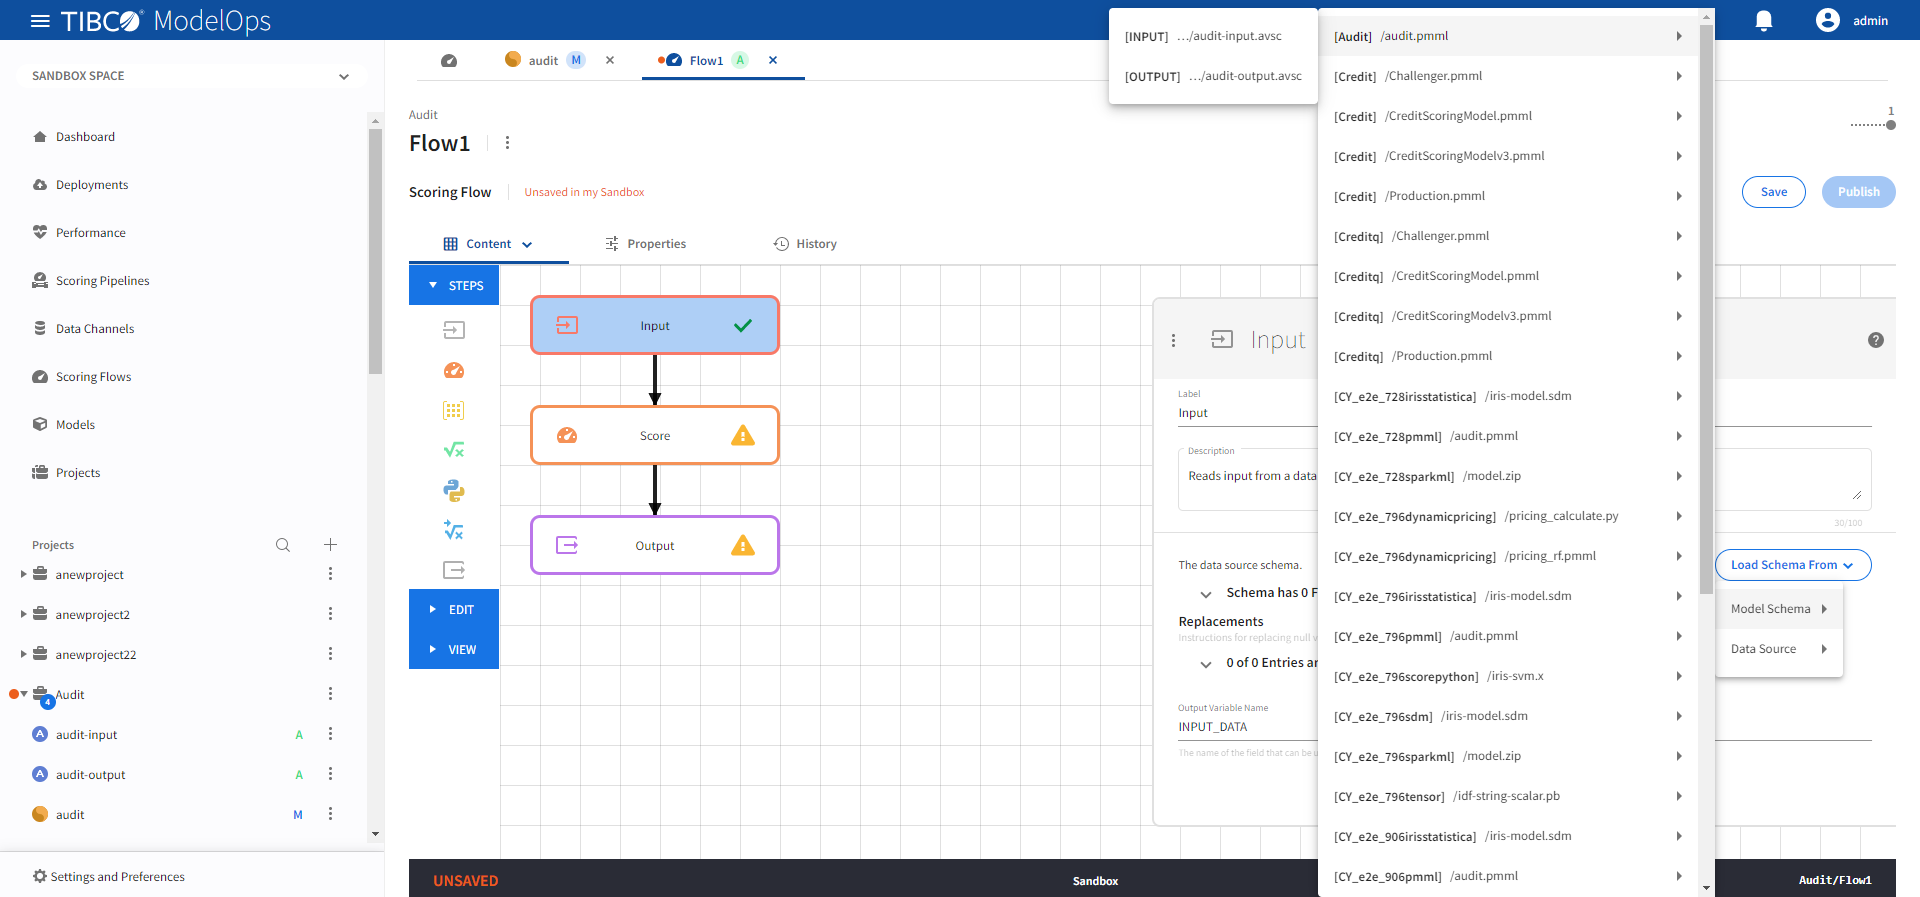
-
Doing this automatically populates the input data source schema fields.
- Click Save.
- Configure the Score block.
- Click Score block to open the Score processing step’s configuration form.
- Under the Model section, select audit.pmml model from the drop-down list.
- Under the Scoring Field Values section, click the Add Input Schema of Selected Model option.
- Next, from Populate unset values with entries list, select “INPUT_DATA” of step “Input”.
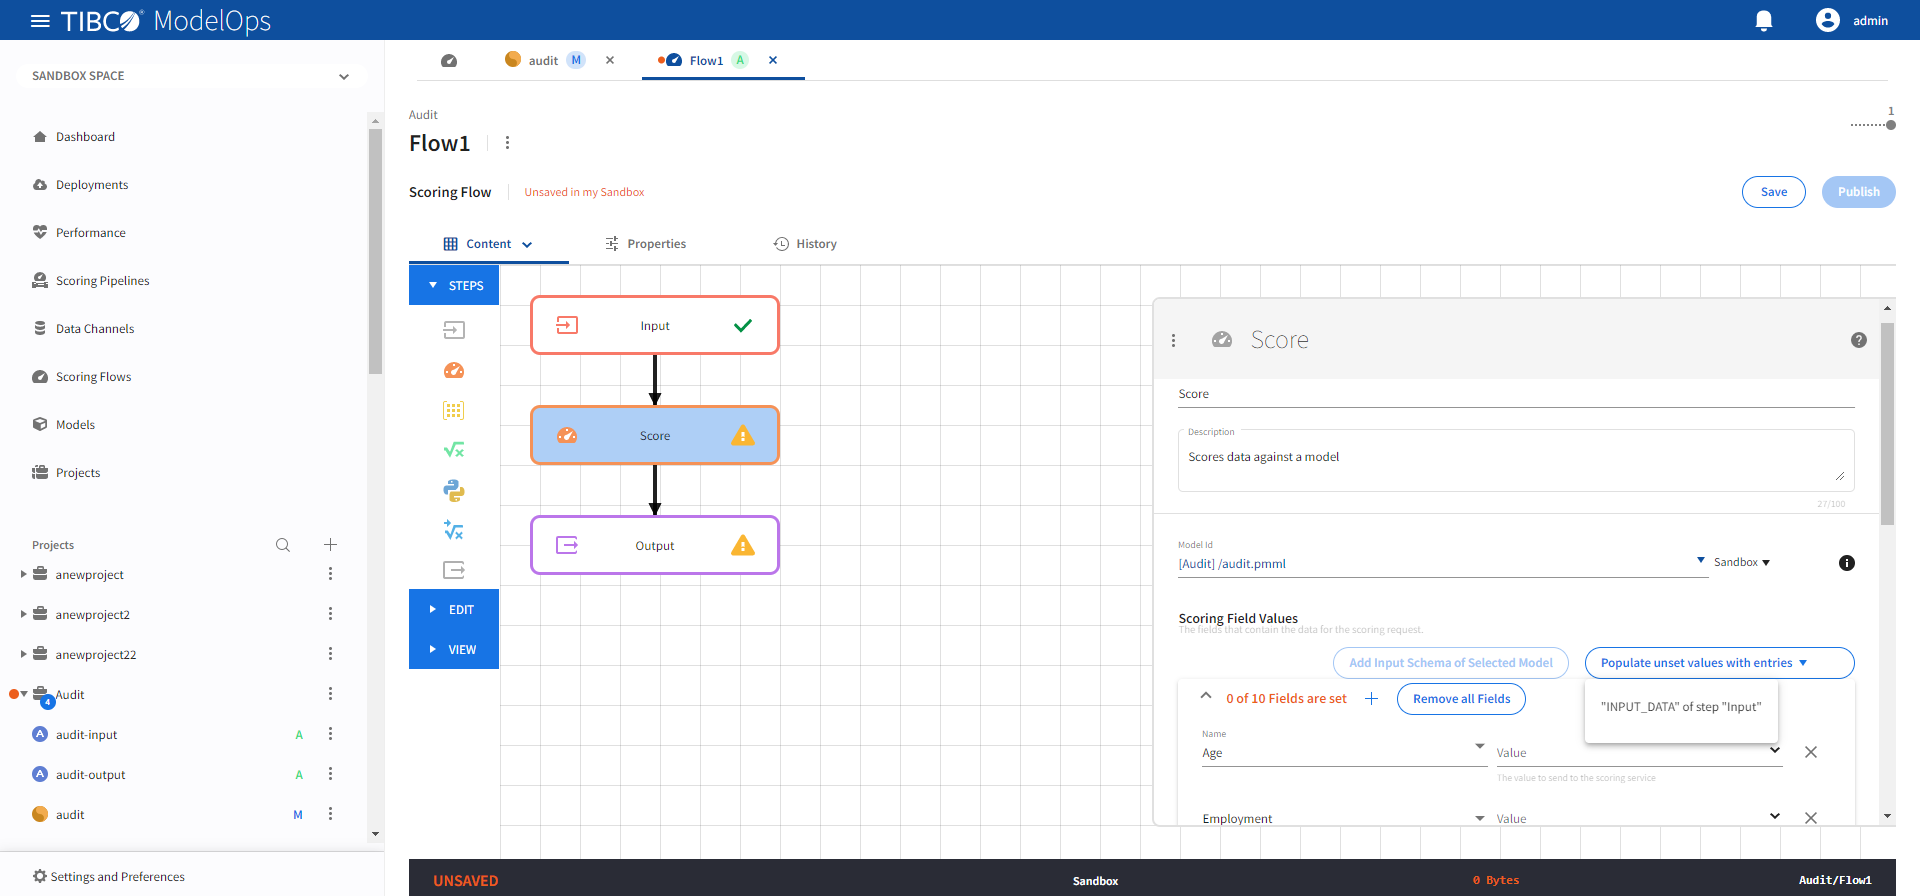
-
Doing so populates all the scoring request fields.
- Click Save.
- Configure the Output block.
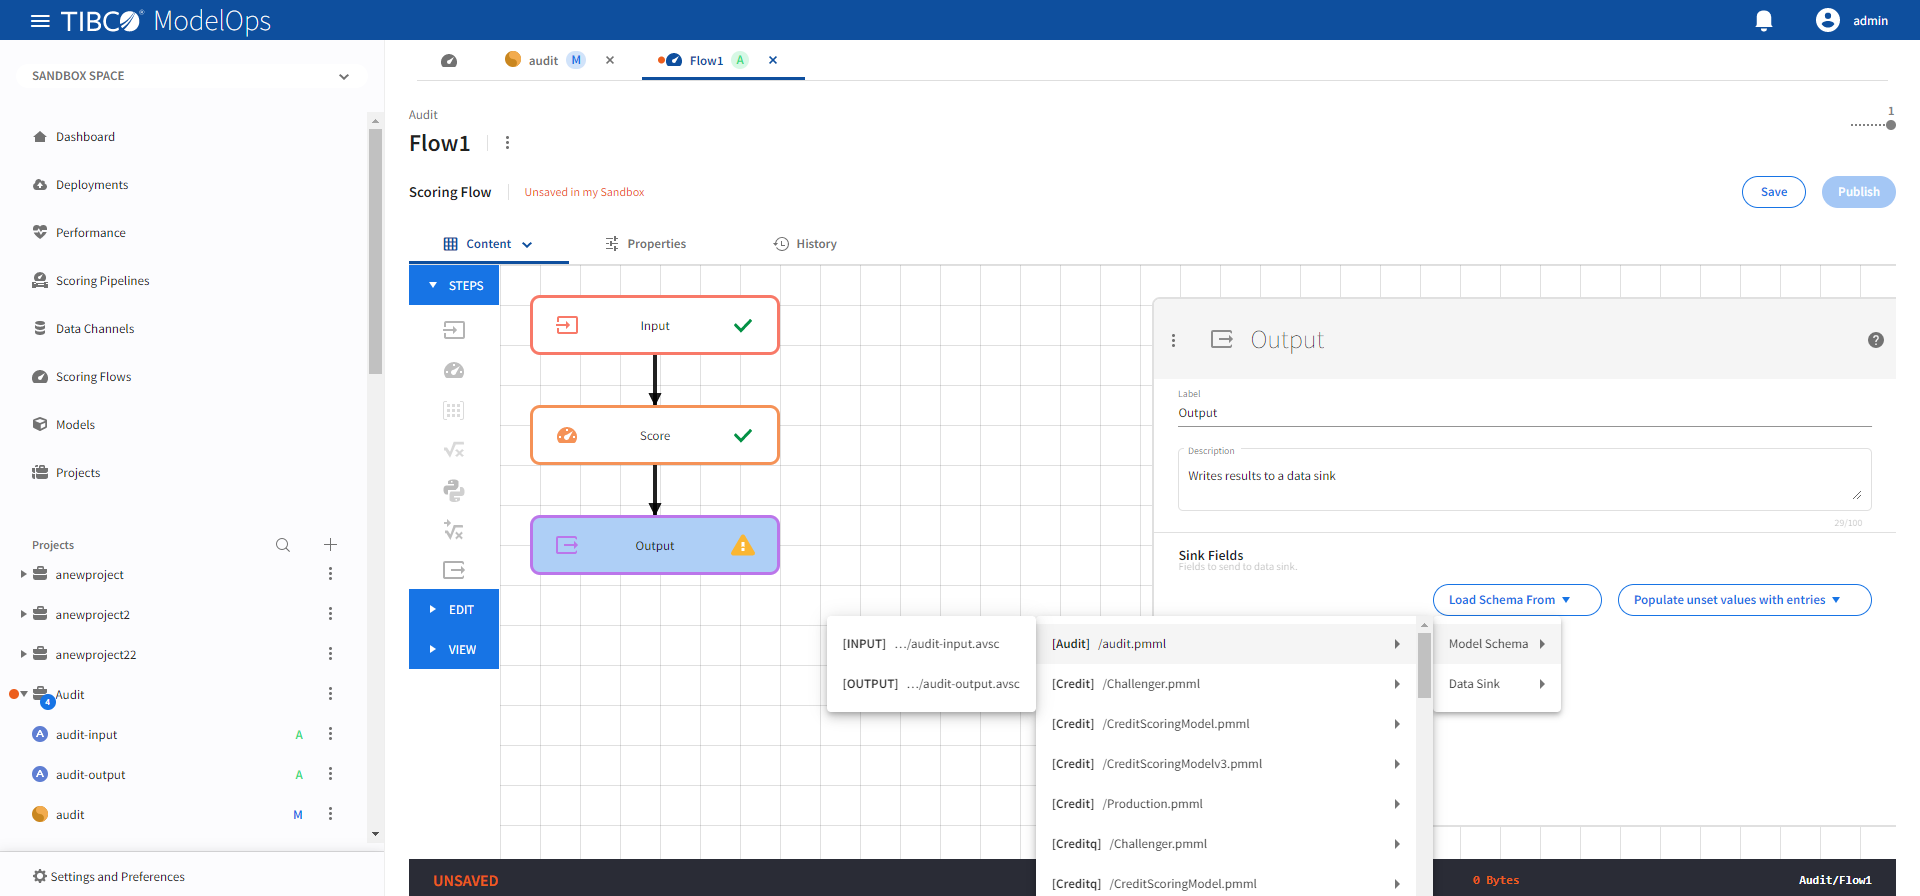
- Click Output block to open the Output processing step’s configuration form.
- Click the drop-down menu for the Load Schema from option
- Select Model Schema > audit.pmml > audit-output.avsc schema.
-
Next, from Populate unset values with entries list, select the input from the Score step.
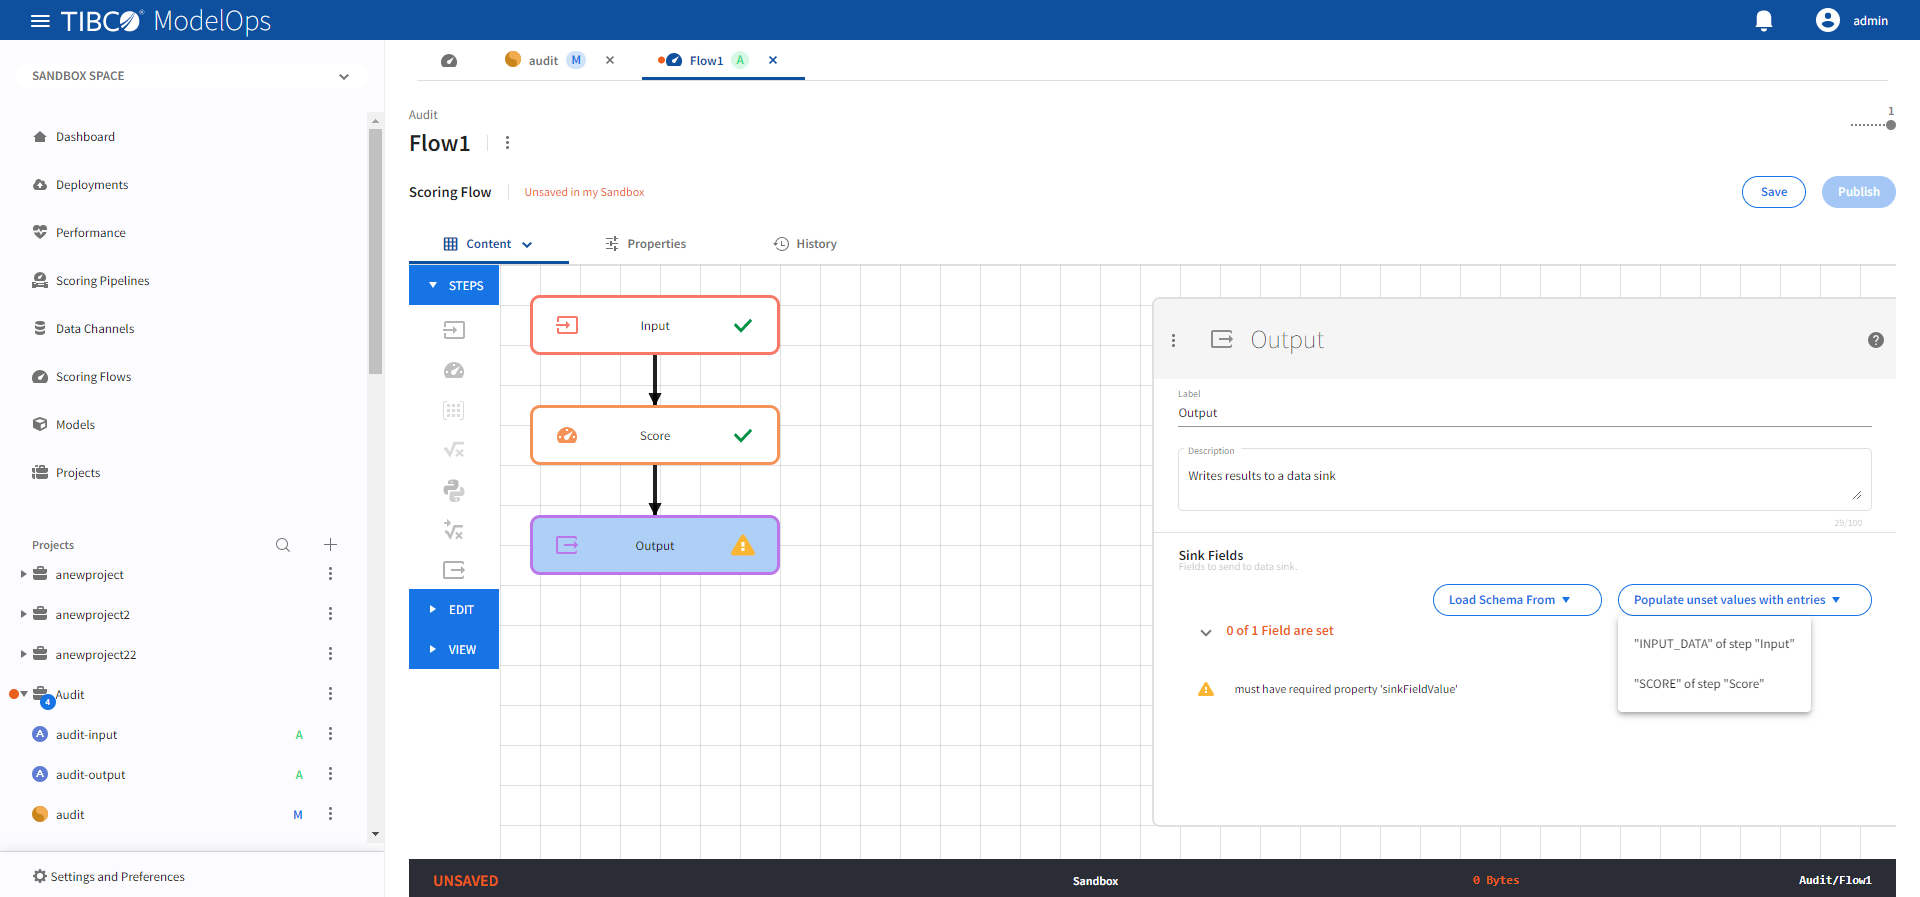
-
Click Save.
- Click Publish on the main screen. Select the scoring flow to be published and add a relevant message. Click Publish.
Creating a Scoring Pipeline
- In the Project Explorer pane, click Scoring Pipelines.
- Click Create a scoring pipeline to create a new scoring pipeline. You can also click Add one to add a new scoring pipeline if there are none present.
- If ModelOps contains only one project, the project name will be selected automatically. Else, you can select the project name from the list.
- Add pipeline name and description.
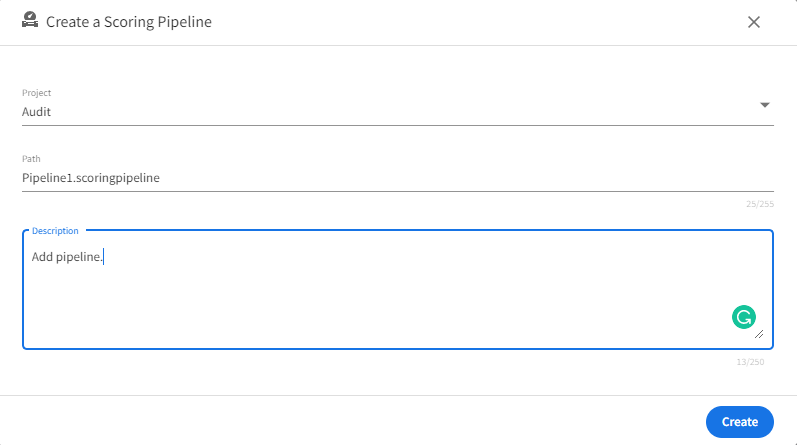
-
Click Create.
Authoring a Scoring Pipeline
- In the Project Explorer pane, click Scoring Pipelines.
- Select the scoring pipeline.
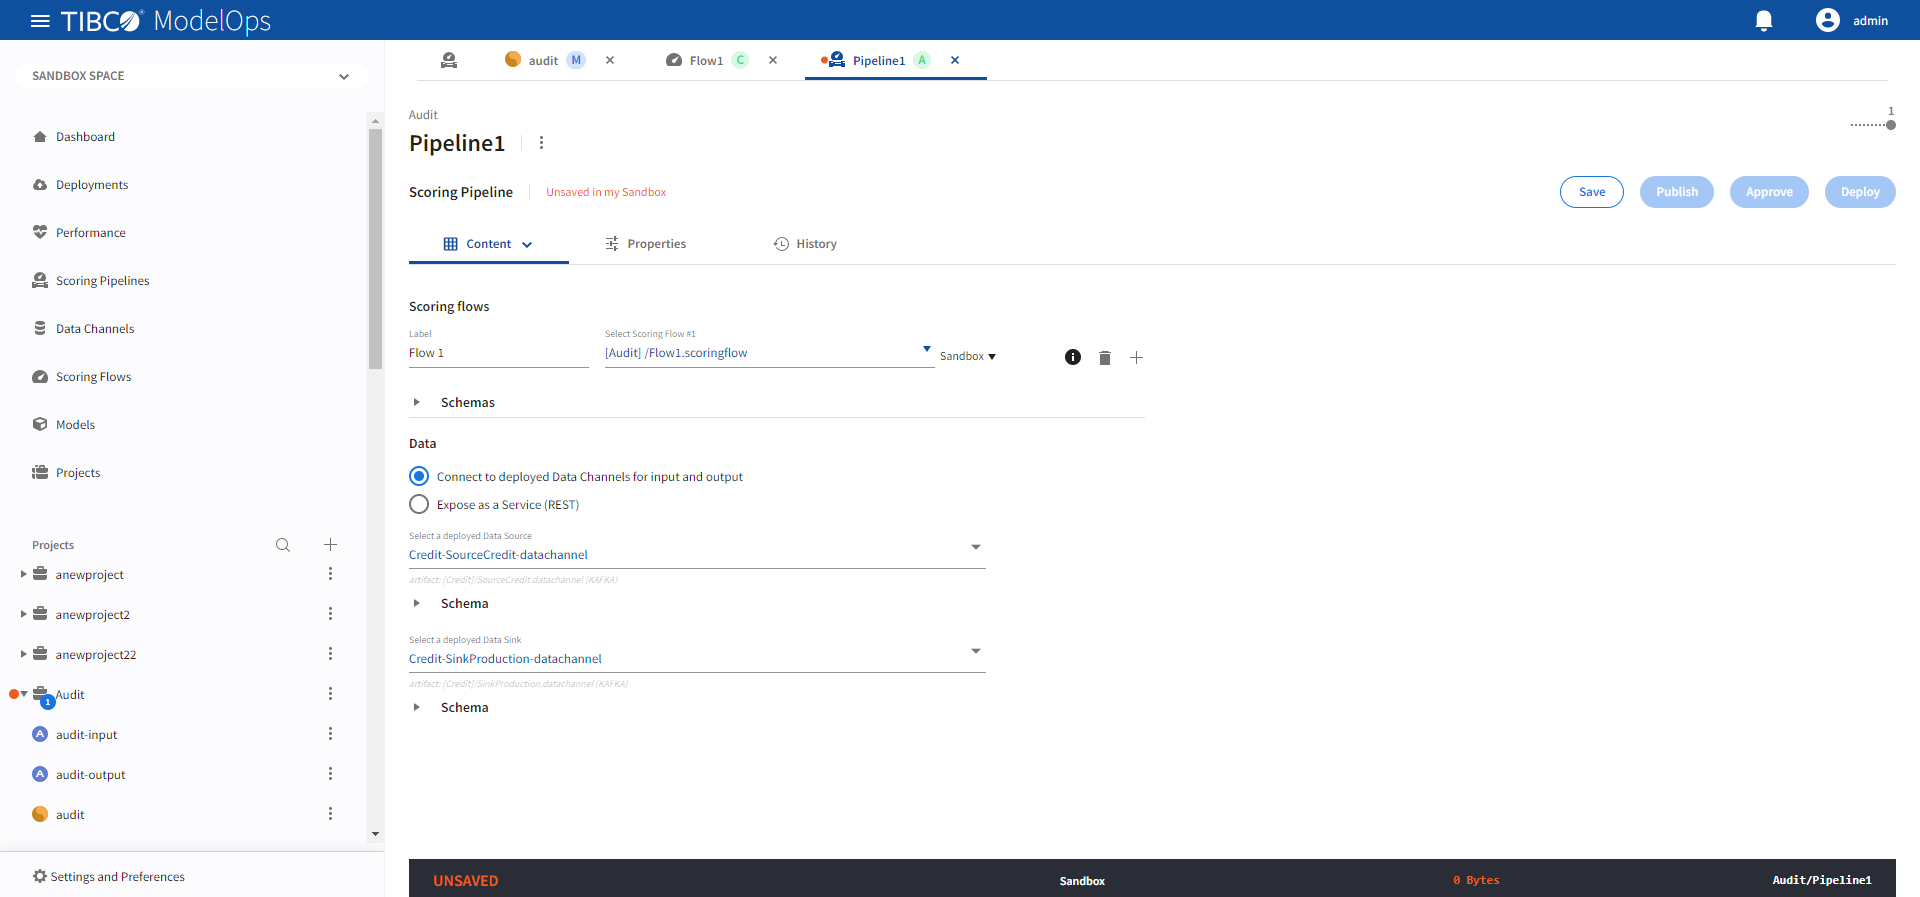
- Click Add one under the Scoring Flows section. Select the scoring flow from the drop down list.
- If you are using Data Source and Data Sink as input and output, select the Connect to deployed Data Channels for input and output.
- Add Data Source and Data Sink from the drop down list under the Data Channels section.
- A data source is used to supply data to a flow to process it. A data sink is a place where the data processed by the flow is sent.
-
If you want to use REST Request-Respone, select the Expose via Service (REST).
- Add endpoint path prefix, login session timeout time, unique identifier, and subdomains name under their respective field.
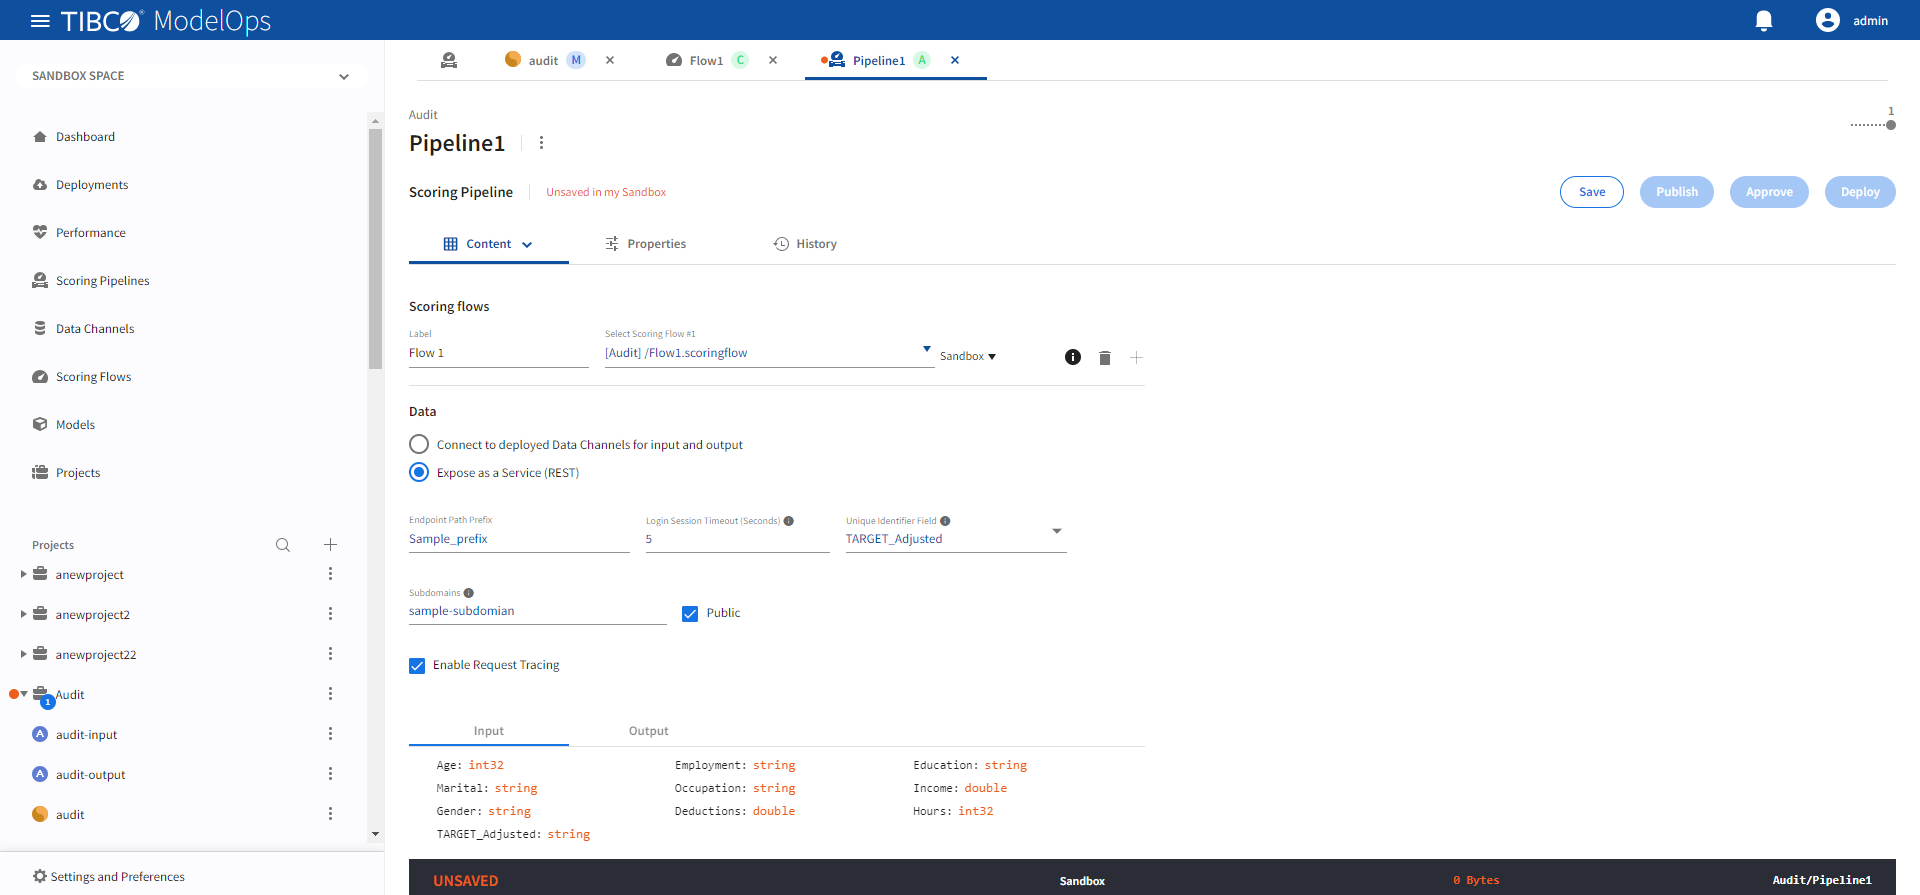
-
Click Save on the main screen.
- Next, click Publish on the main screen. Select the scoring pipeline to be published and add a relevant message. Click Publish.
Approving a Scoring Pipeline to Environment
- In the Project Explorer pane, click Scoring Pipelines.
- Select the pipeline that needs to be promoted.
- Click Approve present in the right panel.
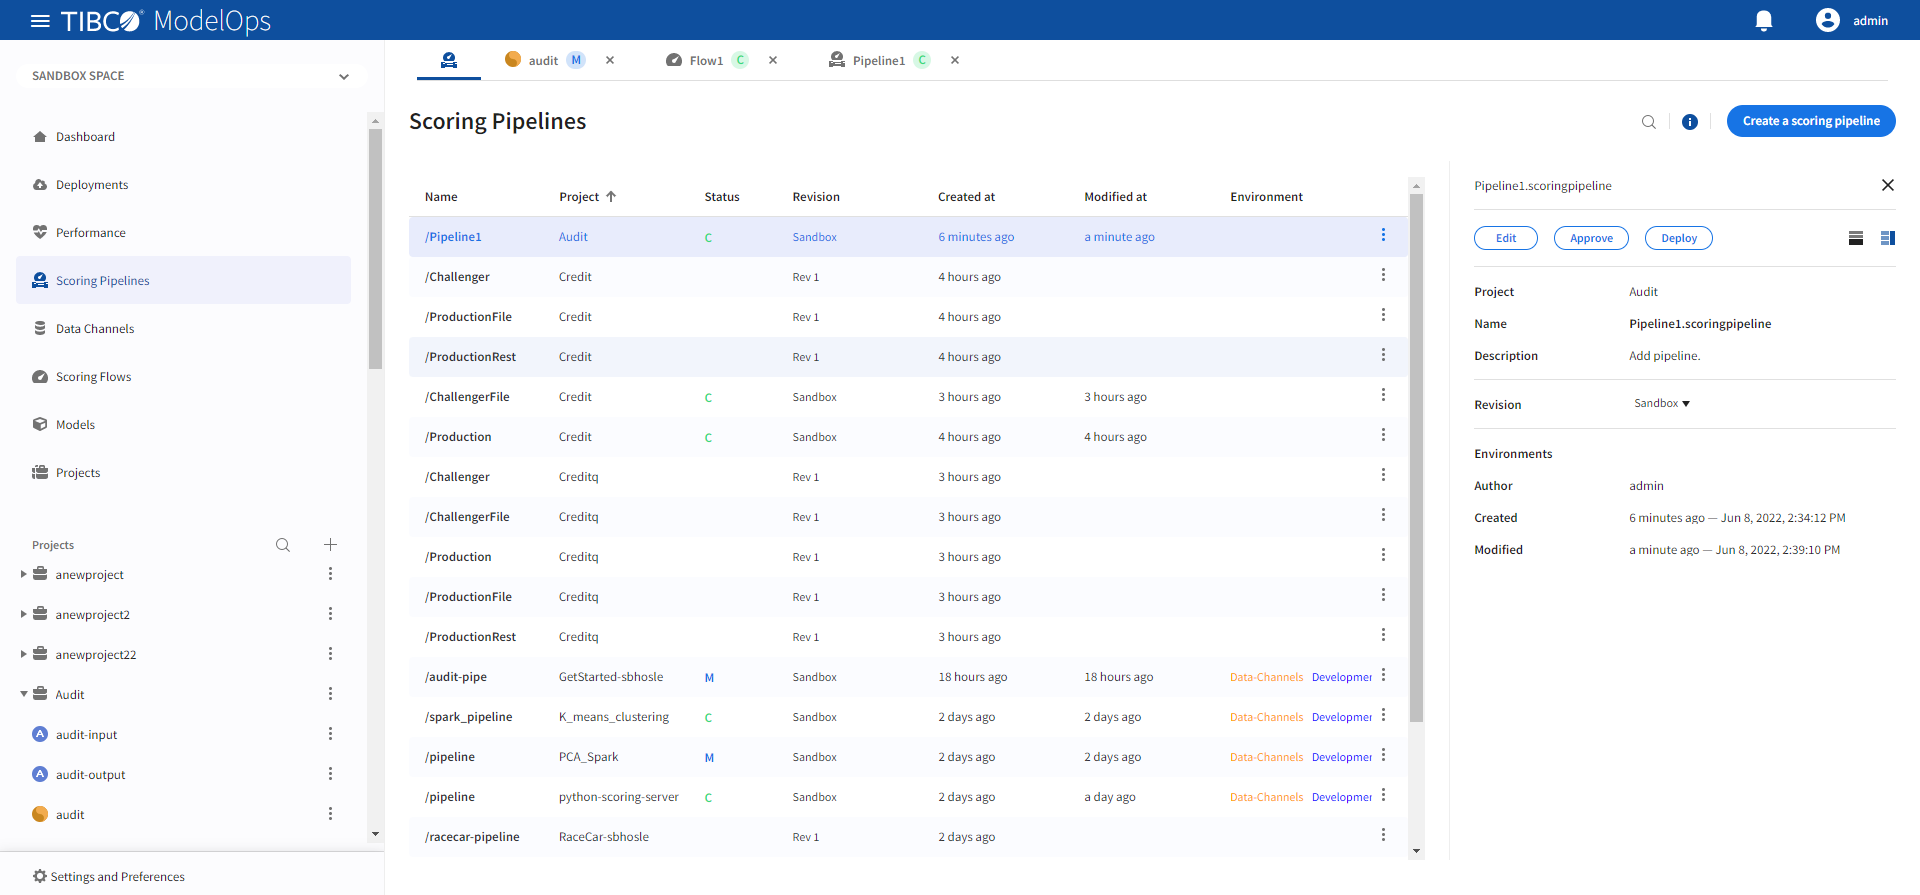
-
Turn on the toggle for Development environment and close the pop-up window.

Deploying a Scoring Pipeline
- In the Project Explorer pane, click Deployments.
- Click Deploy new and select Scoring Pipeline from the drop-down list.
- Add name and description in the respective field.
- Select scoring pipeline from the drop down list.
- Select a scoring environment from the drop-down list.
- Select when you need to schedule the job from the given options (Immediate, Future, or Periodic).
- Select the duration for which you need to run the job. You can run the job forever or add the duration as per your needs.
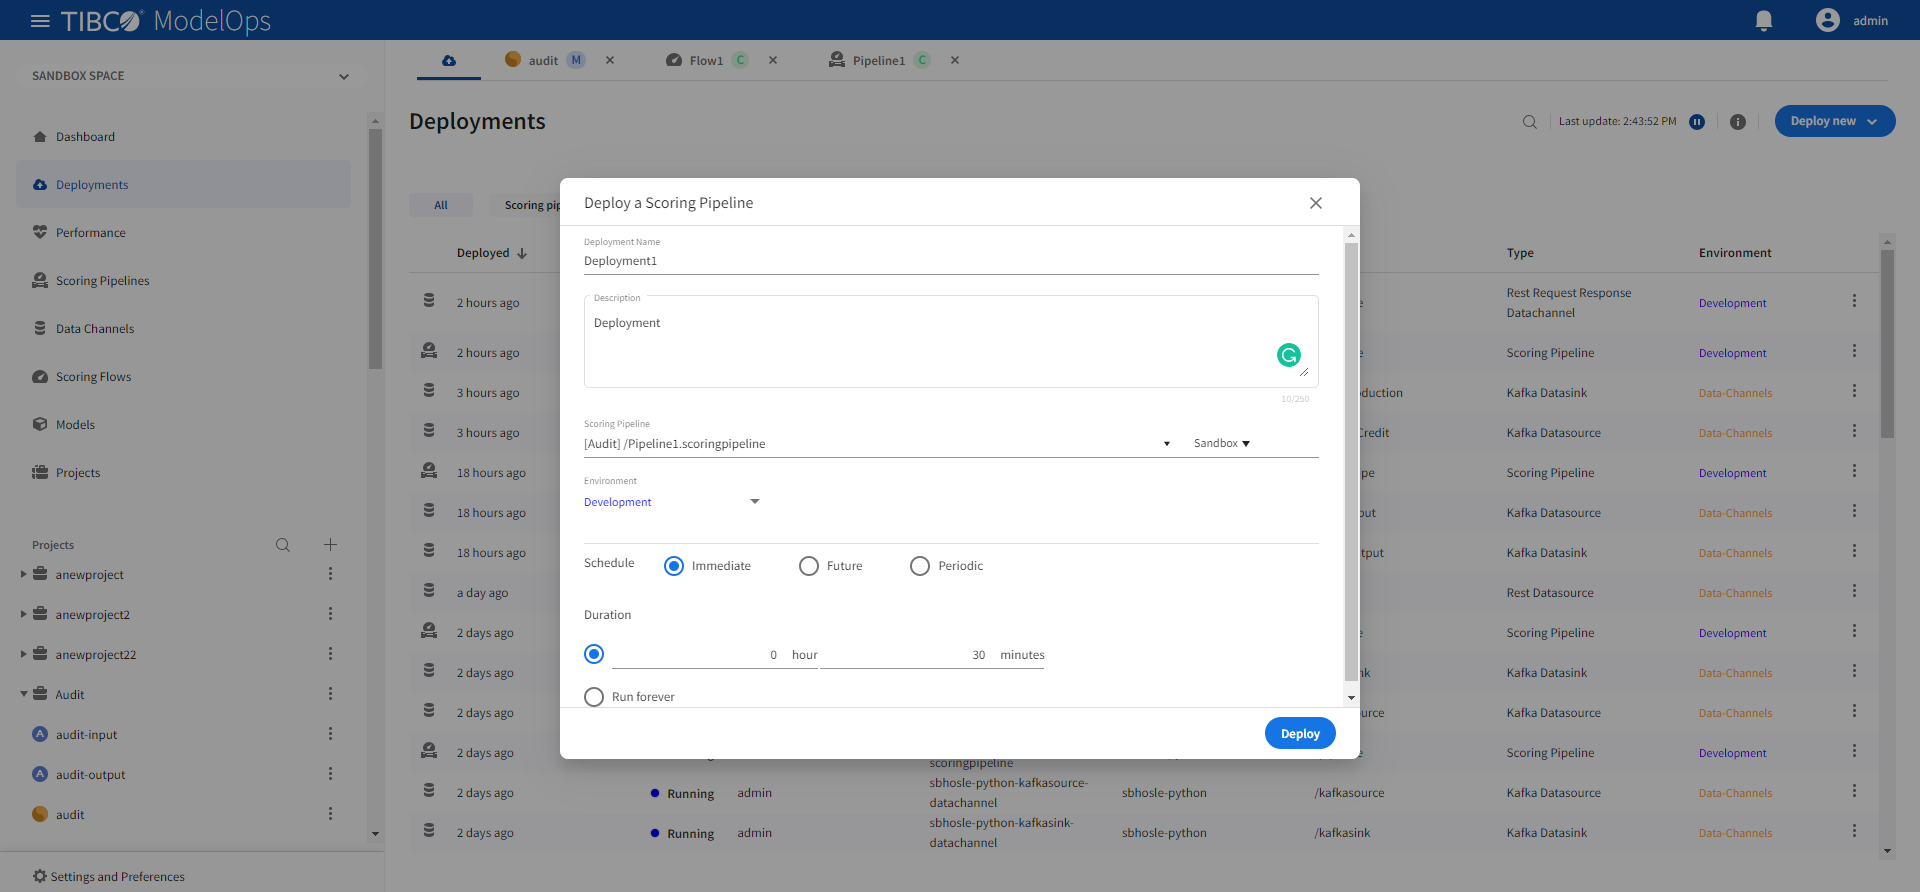
-
Click Deploy. You can see the deployed pipeline in the list on the main screen.
