Working with Streaming Decision Table
This page explains how to work with decision table artifact.
Contents
Overview
After you create a decision table artifact, you can build rules for the artifact.
ModelOps offers the following rule building options:
- Adding action and action columns directly from the UI
- Using the Edit Schema button to manage the artifact’s rules
- Using the Undo and Redo button to undo and reapply most recent changes
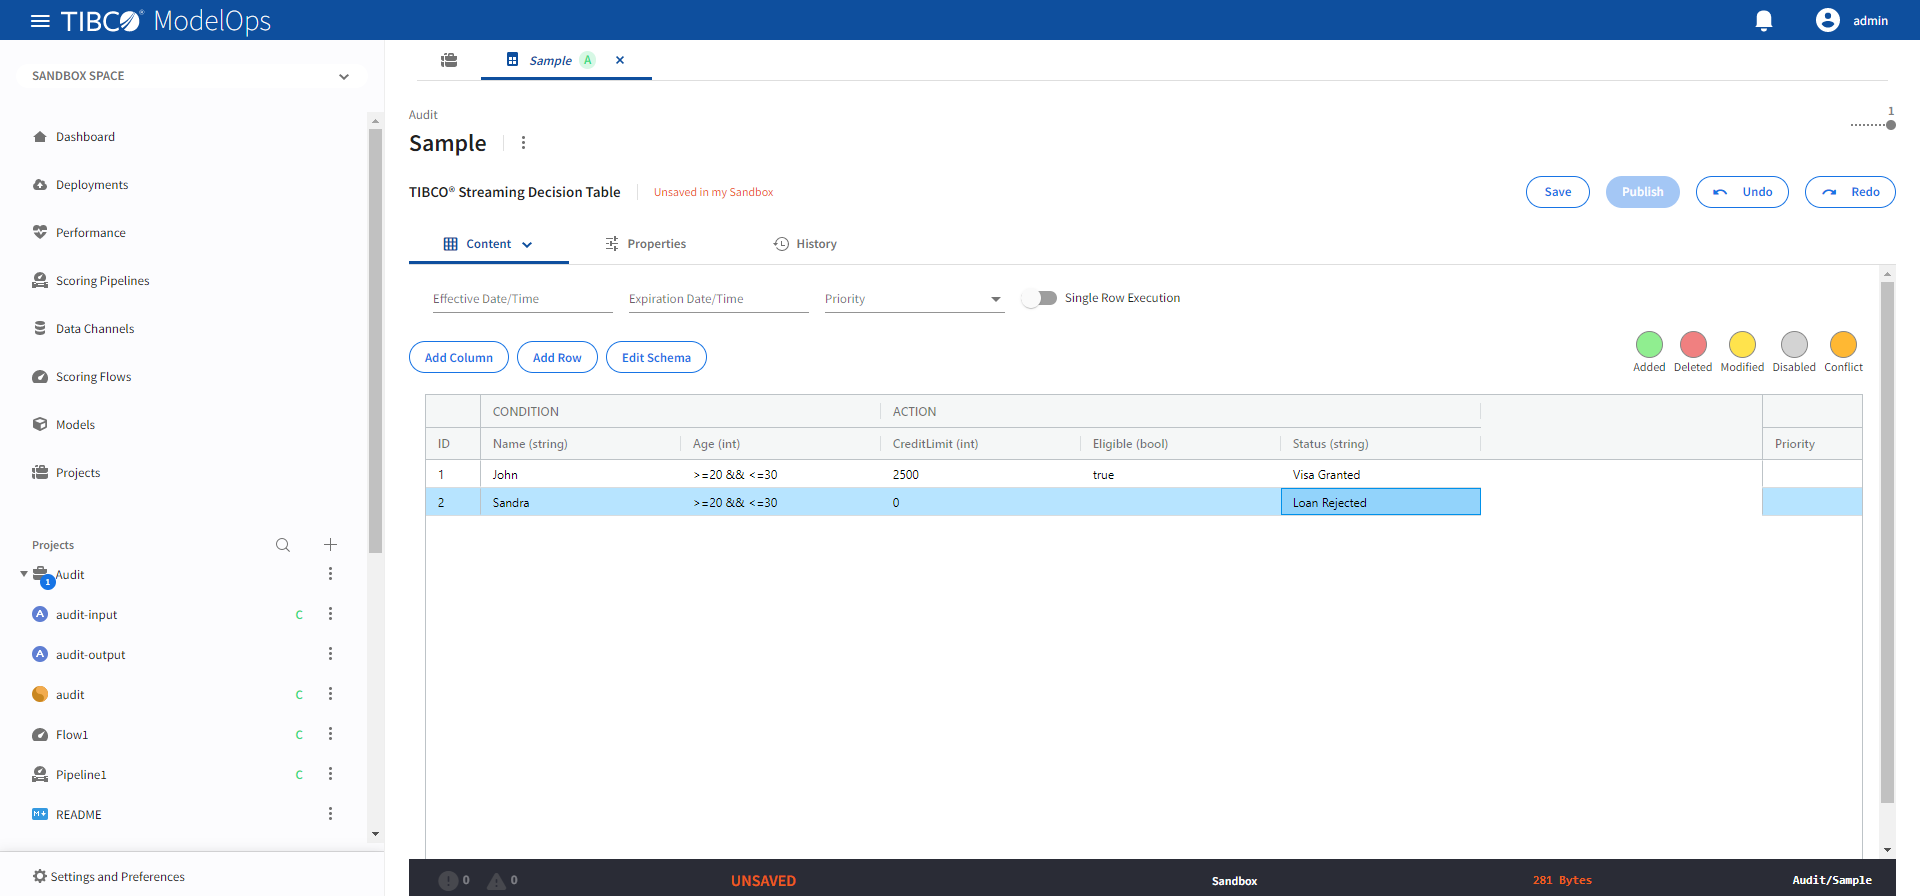
Building Rules
TIBCO ModelOps provides following options for rule building decision table:
- Click Add Column, one column for each condition or action you want to build into your business rules.
- Enter a column name.
- Select a column type from the drop-down list:
- Condition
- Action
- Streaming Condition
- Streaming Action
- Select a property type:
- string
- int
- list
- long
- double
- bool
- timestamp
- Click Add Row, once for each business rule that you want to build.
- Enter your rule information into each cell as required, depending on the column’s data type.
- If using the boolean data type, double-click in the cell to choose true or false.
- Optionally, set the rule priority (the order in which rules fire) by double-clicking in the Priority cell and selecting a priority level from the drop-down list (1 highest, 10 lowest. Default: blank.)
- Enter date and time for when the artifact becomes effective in the Effective Date/Time field.
- Enter date and time for when the artifact expires in the Expiration Date/Time field.
- Select the artifact priority from the Priority drop-down list (1 highest, 10 lowest. Default: 1.)
- Enable single row rule execution as needed by toggling the Single Row Execution option.
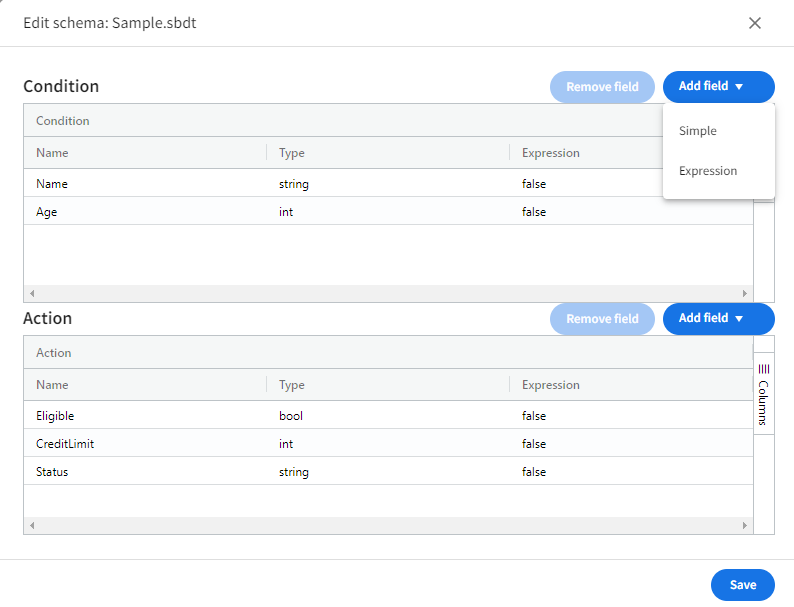
Managing Rules Using the Schema Editor
- Click Edit Schema option on the main screen.
- Clicking Add field will add a new condition or action column, depending on which side you click the button in the schema editor.
- Choose Simple or Expression from the drop-down list.
- Once you are done making changes in the schema editor, click Save.