Adding Adapter Services

To describe how an adapter configuration works with the SAP system, add adapter services to the adapter configuration.

When adding an adapter service, you have to select a business object schema to use in the service. You can use the Browsing Schema function to download the schema or select a schema from the remote repository. For how to fetch a schema, see Working with Schemas.

Prerequisites

Ensure that you have created and configured an adapter configuration in the project as described in Creating and Configuring an Adapter Configuration.

Procedure

  1. Choose one of the following ways to open the Create Service wizard:
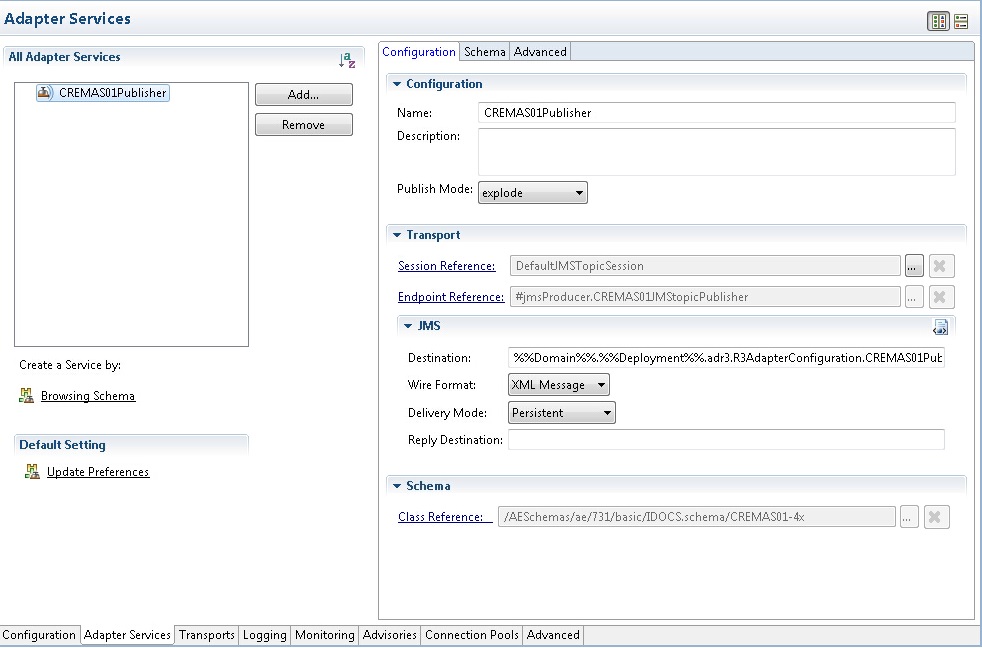
    • In the Adapter for SAP Configuration editor, click the Adapter Services tab, and then click Add in the All Adapter Services panel.
    • In the Project Explorer view, expand Project_Name > AdapterConfiguration_Name > Adapter Services, right-click Adapter Services, and then click New Service.
    The fields in the Create Service wizard are inherited from the Preference window, you can maintain them in the Preference dialog as described in the Default Setting.
  2. In the Adapter Service General Configuration dialog, select a service type from the Service Type list. Click Next.
  3. In the Schema dialog, click to select a schema. The SAP Business Object Schema Picker dialog is displayed.
  4. If no required schema is in the local workspace, select it in the Local Business Object tab and click OK.
    In an adapter configuration, the combination of an adapter service and a schema is unique. For example, if you have added a Publication adapter service configured with the MATMA05 schema, you cannot have this same combination in the same adapter configuration.
    Note: If a schema that has been downloaded to the local workspace is changed in the SAP system, you have to downloaded it again to update the change.
  5. If the required schema does not exist in the local workspace, click the Remote Business Object tab to select a business object schema from the remote repository. Follow the steps in Adding an Adapter Service.
  6. In the Schema dialog, click Next.
  7. In the Transport Session dialog, if you do not want to use the default transport session, click to select a transport session in the Model Select window, and then click OK. If no matching transport sessions are found, you can first click New in the Model Select window to create one:
    1. Enter a unique name for a transport session to be created.
    2. Select a transport type from the Transport Type list, and then select a transport session.
    3. Click Finish.
    For more information about transport sessions, see Sessions and Endpoints.
    Note: You can also add a required transport session in the Transports Tab before adding an adapter service.
  8. In the Transport Session dialog, click Finish to add the configured adapter service.
  9. If you want to add more adapter services, repeat steps Step 2 to Step 8.

Result

The added adapter service is listed in the All Adapter Service panel.