Setting up Tenants in Consul

The following section describes how to configure tenants for Consul.

Procedure

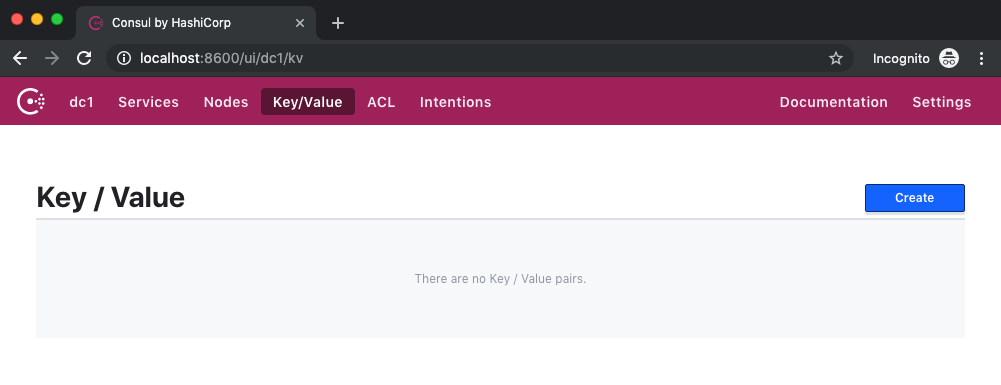
  1. Start by bringing Consul up with no data.
  2. Log in to a box that has a Consul client installed. Copy the Consul initial configuration file to some location on the machine and use the following import command to import initial configuration:
    $ consul kv import -http-addr=http://<consul_host>:<consul_port> @consul_initial_configuration.json


    Note: Importing an initial configuration such as above will work for a case where multiple Consul containers are accessing the same shared NFS file system. Example NFS Consul deployment configuration files are available under the <OPE_HOME>/samples/initial_configuration folder.
  3. After the successful import, make sure a config key is a visible under Key / Value section.
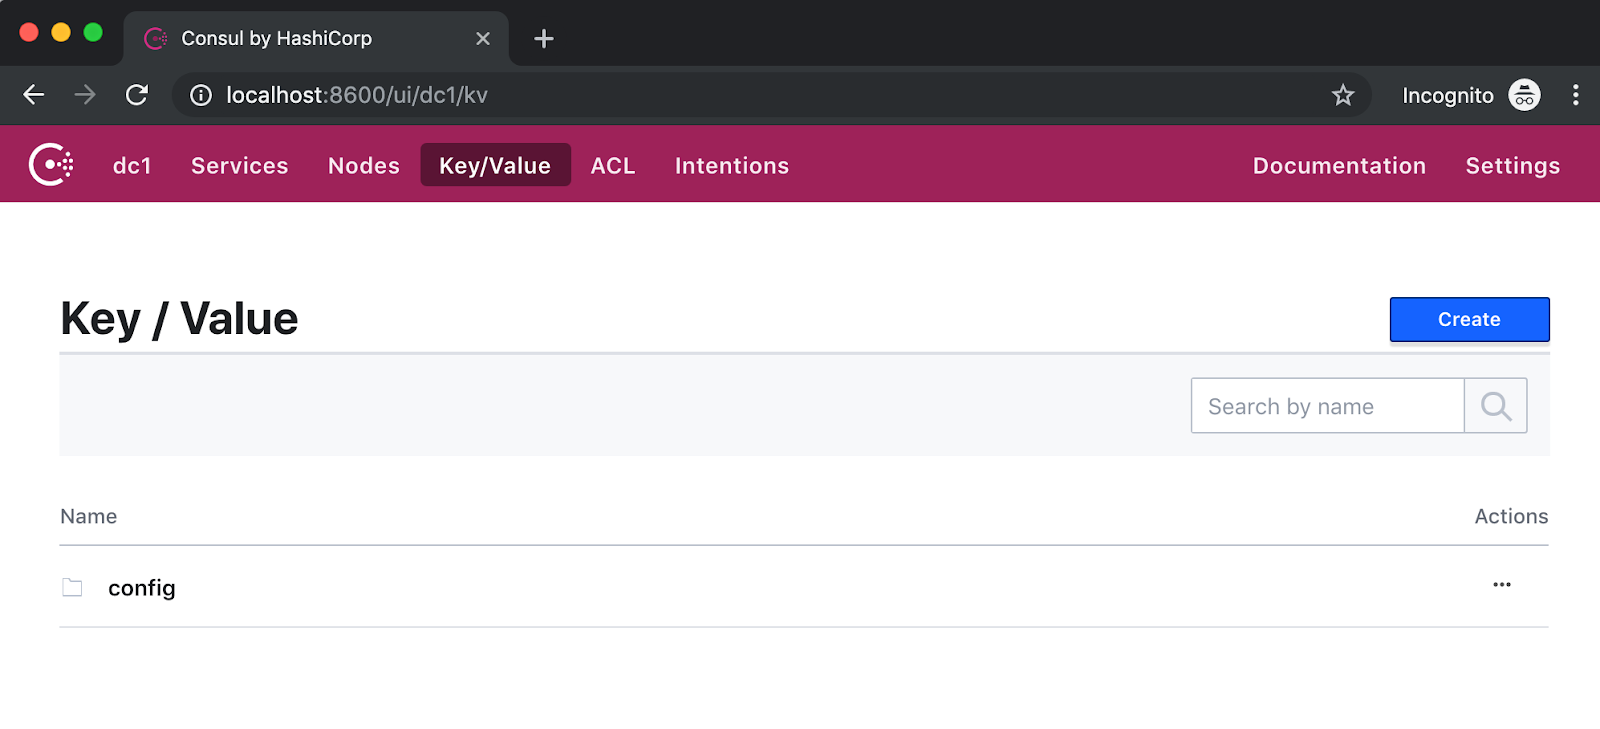
    To update values for the key, follow the path to the key and update the value.

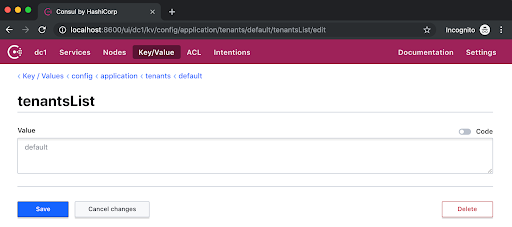
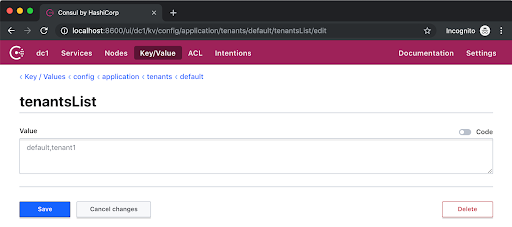
    For example, to add a new tenant "tenant1" for TIBCO OPE, add the new tenant name for the key "tenantList" under path config/application/tenants/default/tenantsList, and follow these steps:
    1. Reach to the required Key.

    2. Update the existing value to add "tenant1" as the new tenant to the list.

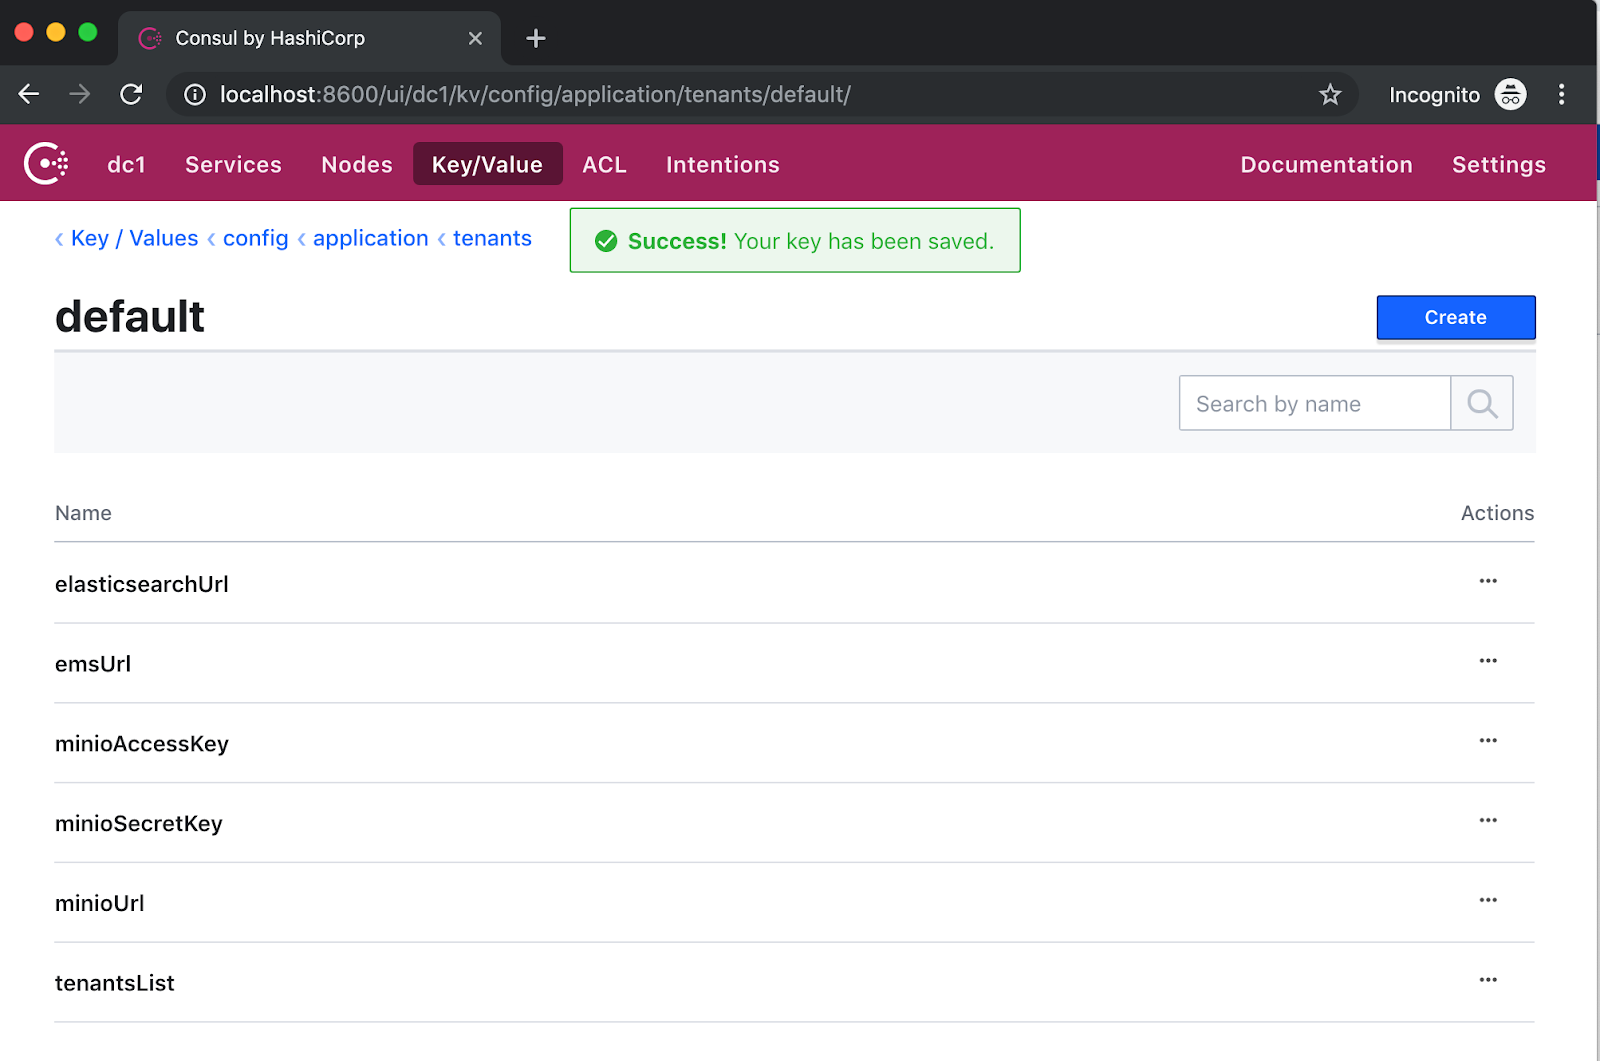
    3. Click Save. UI will display confirmation popup as the key was updated successfully.