Configuring the Error Handler

Use the error handler to catch exceptions that occur when executing a flow. The error handler is designed to catch exceptions in any or all activities within a flow. If there are multiple flows in an app, the error handler must be configured for each flow separately. Branching is supported for error handler flows similar to the other flows.

To configure the error handler, follow these steps:

Procedure

  1. Click any existing activity in a flow.
  2. Click the Error handler button on the bottom left of the page.

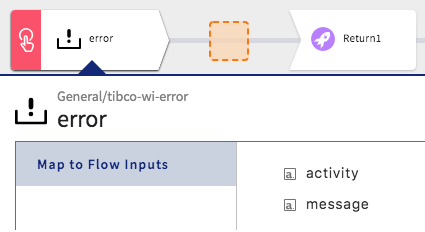
    The error handler opens with the error activity displayed.

    Clicking the error activity exposes the fields that you can configure for an error that will be thrown by the activity.

    The Map to Flow Inputs tab of the error activity has two elements, activity and message. The activity element is used to output the name of the activity that is throwing the error and the message element is used to output the error message string.

  3. Hover your mouse next to the Error activity to expose the button.
  4. Click the button to add an activity for which you want to configure the error message.
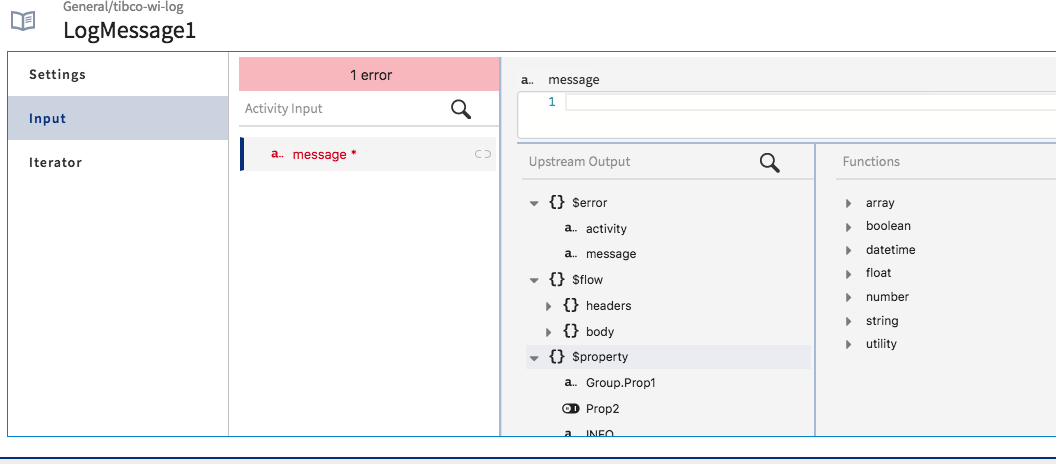
    The Input tab of that activity displays message in its input schema.
  5. Click message in the input schema to open its mapper.

  6. Expand {} $error to expose the activity and message elements that you can configure for the error message.
    You can either manually type in the error string enclosed in double quotes or use the concat function under string in the mapper to output the activity name along with a message. See Using Functions for more details.
  7. Continue configuring the error message for each activity in the flow.

    The error for any activity in any flow in the app, if any, is output in the log for the app when the app is .

Result

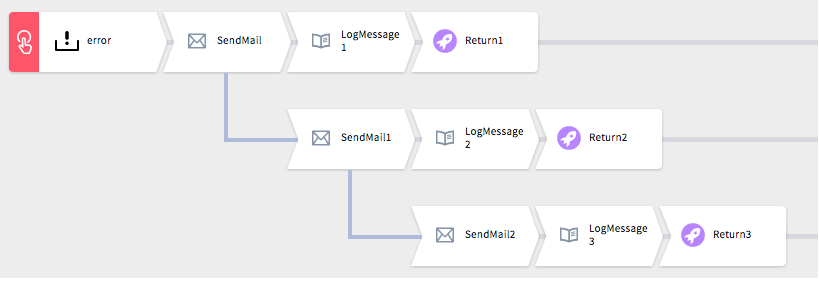
Here is an example of how an error handler flow looks after it is configured:

Related concepts