Creating a New Project
A project is the basic container that you use to store all the artifacts needed by your business process. The project you create here contains a basic organization model and a basic business object model. TIBCO Business Studio - Analyst Edition saves a project as a Modeled Application Archive file with the extension .maa, which you can pass on to the solution designer for the next stages of the design process.
Procedure
- Start TIBCO Business Studio - Analyst Edition (for more information, see the installation guide.
-
Click
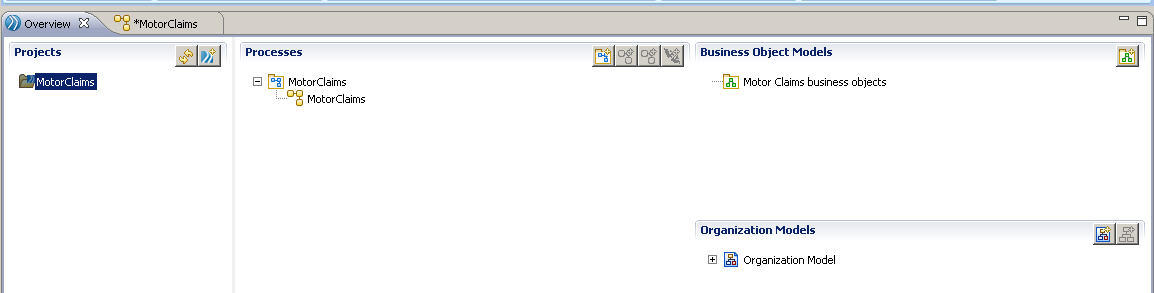
Finish. The
MotorClaims project is created. It is shown in the left column, with Processes, Business Object Models and Organization Models in the right column.
- An organization model, containing a single organization called Organization1
- A business object model, called MotorClaims.bom.
- A process package, containing a single process called
MotorClaims-Process.
Each of these three artifacts is displayed on its own tab.
A fourth tab contains an overview of the project, as shown in the illustration above. The Overview page shows any error icons next to the relevant artifact, and the details of the error are shown in the Problems view.
If you close any of the other tabs, you can re-open it by clicking Overview in the Diagram group, from the Overview tab, or from the tools on the Models group of the ribbon.
- On the badge that shows the name of Organization1, click on the name and use Rename from the ribbon to rename it. Type EasyAs and click away from the field or press Enter to save your name change.