Defining Business Data

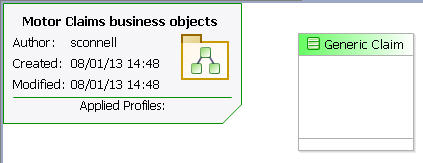
The business object model created in the project holds the business data, representations of business objects and the relations between them. The business process that you will define in later procedures uses this business data.

The simple business object model in this tutorial contains objects relating to a motor insurance claim:

  • A class representing the claim itself
  • Classes representing the two types of claim, fault and no-fault, which are subordinated to the claim class
  • Connections between these objects
    Note: Classes can be embedded in a higher-level object, a package. The business object model itself is a package; intermediate packages are not necessary in simple models such as this example.

Procedure

  1. To rename the model, click the .bom tab. The business object model editor opens.
  2. In the Properties view for the model, select the text in the Label field. Type Motor Claims business objects.
  3. Click away from the field to save your change.
  4. To create the classes, select the Class tool in the palette. Drag it on to the empty canvas of the editor and drop it. This places a class in the diagram.
  5. The label field of the new class is automatically selected at this point. Type Generic Claim into the selected field. Click away from the field to save the label.
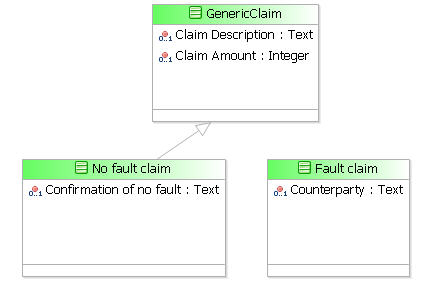
  6. Create two more classes in the same diagram. Call them Fault claim and No fault claim.

    Click or press Ctrl+S to save the changes you have made to the project.

    Note: You can also save your process at any point while you are creating or editing it. If there are unsaved changes, an asterisk is displayed in the title of the editor tab.

    It is advisable to save after completing each procedure.

  7. A class can contain attributes. Each attribute represents an individual piece of information. In this tutorial you will add a few attributes to the classes; a realistic model would have a great many more. To add attributes to the classes, in the palette, select the Attribute tool. Drag it over the Generic Claim class in the diagram and drop it.
  8. Select the attribute, and on the General tab of the Properties view, type Claim Description in the Label field.
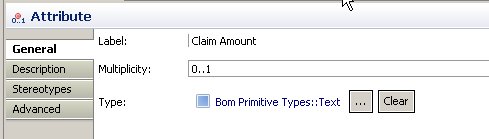
  9. Add a second attribute to the same class and call it Claim Amount.

    Attributes default to a type of Text, as shown in the previous illustration. This is appropriate for the claim description, but not for the amount. Click the browse button . The Select Type browser is displayed.

  10. Click Integer - Bom Primitive Types and click OK.
  11. Add an attribute called Counterparty to the Fault claim class, and an attribute called Confirmation of no fault to the No fault claim class. Keep the default Text type for both these.
  12. To add relationships between classes, from the Relationships tool group on the palette, select the Generalization tool.

    Relationships indicate connections between objects in a business object model. Connections can be generalizations or compositions.

    A generalization connects two classes, and it indicates that one of the two classes is a more general form of the other. Another way of describing it is that the more specialized class is a derived version of the more general class. In this procedure the Fault claim and No fault claim classes represent specific types of claim, and so are derived from the general Generic claim class. Both inherit the properties of Generic Claim, including the Claim description and Claim amount attributes. The additional attributes that Fault claim and No fault claim possess apply only to that one class each.

  13. Click on the No fault claim class and drag the pointer to the Generic Claim class. This creates the generalization. Note that the General tab in the Properties view for the generalization indicates the classes that it links.
  14. Link the Fault claim class to the Generic Claim class with a generalization in the same way.

Result

Click or press Ctrl+S to save the changes you have made to the project.

Next you should complete Outlining the Business Process