You can simulate the project you have just created. This will allow you to see how efficient it is, and what resources it uses.
When you have simulated it, you can make a change to it and simulate it again. You will then be able to compare the results of the two simulations. See Comparing Simulations.
Procedure
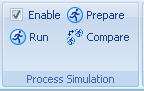
Select Enable from the Process Simulation group.
Your business process will now have any problems or warnings identified. You can ignore warnings, but you must fix any problems identified, or your simulation may not run. You can use the quickfix available to add simulation data to different tasks in your process.
Select Prepare from the Process Simulation group. This sets up parameters necessary for simulation to run. It can also fix some problems which do not have a quick-fix available.
Select Run from the Process Simulation group. This will run the simulation.
By default a simulation runs with a Simulation Start Date/Time that is the current system date/time, but you can set the desired Simulation Start Date/Time using the drop-down calendar and by entering a time value.
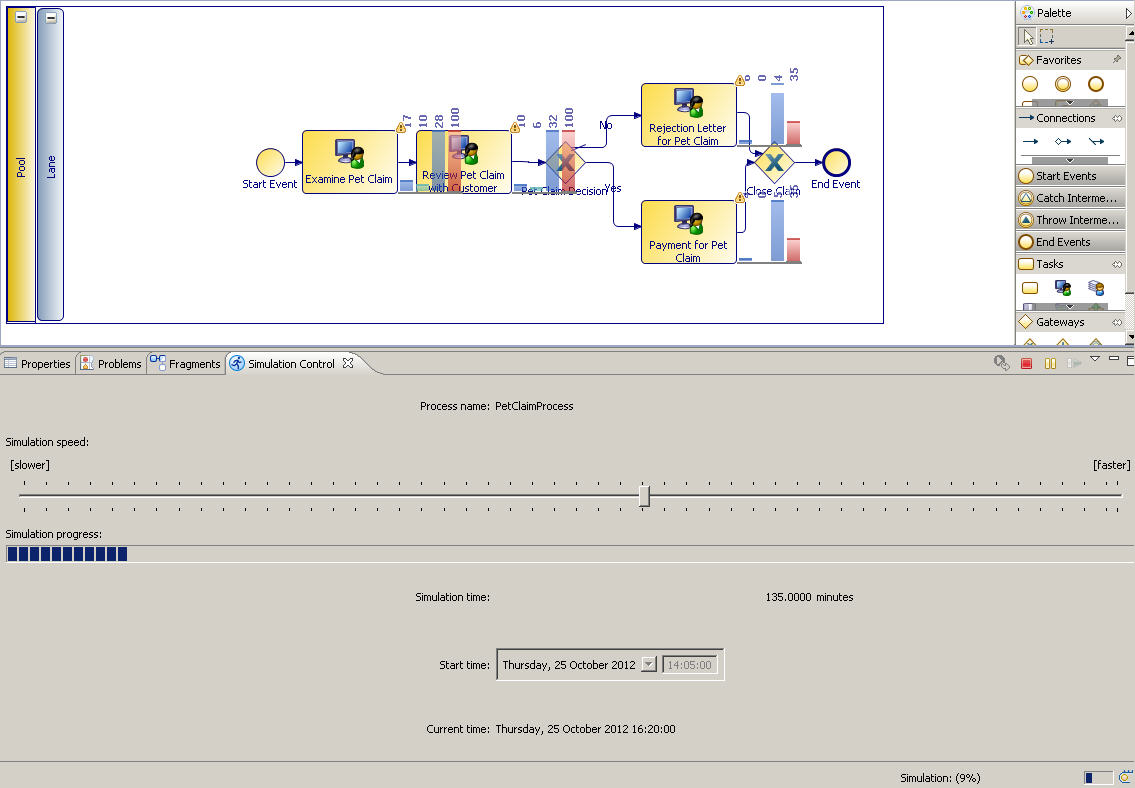
The simulation runs:
The Simulation Control View shows simulation time and the progress of simulation.
The Simulation Results View displays the number of cases and updated simulation data about the Activities and Participants such as the Cost.
The number of queued and processed cases is indicated on the Process .
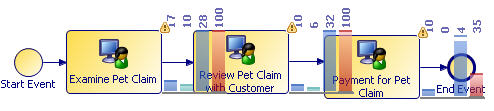
Now make a change to the process. Delete the gateways and the user task Rejection Letter for Pet Claim, so you have a business process which looks like this: