Configuring the FilePoller Project

The FilePoller project uses a File Poller activity and a Write File activity. This project creates a simple process that points to a specified file. The file is polled periodically to determine whether it was changed. The changed file comprises the text written to a new file.

The File Poller and Write File activities in the File palette are used in this process.

Prerequisites

A text file is required, for example, c:\tmp\fileread.txt. Type a few lines in the file and save it.

Procedure

  1. Select and drop a File Poller activity from the File palette to the Process Editor window.
    To add an activity to the Process Editor, click the activity and drop it on the Process Editor. Do not drag and drop the activity.
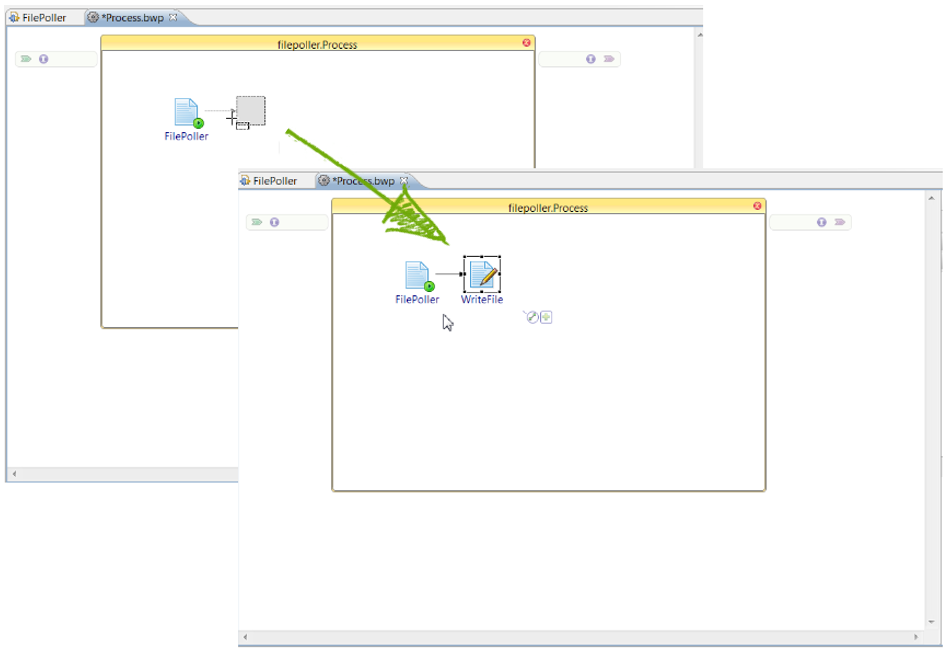
  2. Select the Write File activity from the File palette. Click in the Process Editor next to the File Poller activity. You see a gray overlay indicating where you can place the activity, along with the transition arrow. When you drop the activity, the transition from the File Poller activity to the Write File activity is created.
    Note: To create a transition between two activities click the transition icon and join both the activities in the Process Editor.
  3. Select the File Poller activity. In the Properties tab, select the General tab. Point to the file you created as a prerequisite to this tutorial.
  4. Select the Include Existing Files check box. When selected, the File Poller activity polls the existing file regardless of the changes made. The specified file is periodically polled at the specified interval even if the file has not changed. These changes may pertain to modifying, creating, or removing the file.

    Note: The Polling Interval (sec): 5 (default) indicates the Frequency with which the File Poller activity monitors this particular file. Any update to this file is transferred to the output.log file through the Write File activity.
  5. Save your project. Click File > Save or the Save button on the tool bar.
  6. Select the Write File activity and click the General tab.
  7. Click the button in the Filename field and specify the output location, such as, c:\tmp\FilePoller\output.log. Also, select the Create Non-Existing Directories check box.
  8. Click the Input tab to specify input to the Write File activity. Drag the FilePoller\fileContent\textContent from the Data Source pane into the textContent field in the XPath Expression pane. This writes the content of the polled file to the output file.
  9. Save your project.
  10. Test this project in the debugger. For more information about the testing procedure, see Testing the File Poller Application in Debugger.

Result

The File Poller activity polls the fileread.txt file located in c:\tmp file every 5 seconds and any changes made to the file content are written to the output.log file at c:\tmp\FilePoller by the Write File activity.