Creating a Touchpoint
In this tutorial, learn how to build, run, output, and publish results from your first touchpoint.
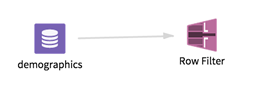
Creating a touchpoint begins with choosing a workflow. for this tutorial, use an example workflow. When you finish, you have a touchpoint that takes in user input and displays rows with fewer than that number of dependents. Then publish the touchpoint to the catalog, which is an organization-wide collection of touchpoints that business users can explore. To get started, make a workflow variable to hold the user input.
Procedure
-
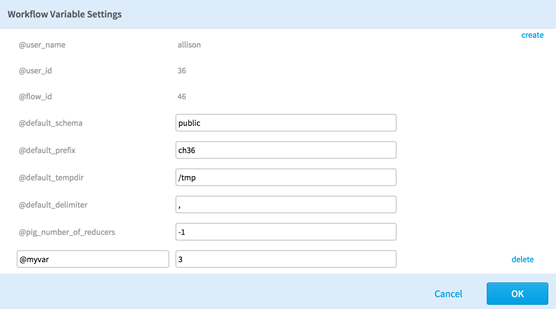
Create a variable called
@myvar and set the default value to 3.
For more information on creating a workflow variable, see Defining New Workflow Variables.
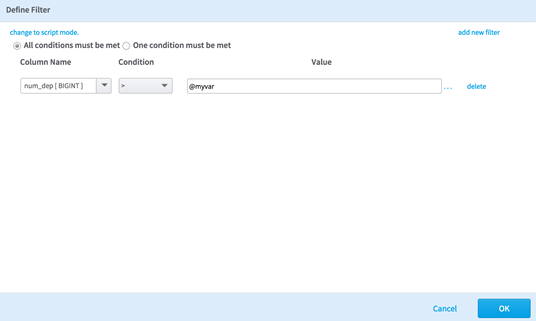
- Set up the Row Filter operator to take input from the workflow variable.
-
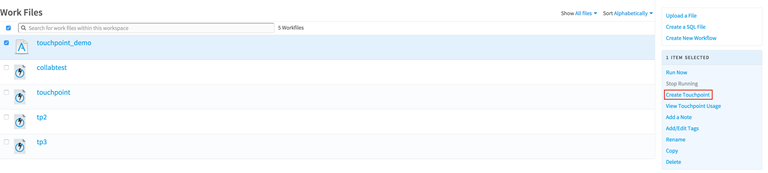
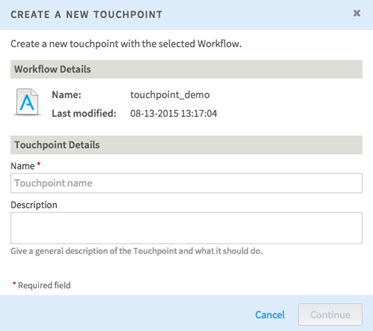
Navigate to the workflow you are interested in. Select the workflow, and then from the menu, click
Create Touchpoint.
- Run Settings Tab
Run settings determine how a touchpoint is run and what output is displayed. - Adding Parameters to a Touchpoint
To allow interactivity for the users of your touchpoint, set parameters for user input. - Testing a Touchpoint
After you have set up the inputs and outputs, test the touchpoint and preview the results. This gives you an opportunity to ensure that it works the way you want it to and that the results are what you want the end user to see. - Downloading Touchpoint Test Results
Touchpoint test results appear in a window where you can inspect or download them. - Running a Touchpoint
Once you've tested your touchpoint and are happy with the results, you can run it from the workspace screen or by clicking Run in the upper right of the touchpoint configuration screen. - Publishing a Touchpoint to the Catalog
Once your touchpoint is ready to go out, you can publish it. Publishing a touchpoint puts it in the catalog for members of your organization to see and use. In this way, business users can access and run touchpoints created by data scientists and engineers, getting them the information they need in a fraction of the time.
Related concepts
Copyright © 2021. Cloud Software Group, Inc. All Rights Reserved.