Adding Parameters to a Touchpoint
To allow interactivity for the users of your touchpoint, set parameters for user input.
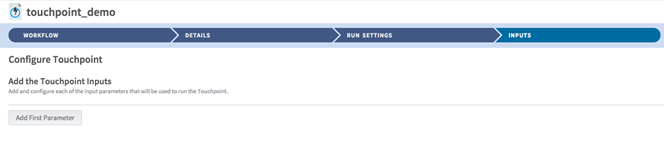
Procedure
-
To add a parameter, click
Add First Parameter.
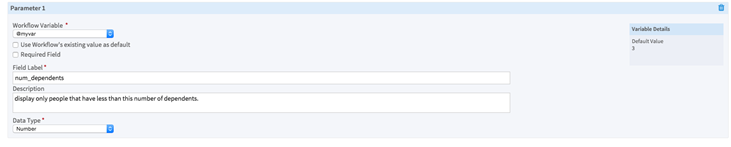
Configuration options Workflow variable - Required.
- Comes from the section Workflow Variables.
- Holds the user's input.
- Use workflow's existing value as default: By default, the touchpoint uses the value of the workflow variable as defined in the workflow. If the user does not choose an input, this value is used. You can see the value from the workflow in the box to the right labeled Variable Details.
Field Label Description Data Type - Required.
- The type of data that to be input.
- Types allowed:
Text,
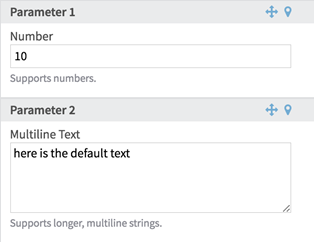
Multiline Text,
Number,
Select Single Option,
Select Multiple Options, and
Date/time - Calendar.
- Text: a string.
- Multiline Text: a multiline string, with a larger text area to type into.
- Number: a numeric value.
- Select Single Option: create a drop-down box where a user can make a single choice.
- Select Multiple Options: create a series of check boxes where the user can select multiple options.
- Date/time - Calendar: a calendar widget in which a user can choose a custom date (for example, to show all customers in a chosen time period).
- For more information about these options, see Touchpoint Parameters.
Related concepts
Copyright © 2021. Cloud Software Group, Inc. All Rights Reserved.