Defining the Scope of a New Rule

The first step in creating a new rule is to define the scope for the new rule.

Procedure

  1. To create a rule, use one of the following methods:
    • On the dashboard home page, click the Create New Rule link.
    • On the Rules dashboard, click the New Rule button below the Rules Summary table.

      The New Rule Wizard dialog appears.

      New Rule Wizard


  2. In the Rule Name field, enter a name for the rule.

    The name must be compliant to Java naming conventions.

  3. In the Description field, enter the details of the rule.
  4. In the Hierarchy field, select the hierarchy names from the list.

    In the Cube field, one of the following values is auto-populated based on the selected hierarchy:

    • DevNodeCube: With this you can create a rule on a node, service, service instance, application, or a shared resource.
    • Assets: With this you can create a rule on the ActiveMatrix assets or artifacts.
    • InfCube: With this you can create a rule on the status markers.
  5. In the Level field, select the level for data collection.
    • For DevNodeCube, the levels are weeks, days, hours, or minutes.
    • For Assets, the level is only node.
    • For InfCube, the levels are environment, application, service name, service type, binding name, binding type, host and node.

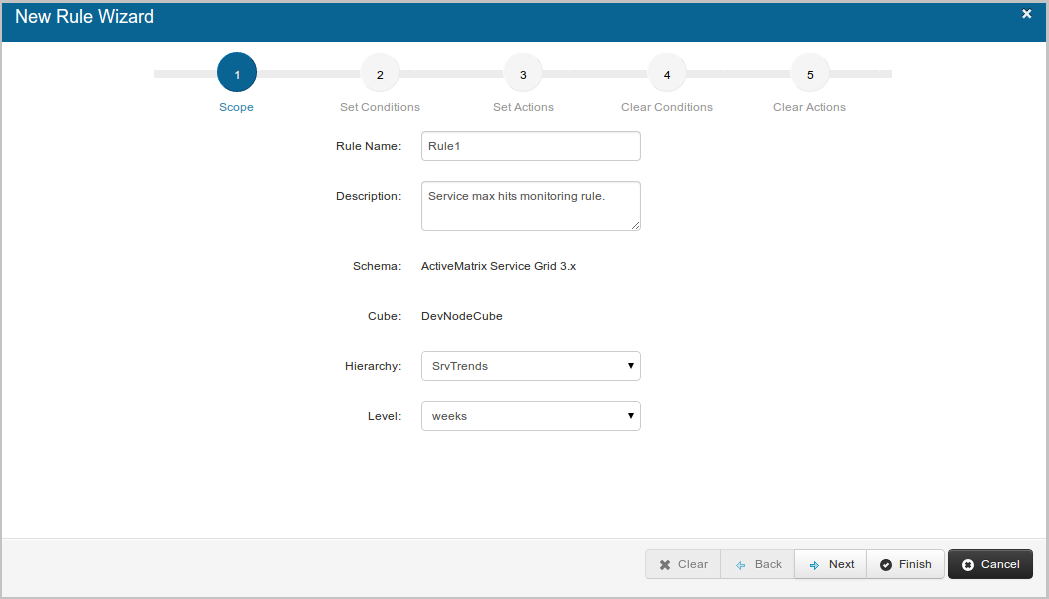
      Based on the level that you select, data is captured for the selected measurement and dimension.

      Note: Only the values allowed for computation are displayed in the Level list for selection. For example, the dimension level where "compute" attribute in the schema is false, it is not shown in the selection.

      For example, if you select the Days level for the measurement HitCount and Dimension service-type, the database captures information, such as the number of times the selected service is hit in a day.

  6. Click Next to set the condition.