You must apply the OpenID Authentication policy set to your Web application.
Procedure
Create a Web application using TIBCO ActiveMatrix Business Studio.
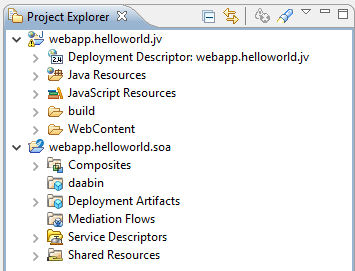
After successfully creating the Web application, there should be two projects visible in the Project Explorer: the SOA project for your Web application, and its corresponding source code.
For example (the helloworld sample application is used as an example here):
Copy the
OpenIDAuthenticationWithWebApp.policysets file from the following folder:
TIBCO_HOME/amx/3.4/samples/policy
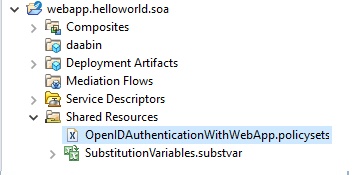
In the TIBCO ActiveMatrix Studio Project Explorer, expand the SOA project, and paste the policy set file you copied in step 2 into the
Shared Resources folder.
For example:
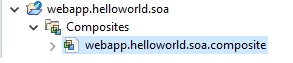
In the Project Explorer, expand the
Composites folder, then double-click the composite to open it in the editor.
In this example,
webapp.helloworld.soa.composite:
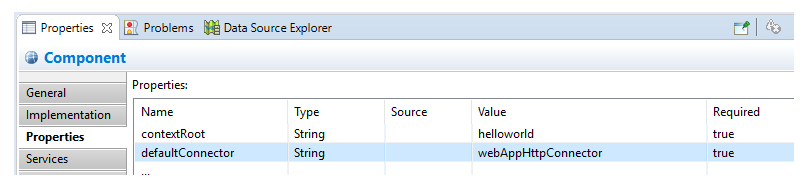
In the
Component section, select the
Properties tab and add the following properties (with 'helloworld' being used as an example Web application):
In the
Component section, select the
Policies tab, then click
Add Policy Set.
On the Policy Set Picker dialog, select
External in the
Policy Set Type section, then click the browse icon.
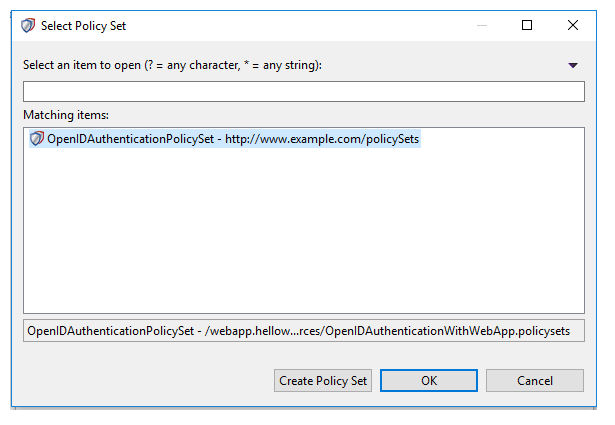
On the Select Policy Set dialog, select OpenIDAuthenticationPolicySet, then click
OK.
On the Policy Set Picker dialog, click
Finish.
The policy should now be visible on the
Policies tab.
Save the composite, then generate a DAA by right-clicking the composite in the Project Explorer and selecting
Create DAA.
For more information about creating DAAs, see "Packaging a Composite in a DAA" in
TIBCO ActiveMatrix Service Grid Composite Development.