Data Explorer
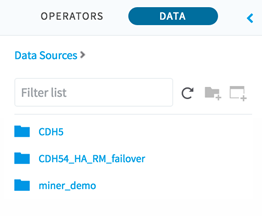
The data explorer shows data sources you have connected to the selected workflow. There is no need to know whether they are Hadoop data sources or databases: they are all browsable from this dialog box.
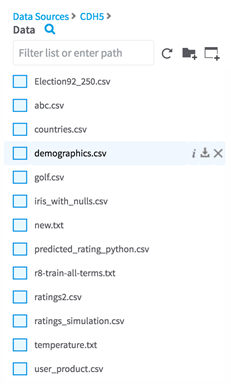
If you have added multiple data sources to your workflow, you see a list of them first. After selecting a data source, you can navigate the file system/tables and select data to use in your workflow. To add data to a workflow, drag it over to the workflow canvas.
To navigate to a specific file, enter a search term or the file path in the search box.
When you select a file, note that several other options become available.
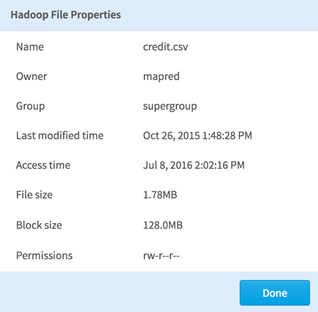
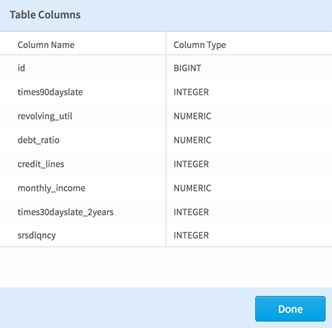
 The "I" icon shows information about that file.
For datasets on HDFS, the information looks like the following.
For database datasets, the information displayed shows the data type and name of each of the columns.
 The download arrow icon downloads the selected file to your local file system.
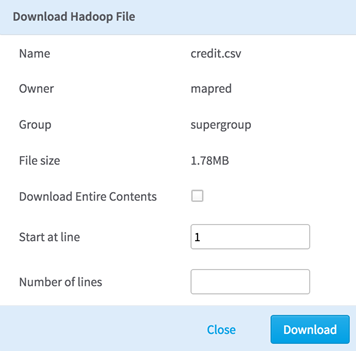
For datasets on HDFS, you can define which parts of the file or the entire file to download.
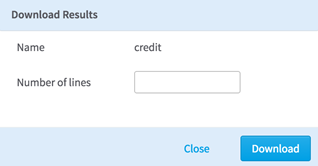
For datasets on a database, define how many lines to download. If you do not specify a number, the entire table is downloaded.
 The
x icon deletes the selected dataset. This option is only available on HDFS data sources.
- Browse Hadoop Sources
For Hadoop sources, the data explorer navigates the directory hierarchy of HDFS. At each level, a blue link represents a directory or folder and a gray link represents a Hadoop file. - Browse Database Sources
For database sources, the second file level is the schema level. Each schema appears as a folder icon in the list. Clicking on a schema link navigates to the table/view level. At the table/view level, you can drag and drop data from the explorer to an open workflow. - Data Sources
Each workspace provides access to data sources that are associated or available to your workspace.

