Importing Database Data into a Workflow
You can import data from a database directly into a workflow.
Procedure
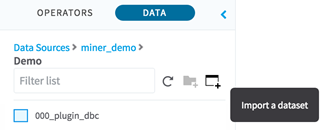
- Navigate to a schema within a database connection in the Data Explorer and select Import.
-
Choose a file from the local disk. When the file finishes uploading, select
Next: Format Fields.

The following dialog box displays a preview of the dataset to import. You can specify the name of the table to create in the database.
Team Studio determines the delimiter used in the file and the data type of each column. You can override the recommendation if necessary. Selecting Show additional formatting options allows you to choose the delimiter, escape character, and quote character. Additionally, you can specify whether the uploaded file contains a header row and filter columns/empty values.
For each column, you can specify the name and data type, as well as options in the additional formatting options.

Related tasks
Copyright © Cloud Software Group, Inc. All rights reserved.