Adding Relationship between Records
Procedure
- Click Browse and Search.
- Select the name of the source repository for which you want to add records from the Repository Name drop-down list.
-
Click
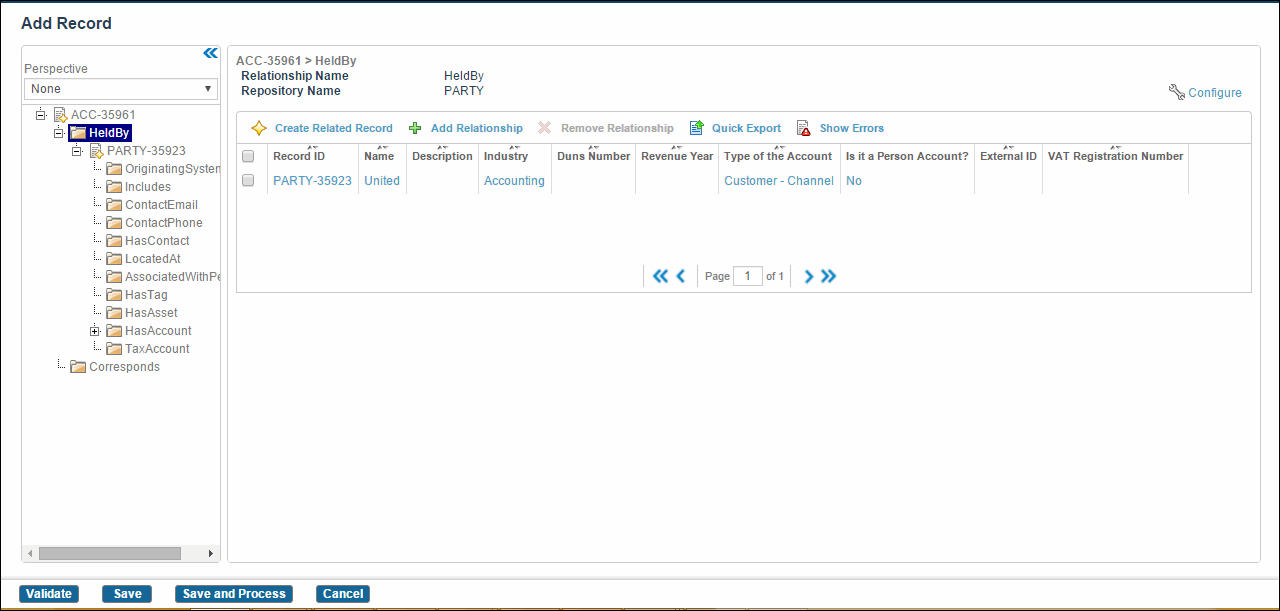
 . The Add Record screen is displayed.
- Enter record details in the fields for the source repository. For information on entering record details, refer to Creating Records.
- Expand the relationship tree at the left side. A list of existing relationships is displayed.
-
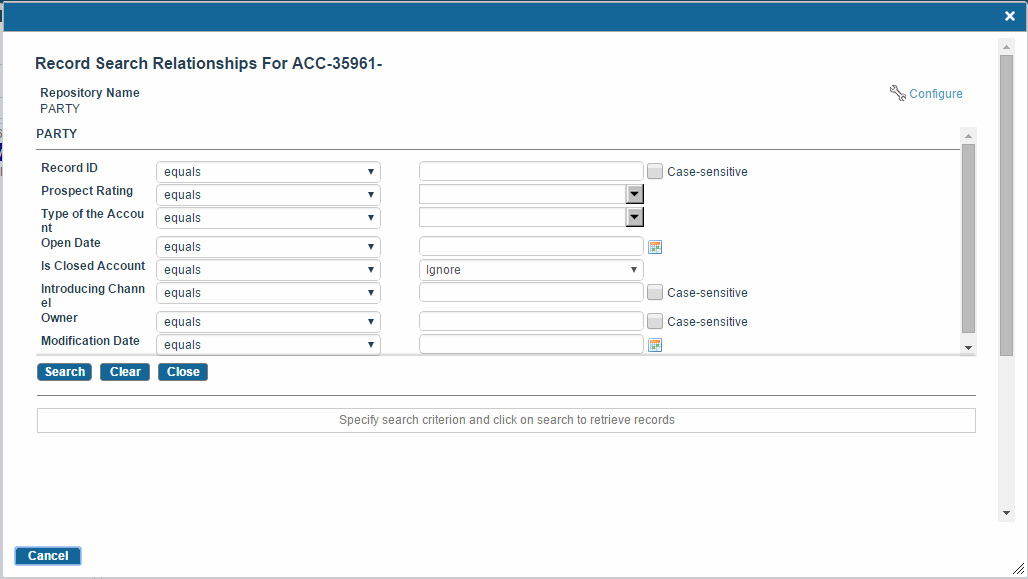
Select the relationship, and click
 . The Browse and Search page is displayed for the source repository.
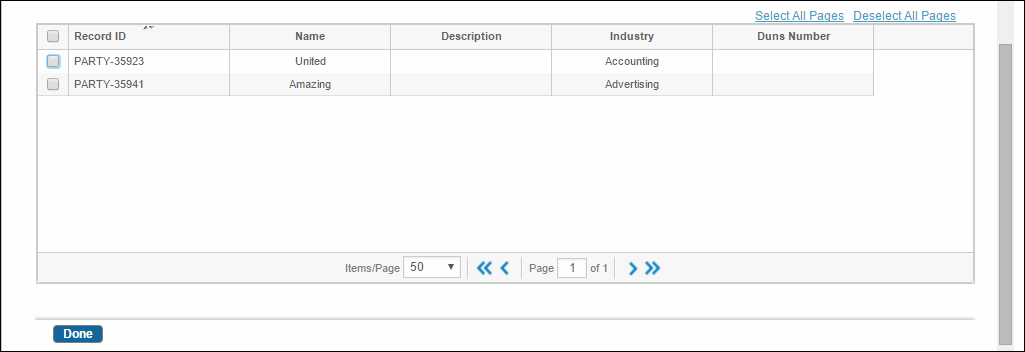
- Click Search. Added records of the source repository are displayed in the search criteria.
- Select the record.
- Click Done. A relationship is defined between two records.
-
Click
Save or
Save and Process to save the added relationship.
Remember that when you are defining a relationship, the target repository is automatically selected based on the relationship definition.
Note: Ensure that relationship definitions (when created) do not lead to ambiguous definition. This could happen when the same relationship name is used (definition) more than once between different or the same set of repositories. For example, if one repository is the target repository for more than one relationship of the same name, the relationship name alone is not enough to detect the correct relationship and may lead to erroneous outcome.
Copyright © Cloud Software Group, Inc. All rights reserved.


