Synchronizing a Synchronization Profile
To export synchronization profiles, repositories associated with a specific output map should be synchronized. Records involved in a cross-repository relationship are exported based on the relationships between records and output maps.
For more information on Output Maps, refer to the section Output Maps.
Procedure
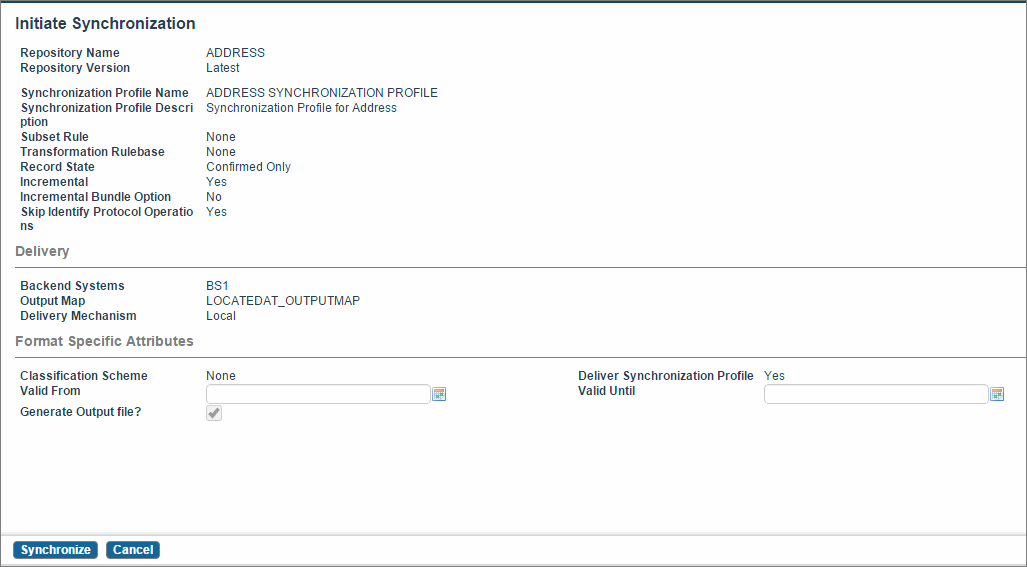
- Select the checkbox against the synchronization profile name that you want to synchronize and click Synchronize. If you do not have an existing synchronization profile, create one by referring to the section Creating a Synchronization Profile. The screen that is displayed has the information that you filled in when you created the synchronization profile.
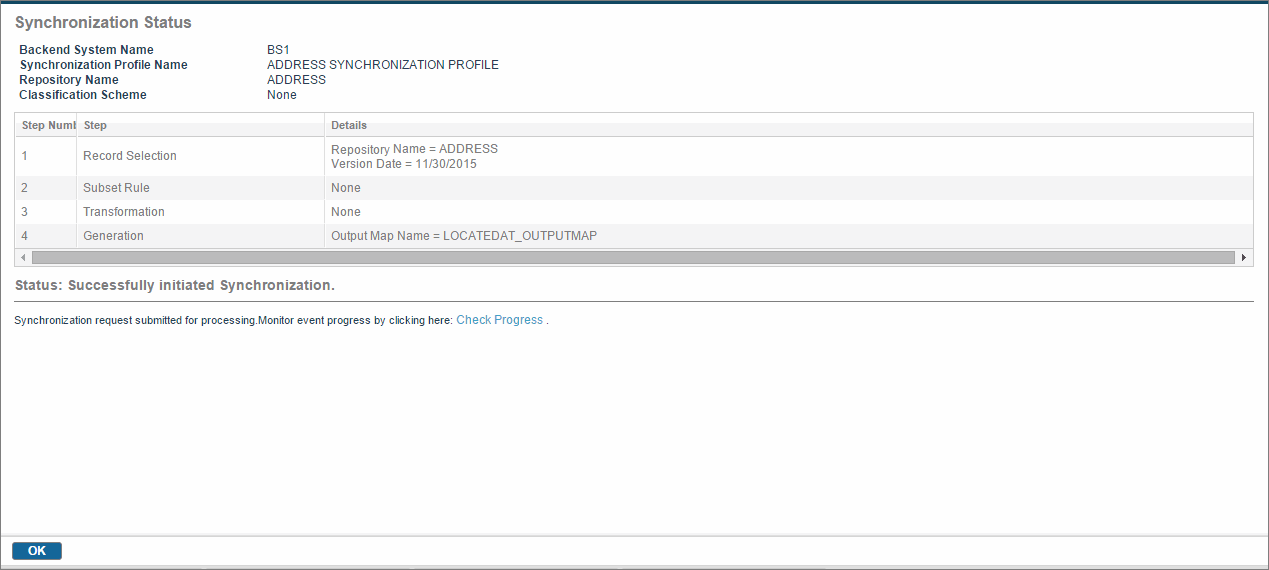
- Click Synchronize. The Synchronization Status screen is displayed.
Copyright © Cloud Software Group, Inc. All rights reserved.