The first repository in which you choose to add records becomes the source repository. The repository with which the source repository establishes a relationship becomes the target repository. While adding records across repositories, the relationships between the repositories are visible on the following conditions:
If it is already defined in the RELATIONSHIPDEFINITION table.
If the rulebase applied to the repository allows you to view relationships.
Procedure
Click
Browse and Search.
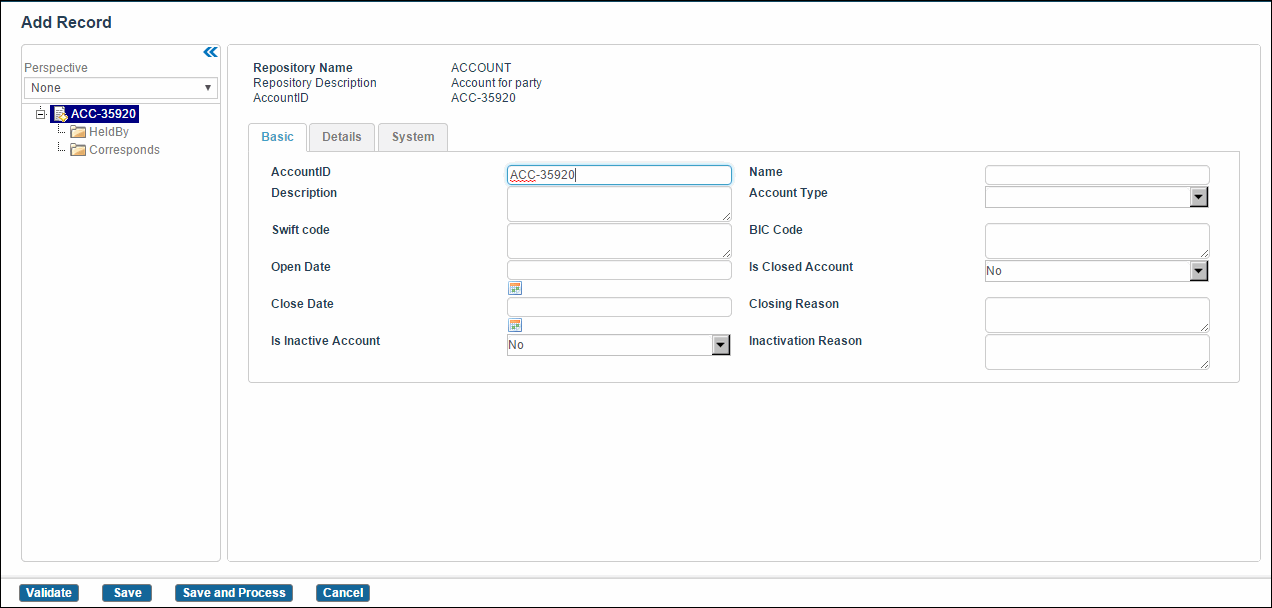
Select the name of the source repository for which you want to add records from the
Repository Name drop-down list.
Click
. The Add Record screen is displayed.
Enter record details in the fields for the source repository. For information on entering record details, refer to
Creating Records.
Note: The record ID is mandatory. If you do not enter the record ID, an error message is displayed while creating relating record.
Expand the relationship tree at the left side. A list of existing relationships is displayed.
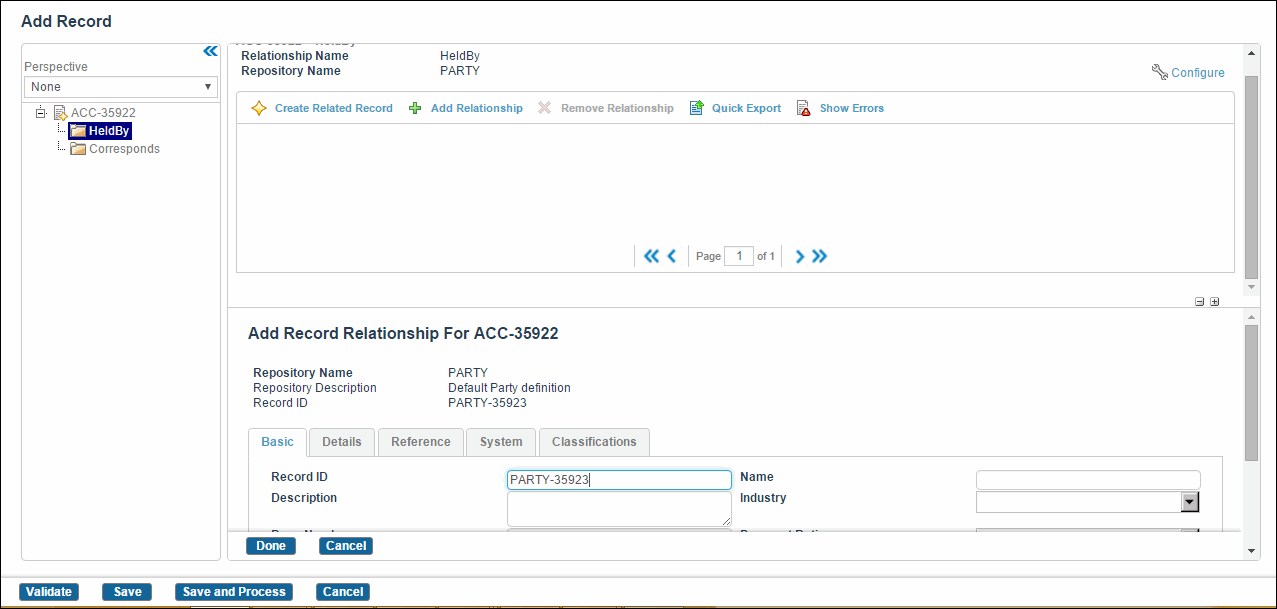
Select the relationship, and click
. The Add Record Relationship for
recordID pane is displayed.
Enter record details in the fields for the target repository.
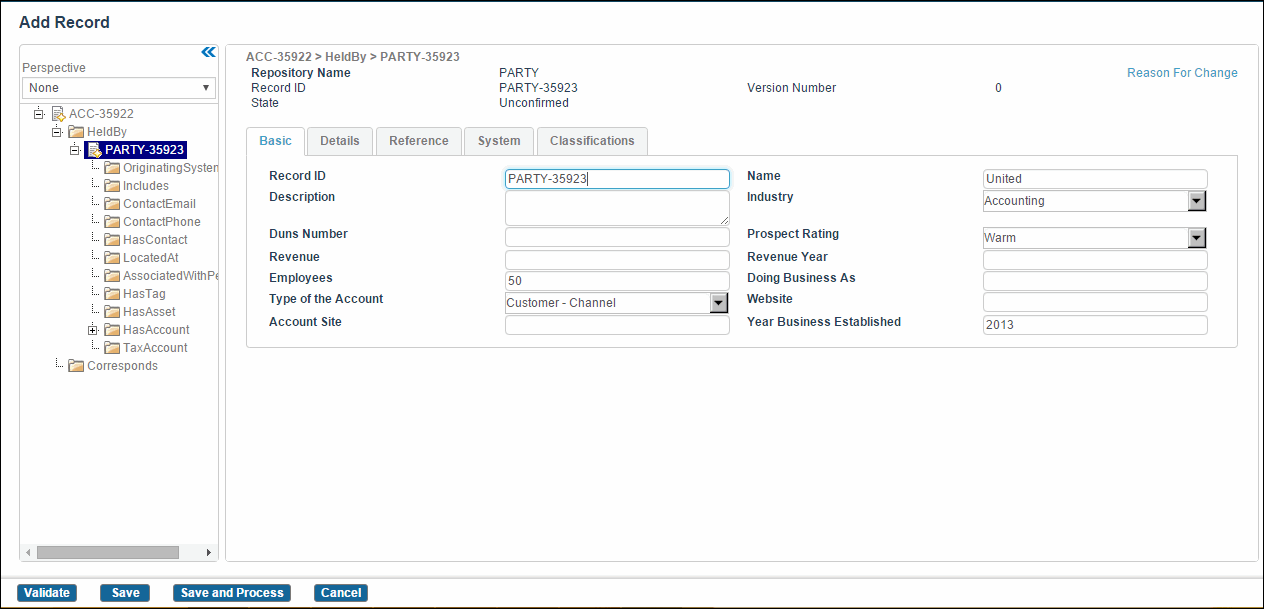
Click the
Done button. The related record details are displayed on the right side and its
recordID and
recordID extension node is displayed under the relationship name tree.
Expand the related record’s node. The target repository’s relationships are displayed. You can create related record for each relationship.
Click the
Validate button to validate the added record. If there are any errors, the screen displays the error against the attribute that caused the error. In case of errors, resolve the error and click
Validate again. For more information on validating records, refer to
Validating Records.
You can save a record in following ways:
If you have permissions, click the
Save button to save the record directly to the database. An alert appears asking for a confirmation. Click
Ok. When you save, each record added is validated against its respective rulebase. Errors, if any, are flagged on the Validate screen. You can resolve the errors and save the record. When you save a record as an Administrator, the state of the record changes to confirmed. Whenever the record state is changed to confirmed, the record is saved in the Golden Copy table.
Similarly, if you do not have the permissions and click the
Save button, no alert appears asking for confirmation. The record is saved, but the state of the record will be unconfirmed.
Click the
Save and Process. button. Each record is validated against its respective rulebase. Errors, if any, are flagged on the Validate screen. If there are no errors, Save and Process initiates the workflow.
If you click the
Cancel button, the record and its associated relationships are not be added. If you have permissions and you click the
Cancel button, the record remains in an unconfirmed state.
 . The Add Record screen is displayed.
 . The Add Record Relationship for
recordID pane is displayed.
. The Add Record Relationship for
recordID pane is displayed.