Creating Classification of Records
Complete the following steps to create classification of records.
Procedure
-
Click
 on the Browse and Search screen.
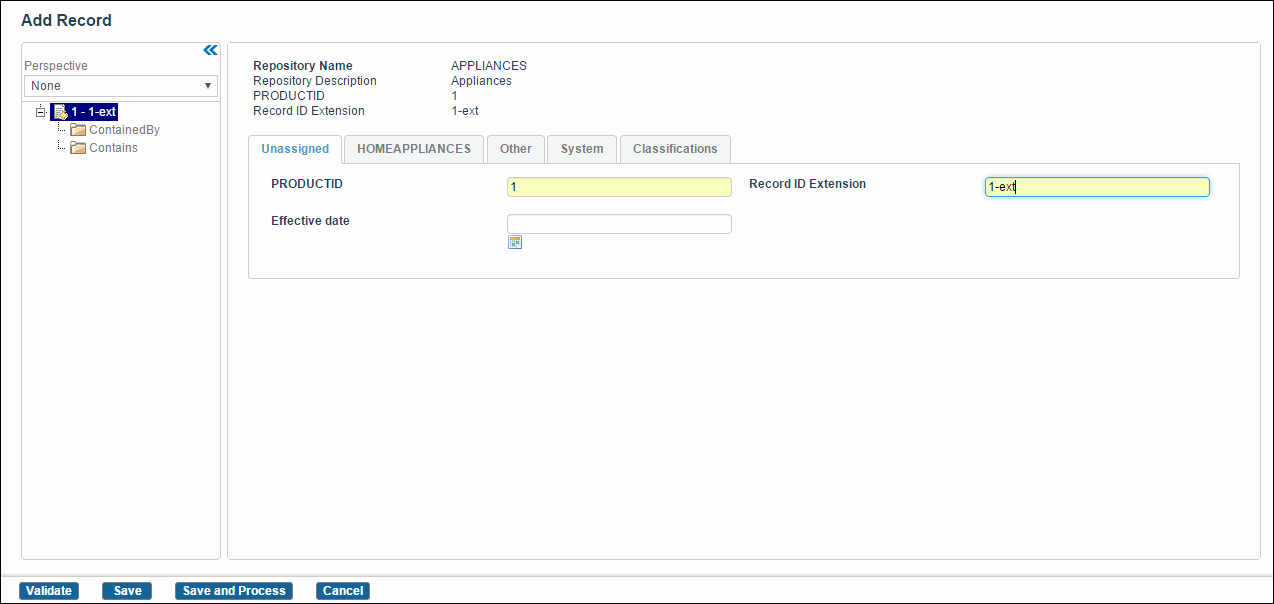
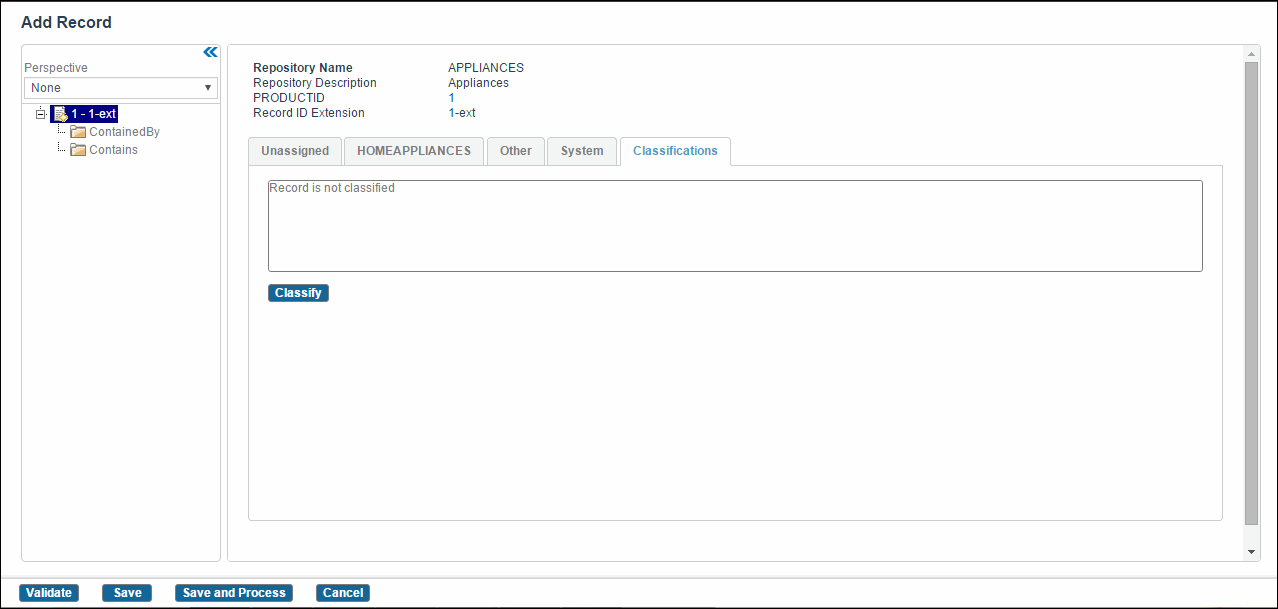
- Click the Classifications tab. The classification hierarchy is displayed on the Classifications tab. You can change classification of a record into more than one category in a single classification or across classifications.
-
Click
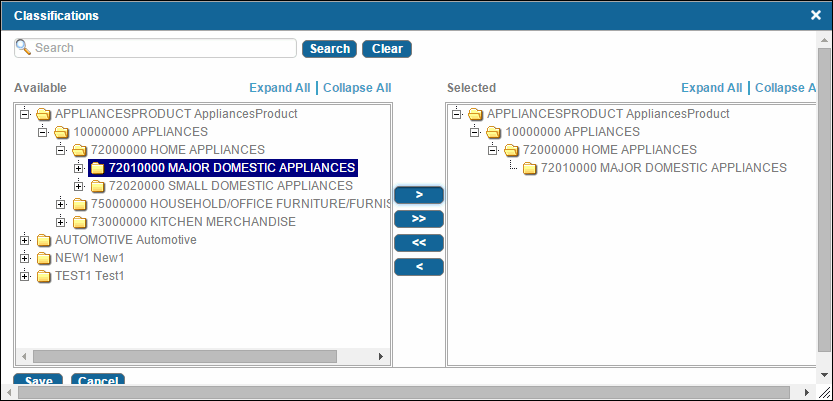
Classify to select categories. The Classifications dialog is displayed.
 Note: The Classifications dialog box is displayed only for the Manual and Mixed classification. For Automatic classification, Classify is disabled. The classification code hierarchy and attribute mapping is created or changed in TIBCO MDM Studio.
If you have multiple classification schemes, you can classify records in another classification scheme. Then, Classify is enabled.
-
Select the category in the Available column and click
 to move the category to the Selected column. The selected category is moved to the Selected column.
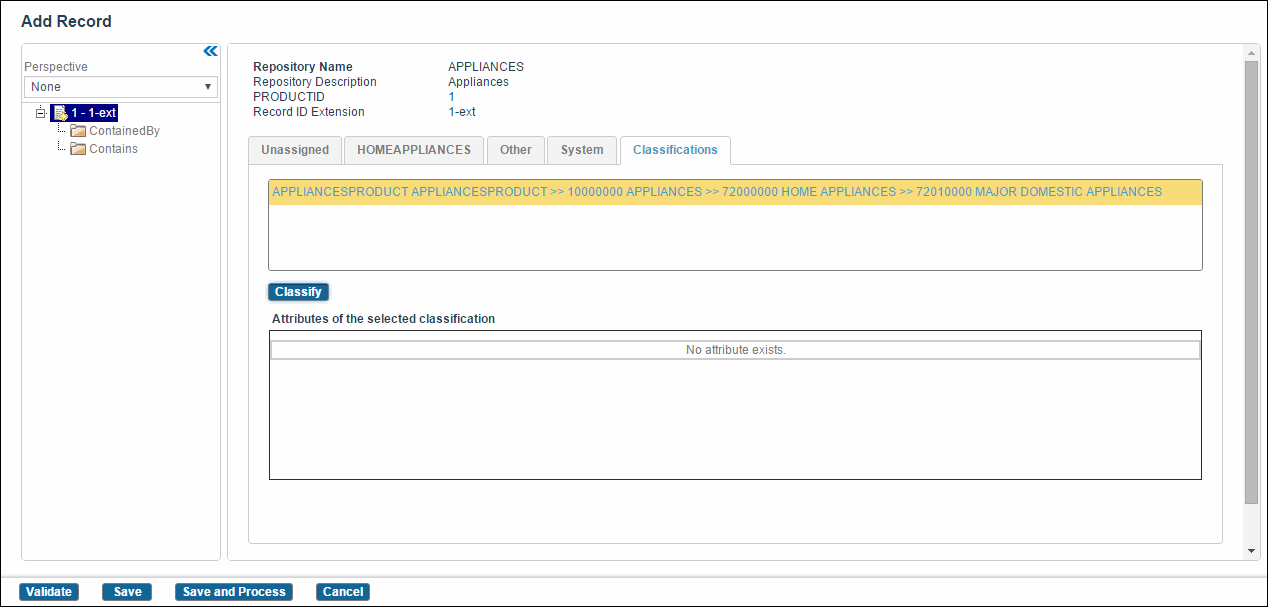
- Click Save to save the selected category. The selected classifications hierarchy is displayed on the Classifications tab along with the attributes of the selected classification.
-
Click Save or
Save Process to save classifications. The classifications are added to the record.
The category specific attributes that are not applicable for a record are displayed in gray color on the record list if they marked as Display in Record list. Consider the following example, Firmness, Type_of_Filling and Type_of_Grain attributes are not applicable for the Milk record. Therefore, the gray color is displayed in those category specific attributes’s columns.


Copyright © Cloud Software Group, Inc. All rights reserved.