Adding and Selecting a Grantee
Procedure
-
Click
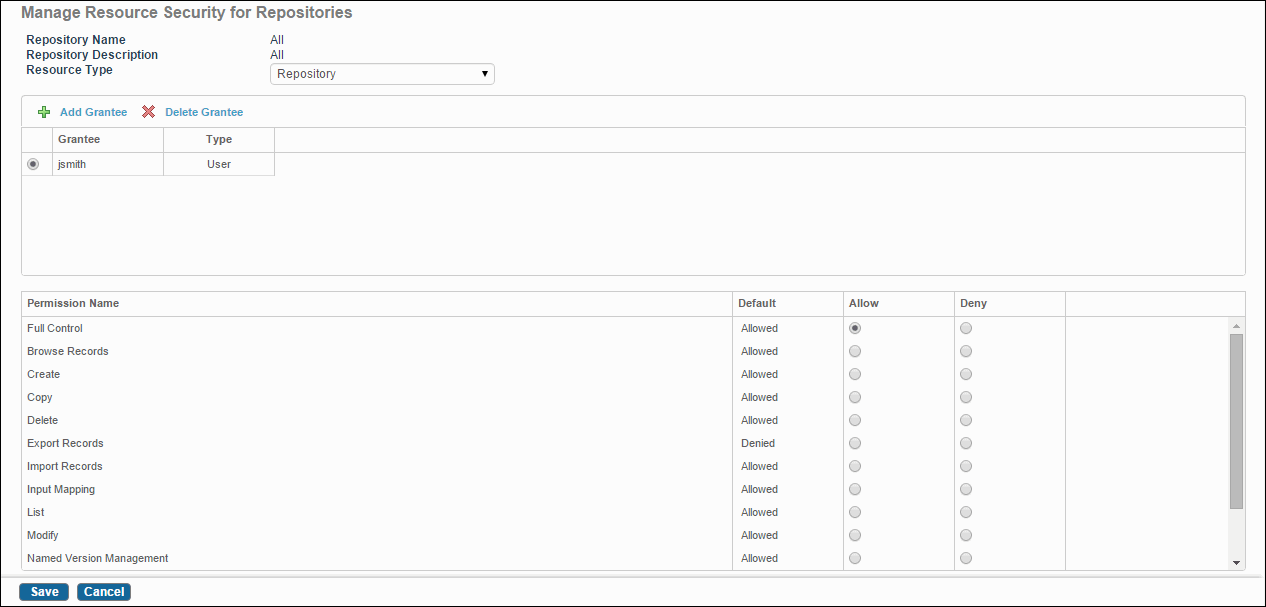
Add Grantee in the
Manage Resource Security for <Resource Type>
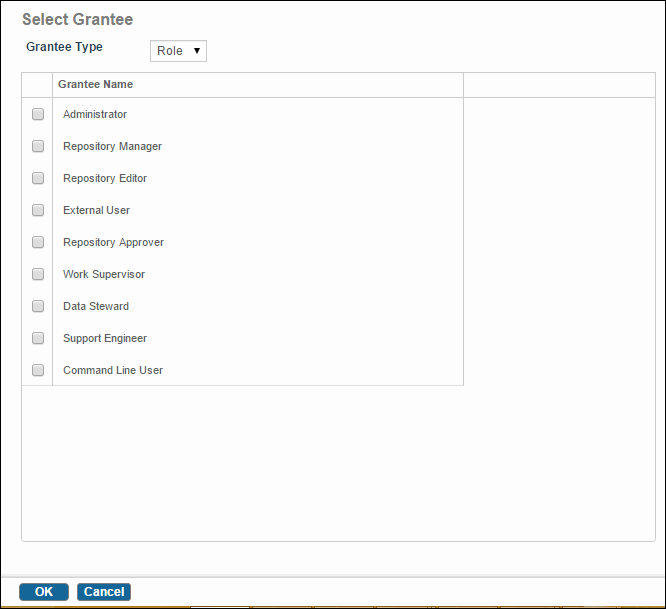
screen. The Select Grantee screen is displayed.
- User: This screen refreshes to display all the available users. You can select one or more by checking the checkbox next to that user. Only the selected user will have the permissions that you set.
- Role: This screen refreshes to display all the available roles. You can select one or more by checking the checkbox next to that role. All users with that role will have the permissions that you set.
- Click OK.
- Set the permissions as appropriate. You can allow or deny permissions for various actions. You can choose to deny or allow full control. Doing so overrides all other individually set permissions.
-
Click
Note:
- The application allows the maximum possible permissions. If you "deny" all permissions and then specifically "allow" a permission for an object, "allow" overrides the "deny".
- Permissions defined for ALL resources of a type and permissions defined for specific resources of the type work independent of each other. The permission specified for a specific resource takes precedence on permissions specified on ALL. Permissions specified on ALL is default, it applies when same permission is not specified on a specific object. Setting permissions for "ALL" resources does not mean you cannot specify resource-specific permissions.
- Save.
Copyright © Cloud Software Group, Inc. All rights reserved.


