Confirming Edited Records
When you click Next, all the records edited are shown in the Changed Records List screen.
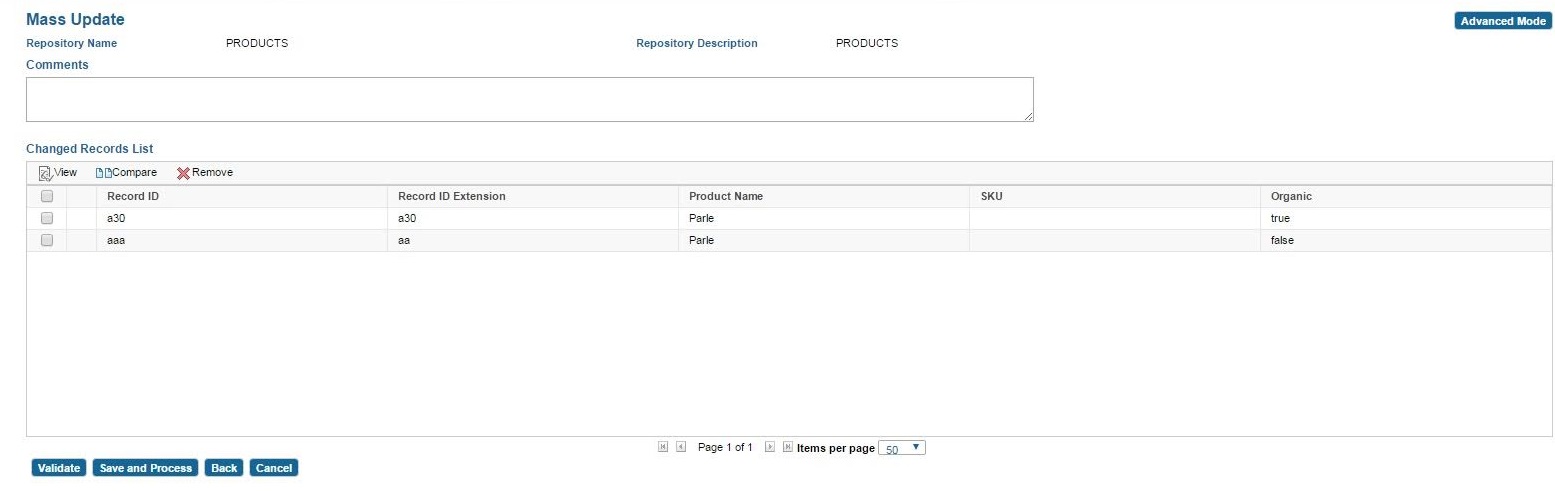
All the changes are displayed in a read-only view in the table. This screen displays the repository name, repository description, and comments if any.
Procedure
- Click View to view a complete single changed record.
- Click Compare option to compare the changes done on a record with the record version which was selected for mass update.
- Click Remove to remove the selected records from the master bucket. The master bucket is the master list that contains all edited records.
-
Click
Validate to validate the mass update of all records. This validation uses the same
catalogvalidation.xml that is used at the time of record validation.
- After the validation is done, a new Errors column appears in the table. This column indicates any errors that occurred during validation.
- After the validation is done, a drop-down list is displayed which allows you to view the records in error.
If a record has an error, all records cannot be saved until the record with the error is either corrected or removed from the list. However, a work supervisor can save records with errors.
- Click Save And Process when you are prompted for a confirmation to process the mass update. After you confirm, the next screen is displayed with a Check Progress link.
- Click the Check Progress link to view the corresponding event details or click OK to return to the Basic mode of the Mass Update search screen.
- Click Back, the records from the last session are displayed in an editable view.
- Click Cancel, a confirmation dialog is displayed. If you agree to the cancellation, all changes in all records are discarded, and you are navigated to the Mass Update screen in Basic Mode with a fresh session.
Copyright © Cloud Software Group, Inc. All rights reserved.