Selecting Filter Attributes
Selecting filter attributes involves choosing the attributes upon which you want to filter the items, then entering a value for each attribute.
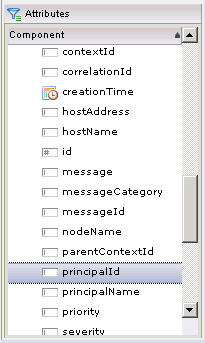
When filtering event lists, the Attributes section on the filter dialog lists all of the filterable attributes, which is a subset of all available event attributes. They are displayed in a tree structure categorized by the component that writes values to each attribute. You can expand or collapse the list below each component name, as needed, by clicking on the + or - icon to the left of the component name.
The Attributes section on the filter dialog lists all of the attributes on which you can filter.
- Double-click on the required attribute in the Attributes section,
- click on the required attribute and drag it into the Filter section, or
- right-click on the required attribute and select Insert Item from the context menu.
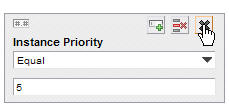
This causes the data-entry dialog for the selected attribute to appear in the Filter section. For example:
The data-entry dialog for every attribute contains the following data-entry fields:
- Logical operator - This is a drop-down list that allows you to choose how the specified value is to be compared to the actual values in the attributes of the item. You can specify “equal to”, “not equal to”, “less than”, etc.
The logical operator drop-down list also includes a “Range” selection for DateTime attributes, which allows you to specify a range of dates/times for which you would like events returned. For information about using the Range operator, see DataTime Ranges.
- Value field(s) - Each data-entry dialog contains one or more value fields in which you enter the value for the items you want returned.
The way in which you enter a value depends on the data type for the attribute you are adding. The data type for each attribute is shown in the tables in Selecting Filter Attributes. For information about data types, see Value Data Types.
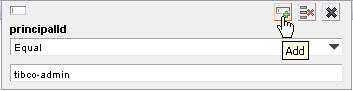
After choosing a logical operator and entering a value, you can add the filter attribute to the filter expression by clicking on the Add button (or just press the Enter key):
The filter attribute is added to the filter expression in the Filter section. For example:
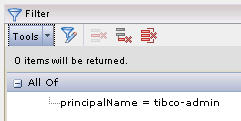
You can add additional filter attributes to the filter expression in the manner described above.
The filter attribute data-entry dialog has a couple other buttons on it that allow you to either close the dialog without making changes, or remove the attribute from the filter expression: