Using the Add / Remove Membership for Resource(s) Functions
Procedure
-
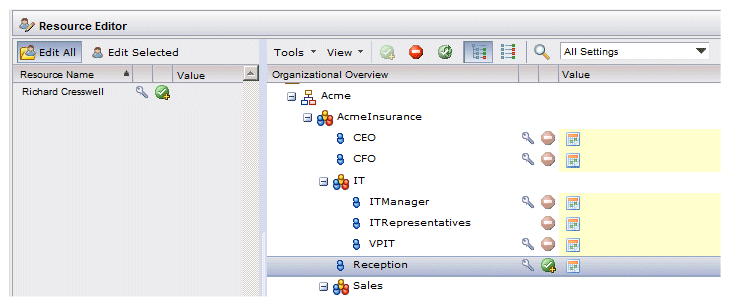
Select one or more of the resources in the resource list, then do one of the following, depending on whether you want to add or remove:
-
To add the selected resource(s) to the group or position, click the
 icon on the resource list toolbar, or select
Add Membership for Resource(s) from the
Tools menu. (These selections on enabled
only if
Include Resources With Required Capabilities is selected from the
Tools menu, and you have selected one or more resources that have the required capabilities, but have not been mapped to the group or position yet.)
icon on the resource list toolbar, or select
Add Membership for Resource(s) from the
Tools menu. (These selections on enabled
only if
Include Resources With Required Capabilities is selected from the
Tools menu, and you have selected one or more resources that have the required capabilities, but have not been mapped to the group or position yet.)
-
To remove the selected resource(s) from the group or position, click the
 icon on the resource list toolbar, or select
Remove Membership for Resource(s) from the
Tools menu.
icon on the resource list toolbar, or select
Remove Membership for Resource(s) from the
Tools menu.
-
To add the selected resource(s) to the group or position, click the
Copyright © Cloud Software Group, Inc. All rights reserved.