Adding New Panes

When forms are first generated, all of the automatically generated controls (corresponding to the user task parameters) appear in a single vertical pane. Creating more panes and moving related controls into each of them helps you organize the information on the form and control its visual layout, enhancing the usability of the form.

In addition to one vertical pane containing all the controls for the user task parameters, the generated form contains a message pane for displaying validation error messages and a horizontal pane for the Cancel, Close, and Submit buttons.

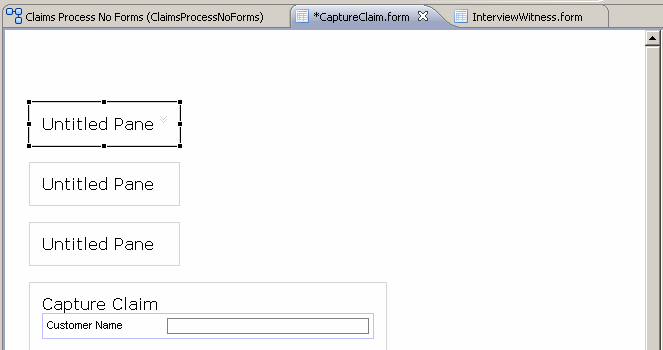
Now we add three new vertical panes in addition to the original vertical pane, and distribute the controls among the four resulting panes as follows:

  • Customer Information
     Controls that gather information about the customer making the claim.
  • Accident Information
     Controls that gather information about the accident.
  • Third Party Information
     Controls that gather information about another person involved in the accident, if any.
  • Witness Information
     Controls for capturing contact information for a witness to the accident, if any.

Procedure

  1. Click the Design tab for the Capture Claim form on the Form Designer so that the form is visible in the Form Designer.
  2. Show the palette, which contains buttons for adding panes and controls to a form. There are two ways to expand the palette:
    1. Click the expand arrow that points leftward in the upper right corner. The arrow now points rightward. When expanded by this method, the palette remains visible (as the Palette view which is shared by all graphical editors and external to them) until the arrow is clicked again.
    2. Select Window > Show View... > Palette to open a Palette View that is shared between all open graphical editors.
  3. Click the Vertical Pane item in the palette.
  4. The Untitled Pane icon is attached to the mouse while you decide where to put the new pane.
  5. Move the mouse above the existing pane.
    • If you click with the mouse over the highlighted drop zone above the current pane, the new pane is placed above the current pane.
    • If you click with the mouse over the highlighted area inside the current pane, the new pane is nested within the current pane.
    • If you click with the mouse above the current pane without a highlighted drop zone showing up, the new pane is placed under the current pane.
      Tip: Hover the mouse over various areas on the form to see these visual signs. Experimenting with this functionality now will help you save time later and avoid accidentally placing form objects in unwanted positions. You can cancel the object placement operation and return the mouse to its normal function by hitting the Esc key at any time. Immediately after adding a pane, you can remove it by typing Ctrl+Z or clicking Undo Add Form Pane on the Edit menu.

      For this tutorial, click in the highlighted drop zone above the current pane.

  6. Repeat Step 5 three times.

    When panes are added, your form looks as:

    Untitled Panes Added


  7. Click Save.

What to do next

After creating new panes, you also need to redistribute the controls among them.