Global Workbook Options
You can customize the global functionality of STATISTICA Workbooks by using the options on the Documents: Workbooks tab of the Options dialog box, accessible by selecting Options from the Tools tab or menu. The selections made on this tab determine the defaults whenever you use a workbook.
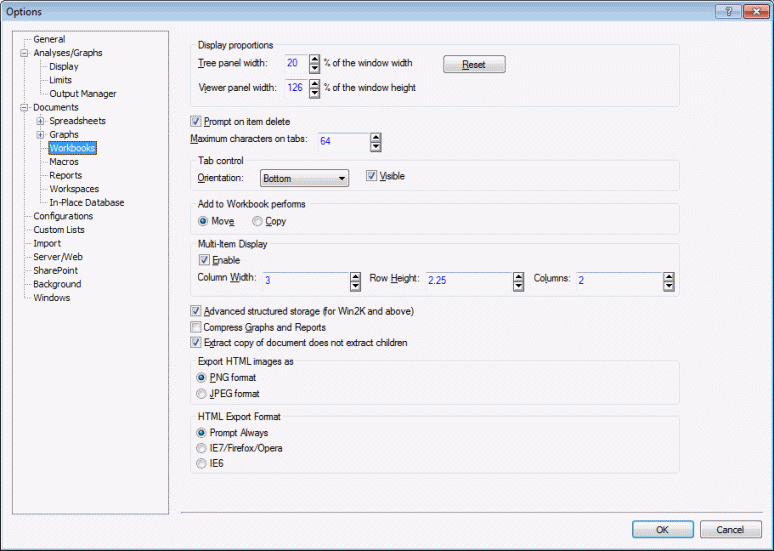
- Display proportions
- Use the options in the
Display proportions group box to set the global default width of the tree panel and the viewer panel. In the
Tree panel width box, enter the percentage of the window width that the tree panel should fill. In the
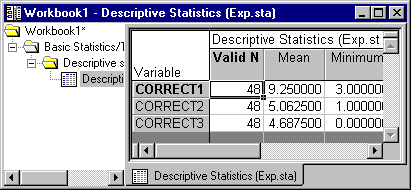
Viewer panel width box, enter the percentage of the window height that the viewer panel should occupy (e.g., 40% and 100%, respectively, as displayed in the illustration below).
Click the Reset button to restore the widths to their original percentages (20% and 133%, respectively).
- Prompt on item delete
- Select the Prompt on item delete check box to ensure that a dialog box asking you to verify the action is displayed every time you cut or delete an item from a workbook.
- Maximum characters on tabs
- Enter the maximum number of characters to allow on a single tab before STATISTICA truncates the title. The default value is 64. Note that the maximum character length can be set locally (for a specific workbook) by selecting Tab Length from the Workbook - Tab Control menu (classic menus). On the ribbon bar, select the Workbook tab, and in the Tools group, click Tab Control and from the menu, select Tab Length.
- Tab control
- Use the options in the
Tab control group box to set the orientation of the workbooks tabs as well as to specify whether they are visible. On the
Orientation drop-down list, select
Bottom,
Top,
Left, or
Right placement.
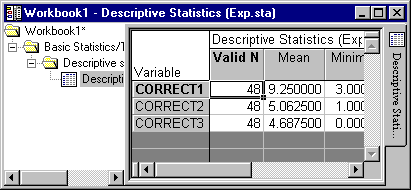
Bottom and
right placement are shown below.
Select the Visible check box if you want the navigation tabs to be displayed on workbooks. Clear this check box if you do not want the tabs to be displayed. Note that these options can be set locally (for a specific workbook) using commands on the Workbook - Tab Control menu.
- Add to Workbook performs
- Use the options in the
Add to Workbook performs group box to specify what action is taken when you click the
 button. Select the
Move option button to move the selected file to the workbook (and remove it from its stand-alone window). Select the
Copy option button to copy the selected file to the workbook (and leave the original in its stand-alone window). By default, the
Move option button is selected.
button. Select the
Move option button to move the selected file to the workbook (and remove it from its stand-alone window). Select the
Copy option button to copy the selected file to the workbook (and leave the original in its stand-alone window). By default, the
Move option button is selected.
Multi-item Display. Use the options in the Multi-Item Display group box to specify how to display all of the documents of a given folder simultaneously when you select it in a workbook. Note that only documents that are directly inside of the folder will be displayed when you click on it (i.e., the content of any subfolders will not be displayed).
Multi-Item Display enables you to view multiple documents at once, making visual presentation of numerous documents a simple task. Additionally, you can also edit documents in the Multi-Item Display in place as ActiveX documents.